How to use scene spawner
Atavism 10.6.0+
In Atavism, you can use two types of spawners. The first is an in-game spawner where you can spawn your mobs in real-time by running through a map and placing mobs or NPCs. This element is presented in the Getting Started video.
Another way is to use a scene spawner which in comparison to the in-game spawner has one missing element to define paths for mobs, as this element currently is available only in the in-game spawner but it has also some benefits like it can spawn more than one mob at a time as well as you can use some kind of object placement packages like Gaia, Gena or any other tool, so you can populate your map faster, especially in early stages.
In this documentation, we will cover the in-scene spawner.
In the Unity Editor in your instance scene, create an empty game object in the hierarchy, call it whatever you want, and assign Ataivsm Mob Spawn Marker or Atavism Mob Spawn Marker Generator component to it.
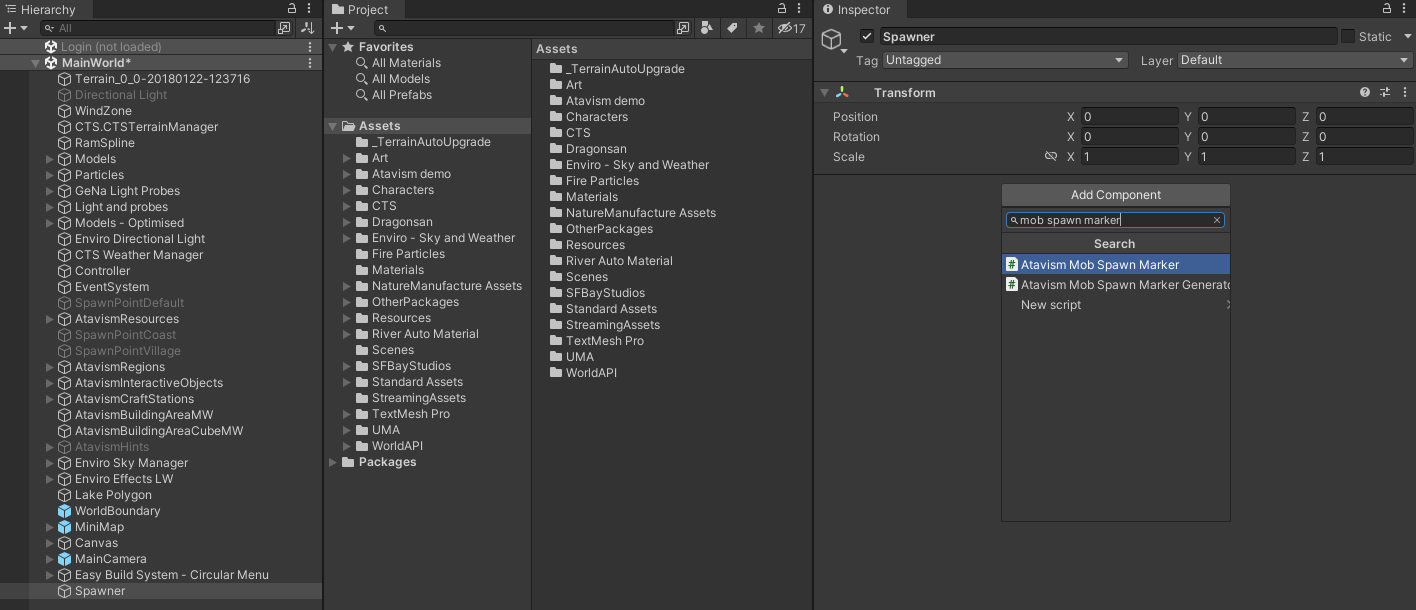
The will let you spawn one mob and the second will let you generate more mobs at once, but you can also limit spawn to 1, so let’s use it as the main reference.
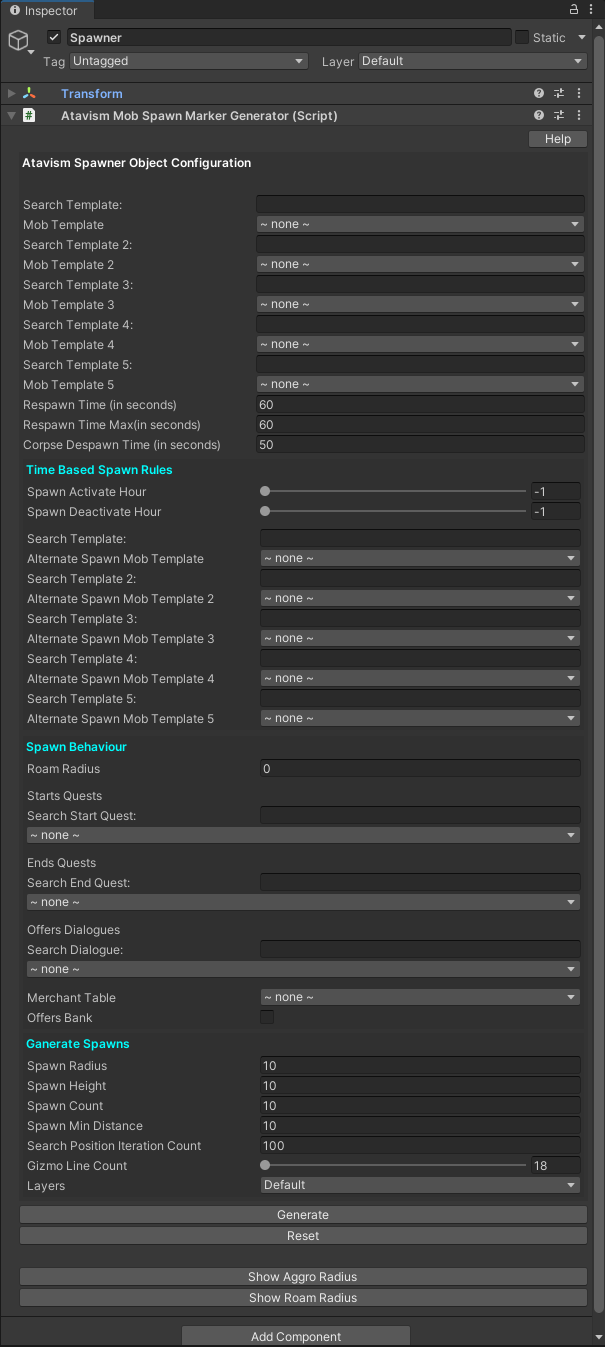
Atavism Mob Spawn Marker Generator fields:
Mob Template (1-5): Defines Mob Templates that you are defining in the Atavism Standalone Editor, and Ataivsm will randomize one of them.
Respawn Time Min-Max (in seconds): Defines the time after which the mob will be spawned again after it was killed. Atavism will randomize it from the defined range.
Corpse Despawn Time (in seconds): Defines the time after which the mob’s corpse will be despawned.
Spawn Activate Hour – Sapwn Deactivate Hour: Defines a range of hours between which Mob Template will be spawned. Beyond that time Alternate Spawn Mob Templates can be spawned if one of them will be defined. Time is based on the game time.
Alternate Spawn Mob Template (1-5): Defines Alternate Mob Templates that you are defining in the Atavism Standalone Editor, and Ataivsm will randomize one of them.
Roam Radius (in meters): Defines the radius within which the mob will freely roam.
Starts Quests: Defines quests that will be available to start by interacting with the mob/NPC. Quests are configured in the Quests module in the Atavism Standalone Editor.
Ends Quests: Defines quests that will be available to end by interacting with the mob/NPC. Quests are configured in the Quests module in the Atavism Standalone Editor.
Offers Dialogues: Defines dialogues that will be available by interacting with the mob/NPC. Dialogues are configured in the Dialogues module in the Atavism Standalone Editor.
Merchant Table: Defines the Merchant table that will be available by interacting with the mob/NPC. You will be able to purchase or sell items defined in the Merchant Table module configured in the Atavism Standalone Editor.
Offers Bank: Defines if the mob/NPC should offer a bank by interacting with it.
Spawn Radius (in meters): Defines the area radius where the Atavism generator will be able to place defined mob templates.
Spawn Height (in meters): Defines the area height where the Atavism generator will be able to place defined mob templates.
Spawn Cont: Defines the maximum number of mobs/NPCs the Atavism generator will be able to place.
Spawn Min Distance (in meters): Defines the minimum distance that has to be kept by the spawner when placing mobs/NPCs.
Search Position Iteration count: Defines the maximum number of iterations the spawner will use per mob to place it. The higher the value, the more the spawner can spend on trying to place each mob, especially if the Spawn Radius is small, while Sapwn Min Distance and Spawn Count are high enough that it’s hard to meet the requirements and find a proper place to spawn. The recommended value is something around 100.
Gizmo LIne Count: Defines how many lines will be drawn in the scene view per area which is a circle in shape. For larger areas, it’s recommended to have something like 100 lines, for smaller areas it can be kept as default 18.
Layers: Defines Unity Layers that will be used for raycast to place mob on the ground.
Generate: Generates spawns. They will be as a child objects.
Reset: Clears all spawns.
Show Aggro Radius: Draws gizmo for all spawns within the object that shows the aggro radius defined in the mob template for the mob in the Atavism Standalone Editor.
Show Roam Radius: Draws gizmo for all spawns within the object that shows roam radius defined previously in the Roam Radius parameter.
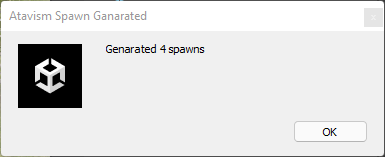
When you will click the Generate button the Atavism Generator will spawn mobs and display information about how many mobs/NPCs were placed.
if the mob template is not using Asset Bundle then the first model from defined Mob Templates will be displayed in the hierarchy.
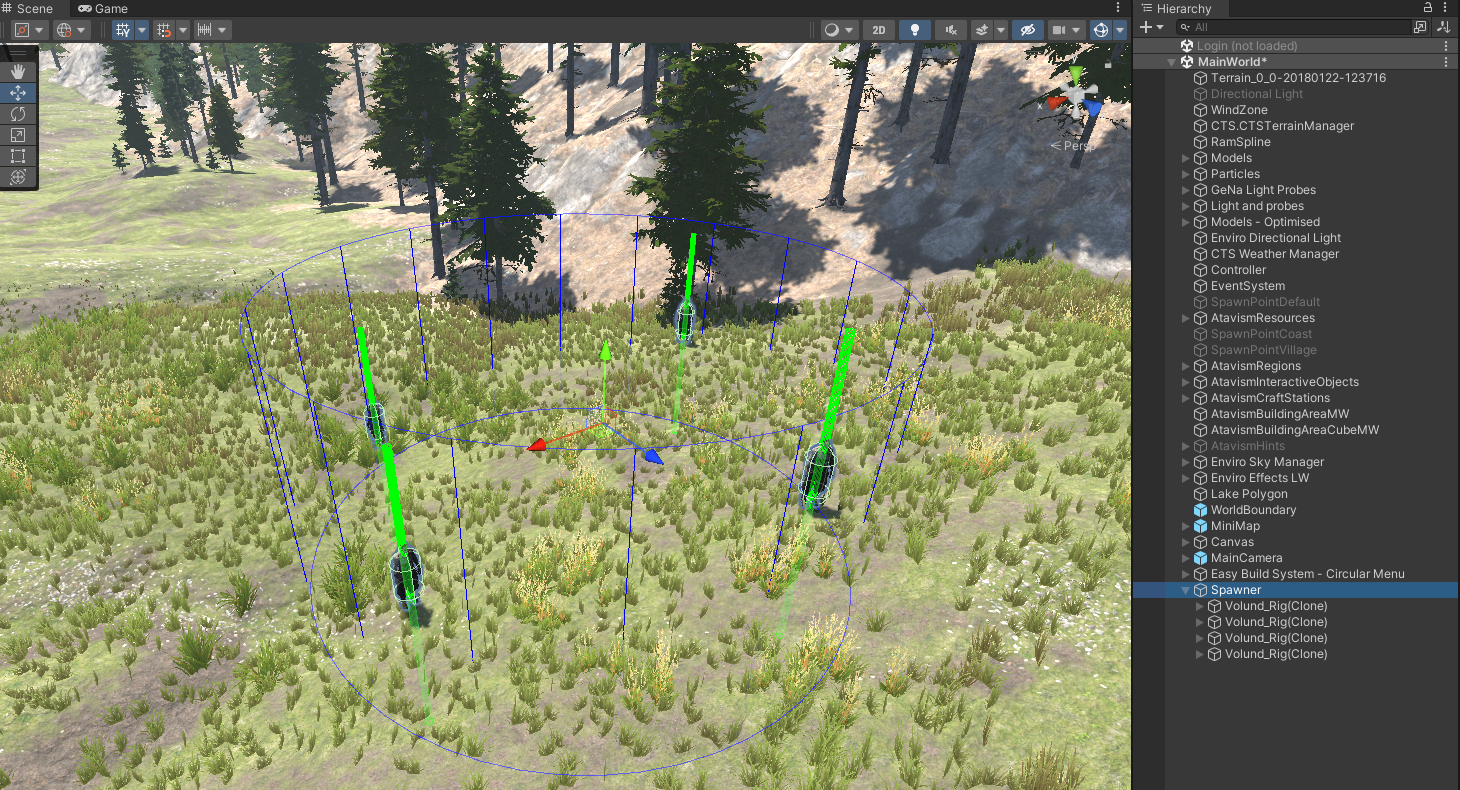
By clicking on each of the objects, you can modify its particular values, and this is where the first script comes into play.

If you will modify the position of the particular mob, then an additional option will be displayed on the component.

Raycast Check Distance option will let you place the proper height for your mob after you will move it.
You can save each mob by clicking the Save button, but it would be very time-consuming with many mobs/NPCs, and this is where Atavism Editor inside Unity comes into play. You can open it from the menu.
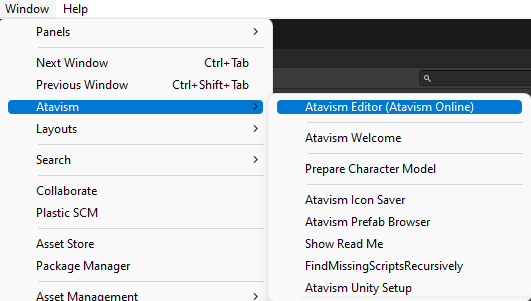
Open Mob Spawner

Generate: Moves through all opened scenes and generate all mobs for all Ataivsm Generators as you can have many of them.
Reset: Resets all spawns for all Atavism Generators and remove all spawned mobs/NPCs from the scene. Keep in mind that it won’t remove them from the database.
Load: Is extremely handy will get all your spawned mobs/NPCs from the database and put them into the scene under the SpawnData_# where # is the Instance ID for the scene. This gives you the ability to modify and adjust previously spawned mobs/NPCs. Keep in mind that this won’t bring back the Generator settings but only all mobs/NPCs objects, so you won’t be able to generate mobs placement using this feature.
Show/Hide Aggro Radius: Draws aggro radius gizmo for all Spawn Generators.
Show/Hide Roam Radius: Draws roam radius gizmo for all Spawn Generators.
Save: Save all spawned objects that are within all opened scenes.
Delete Spawn Data: Clears all spawned mobs within all opened scenes/instances from the database.
After you will save your mobs, disable your main Spawner objects in the scene hierarchy if you will want to use them in the future.