Setting Enviro
Atavism comes with the integration with Enviro Sky & Weather system. There are two versions of Enviro, first is Lite which is included in the Atavism and already set in your project (Atavism with Demo) or you can download it as a separate package from the Apanel (these versions are the same), and the second version is Unity Asset Store one which has some additional features like Volumetric Lights and Volumetric Clouds. You can use any of them and below you will find the description of how to implement Enviro into the Atavism Core project or to replace the Atavism Enviro Lite with its Asset Store Enviro Standard one.
Implementation of Enviro Lite or Standard into Atavism project
- Import World Manager API (WAPI) accessible from the Apanel. If you are using Atavism with Demo data then it’s already included in the project.
- Download and import Enviro – Sky and Weather (Lite) from Apanel or (Standard) from the Unity Asset Store
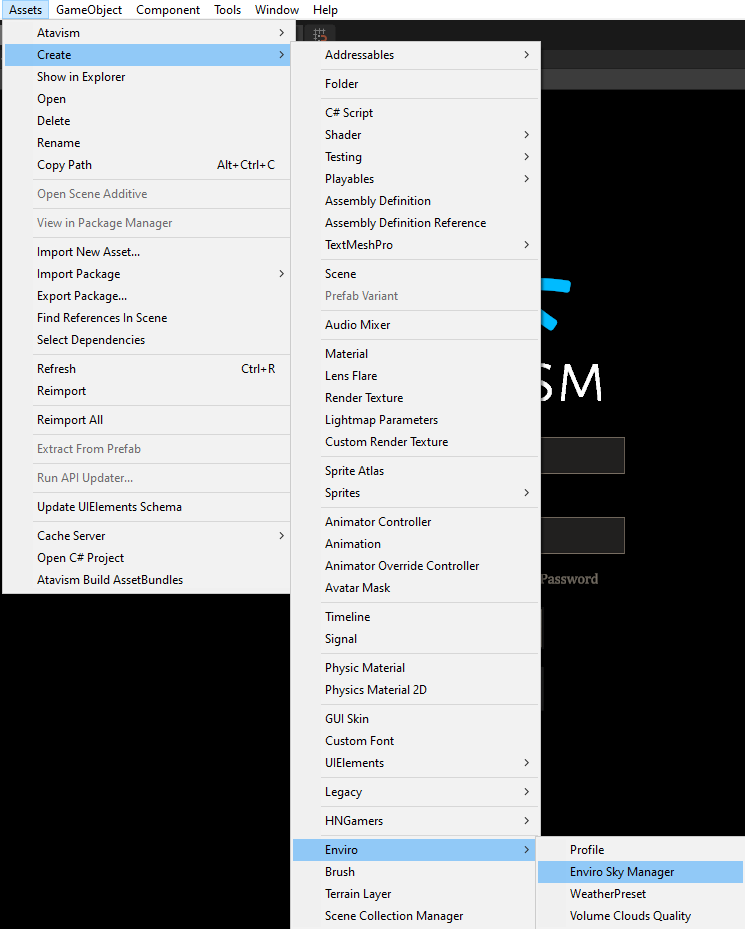
- Select Assets -> Create -> Enviro -> Enviro Sky Manager
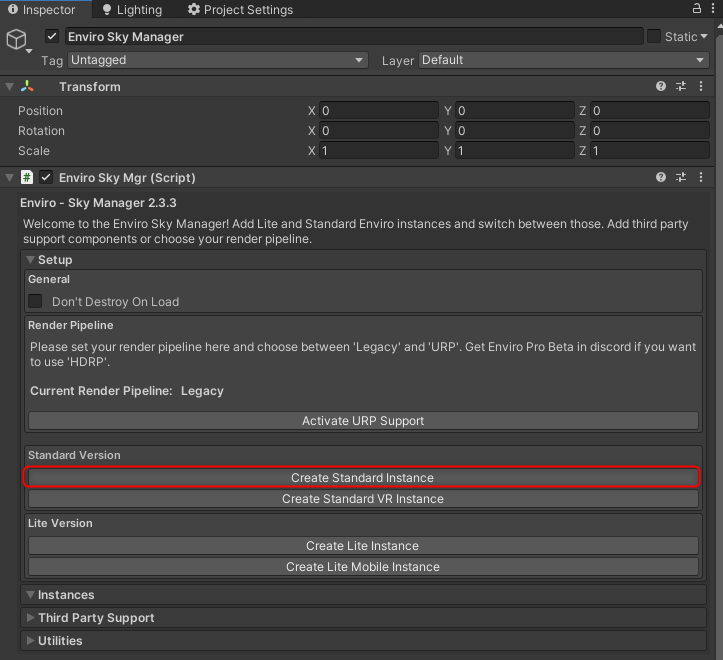
- Select the Enviro Sky Manager game object in your scene, and click Create Standard (or Lite) Instance button in the inspector
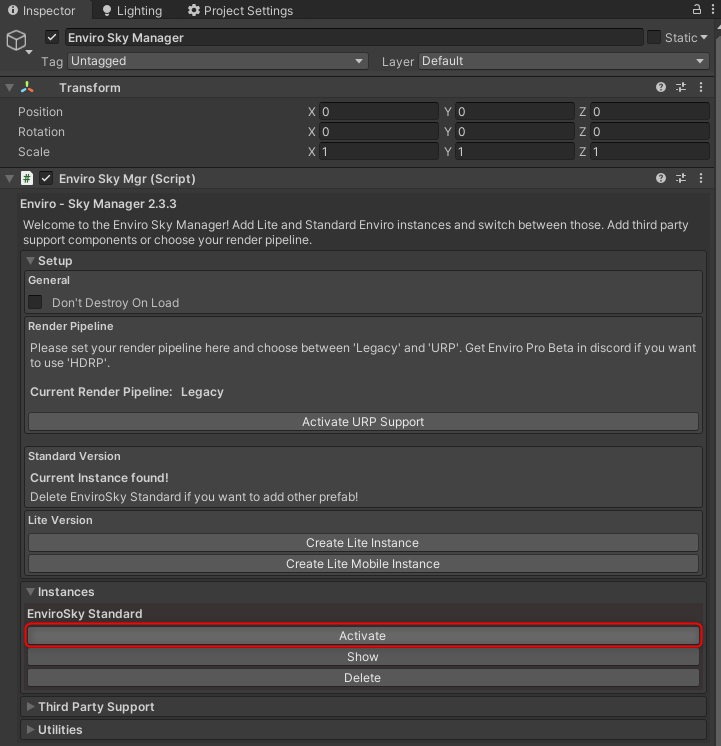
- Then activate it
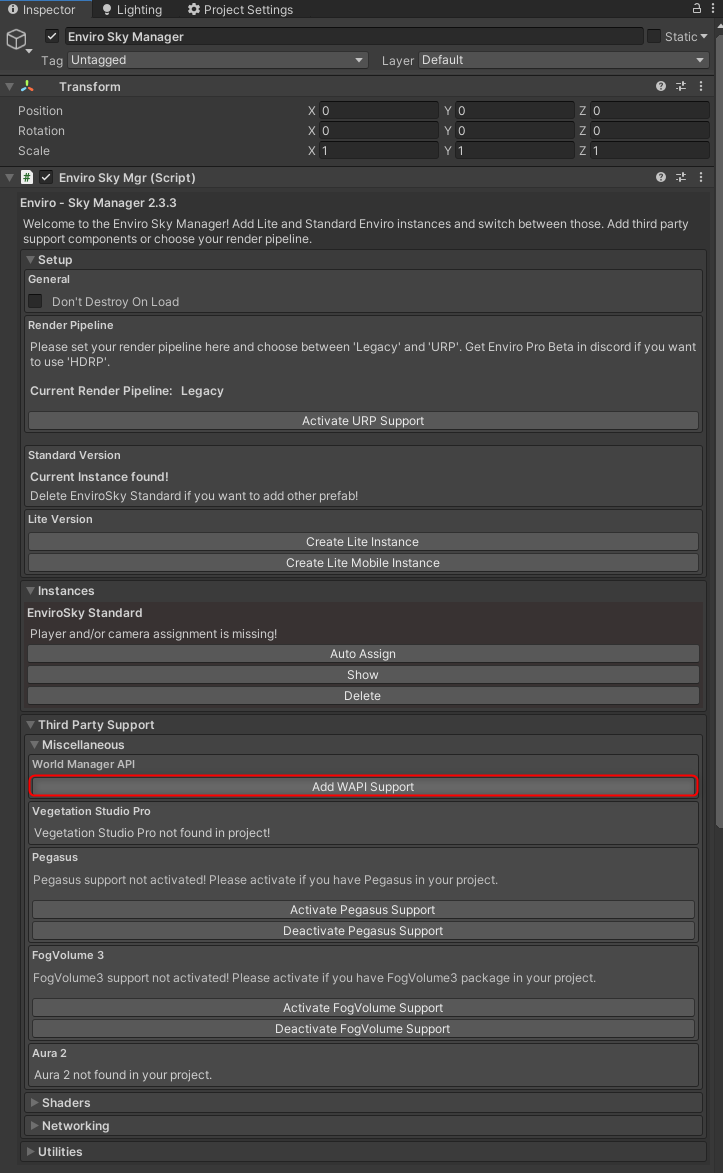
- Expand Third-Party Support -> Miscellaneous and click Add WAPI Support
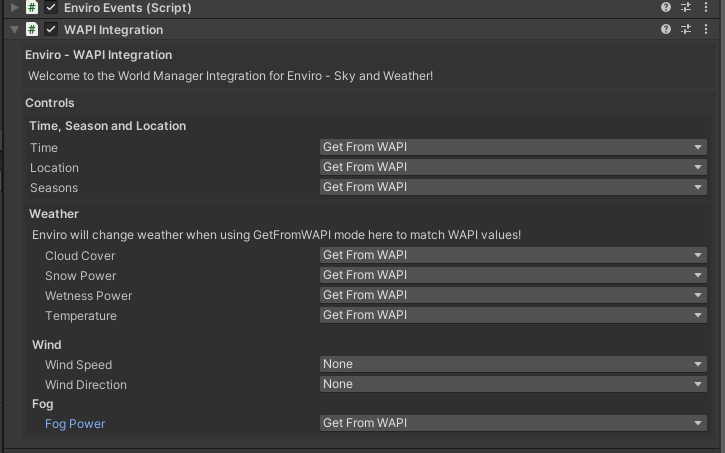
- In the bottom section, there will be created new WAPI Integration component where you have to set parameter to GET From WAPI as on the screenshot below
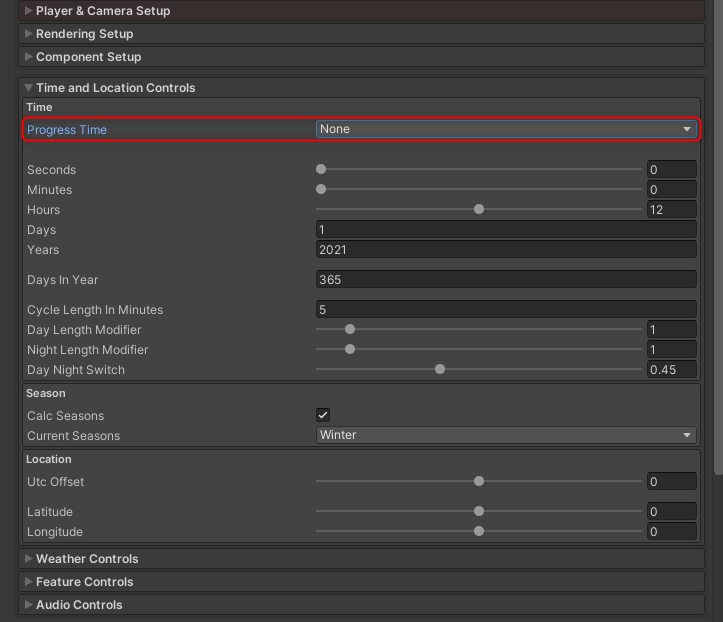
- In the scene hierarchy under Enviro Sky Manager select EnviroSky Standard child game object, and under Time and Location Controls set Progress Time to None
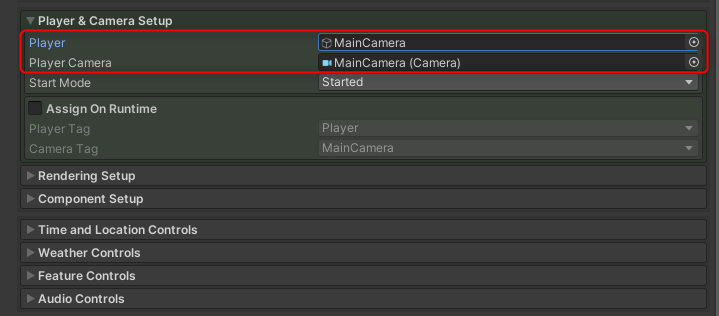
- Under Player & Camera Setup drag your MainCamera from the scene hierarchy into the Player and pLayer Camera parameters