Working with Animations
Unity has two animation systems, both supported by Atavism. That said, the new animation system Unity has created provides much better support and is easier to use with Atavism.
Regardless of the animation system used, player/mob (from here on referred to as only mobs) animations are controlled by the MobController script that should be on every character and mob prefab.
Animation categories
Animations come in two categories, general and override. General animations are looping animations such as idle, walk or run that are determined by the state of the mob. Override animations are one-off animations such as a wave or sword swing that override the general animations.
How General Animations are Managed
General animations are played whenever there is no override animation active. The Mob Controller reads the Movement State of the mob (Running, Swimming, or Flying), the current movement or velocity of the mob, and a few other states (dead, alive, combat) to determine what animation should be played.
How Override Animations are Managed
An override animation is set when the PlayAnimation() function is called with both an animation name and length to play it specified. The Mob Controller then plays that animation until either the time expires or a new override animation is set.
Using the Unity Animator
The Unity Animator has a state/transition system to work out which animation should be played based on various properties. It is recommended you take some time to familiarise yourself with the system by reading this: https://docs.unity3d.com/Documentation/Manual/Animator.html. Note: the prefab needs the Animator component on it to use the new Animator system.
The Mob Controller provided with Atavism sets the parameters for the Animator (see section above for how what animation to play is worked out) and then the Animator determines which animation to play. The result is most of your animation setup will be using the Animator tool, you should not need to make many (or any) changes to the Mob Controller. The Animator setup provided with the examples is ready to work with the general animations, but will require you to handle override animations as these will be specific to your game.
How it works is, the name of the Animation you set in the PlayAnimation() function for the mob controller is the name of the parameter that will be set in the Animator tool. So if you tell the mob controller to play “Bow” you need a “Bow” parameter set in the Animator tool, which the MobController will set to true, then set to false when the length of time has passed. Example steps for a Point animation:
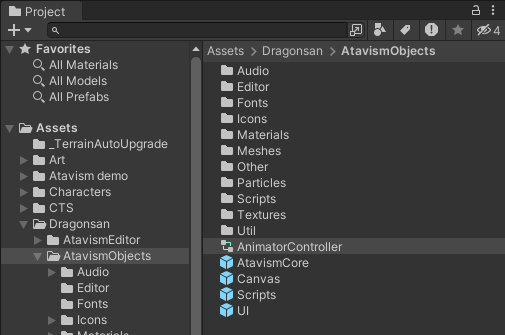
- Open the default controller used for your player which is located in the Assets/Dragonsan/AtavismObjects/AnimationController
- Create a Parameter in the Animator tool. You can call it whatever you want, let’s say MyNewAnimation
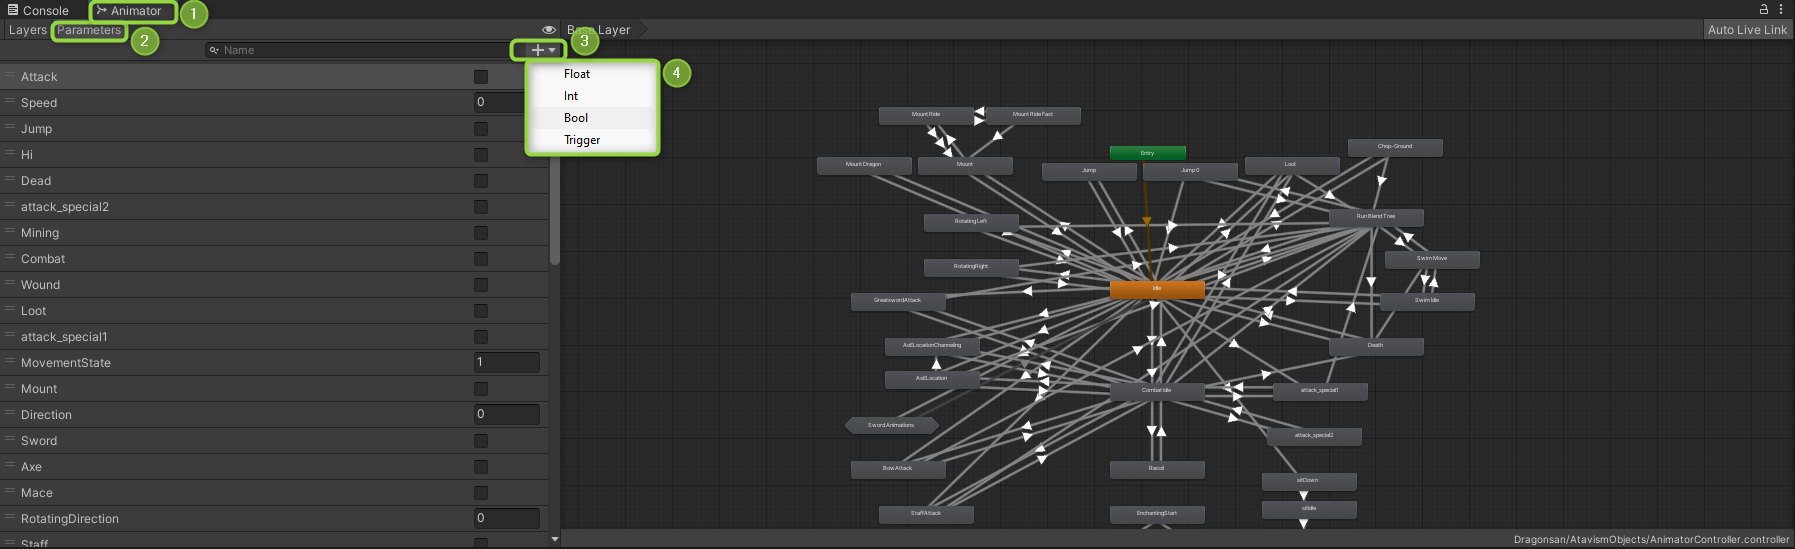 You can use any type of parameter, but the most common is bool, just remember to set the name of your parameter, in our case MyNewAnimation
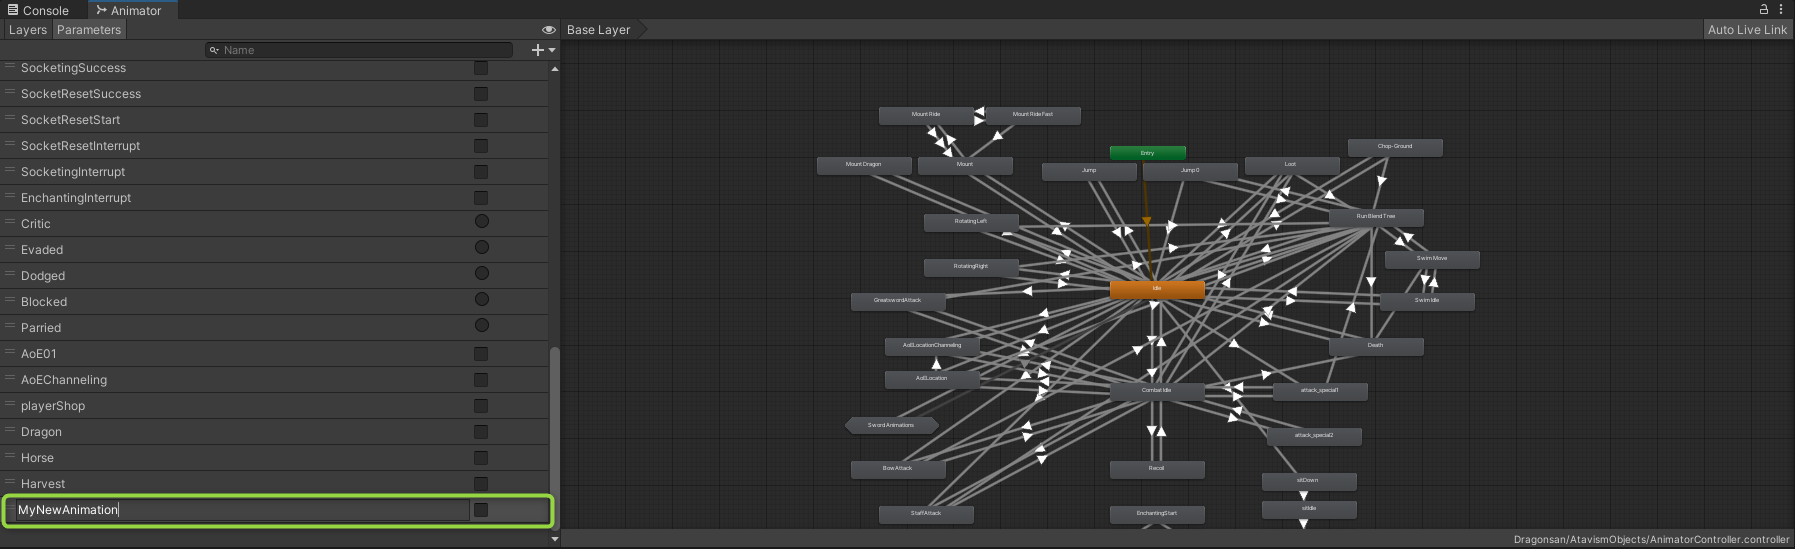
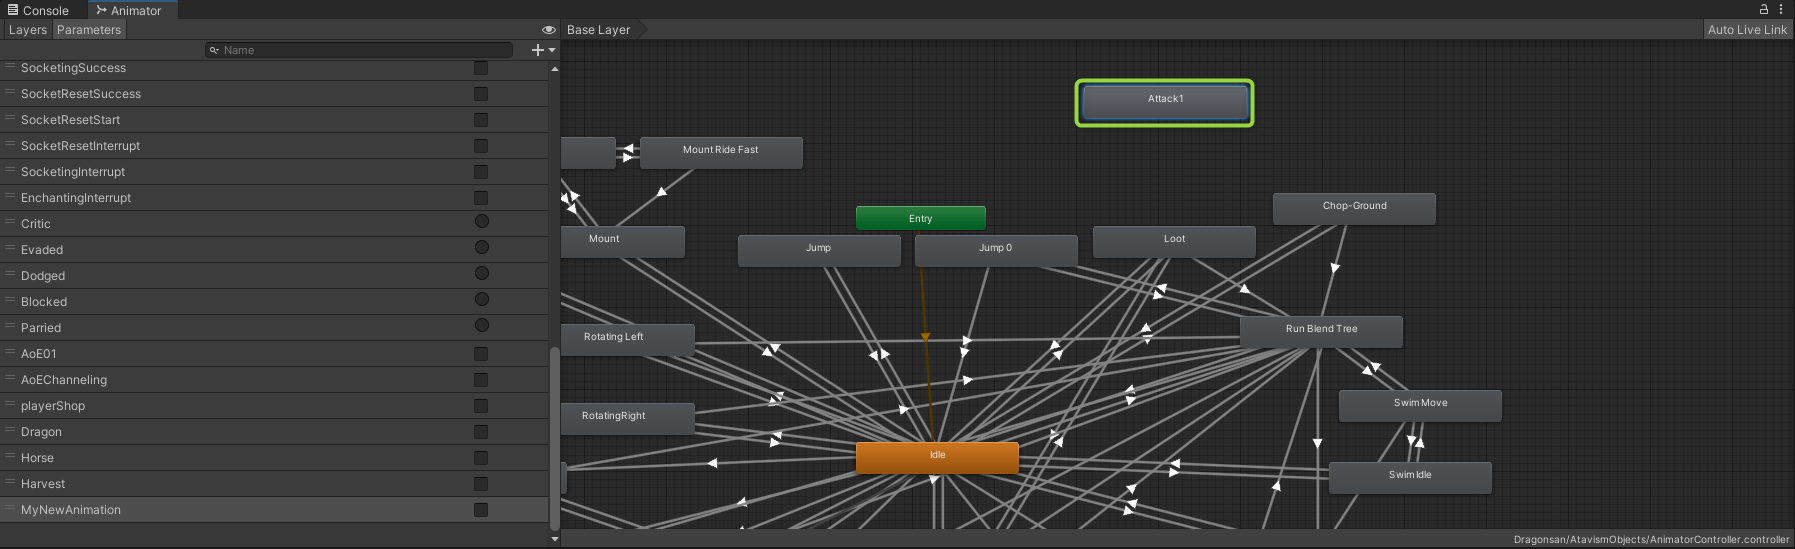
- Drag your animation from your project into the animation panel, for this example, we will use the Attack1 animation that is included in the Atavism Demo package.
- Make a transition between states, usually Idle and combat idle.create
and on each transition from idle and combat idle to Attack1 set a condition like MyNewAnimation = True, and from Attack1 to Idle and Combat Idle make a transition where MyNewAnimation is set to false. This means that when our MyNewAnimation parameter will be true, it should use the transition to the Attack1 state, and play the animation, and when the parameter will become false, it should transition back to the Combat or Combat Idle.
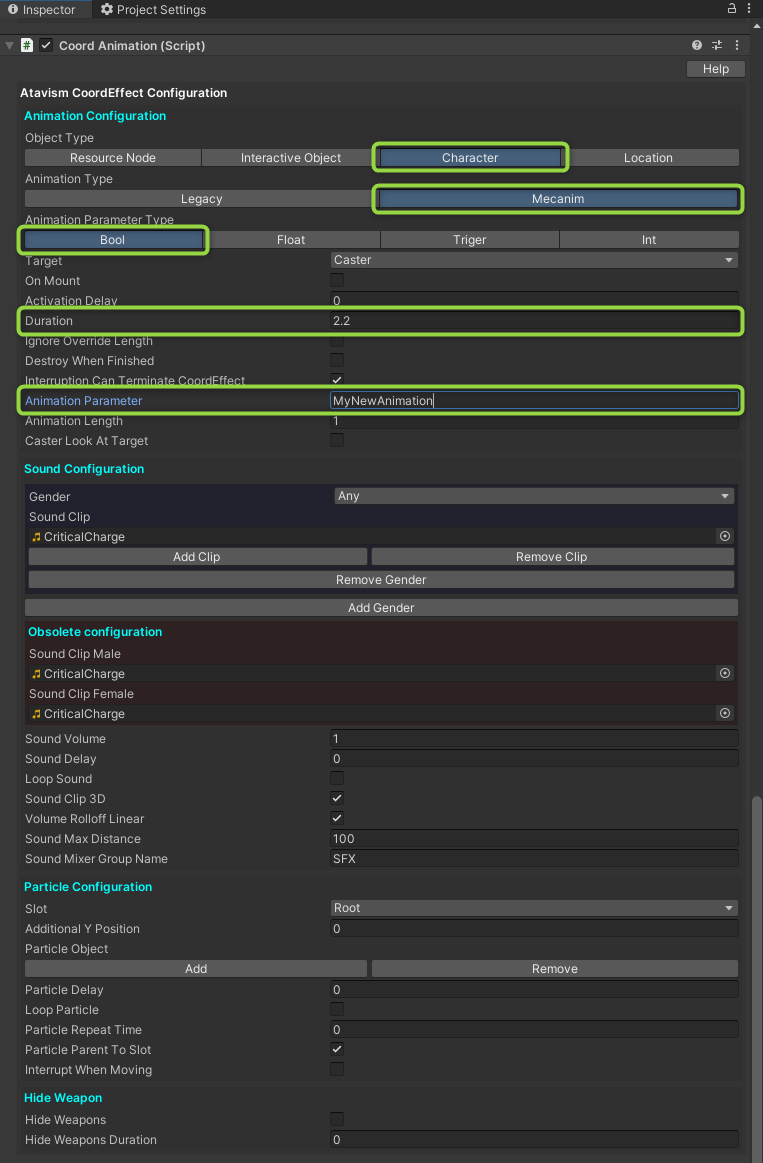
- The last step is to trigger this somehow. You can do this through coordinated effect scripts, for example, the Coord Animation script. Remember to set the Object Type as Character, the Animation Type as Mecanim, and the Animation Parameter Type as Bool, because we set it as Bool in our Animator, and of course, set the Animation Parameter as the Animator parameter name which we created earlier, MyNewAnimation. You can set the duration which is in seconds. More about coordinated effects and how to use them you can find here.
Important Note: Keep in mind that this is only an example of how to use Unity Animator with Ataivsm and in some cases, you will want to make more than these transitions or set additional parameters, but they are related only to the Unity Animator, and how this feature works inside Unity.
Using the Legacy Unity Animation System
The Legacy Unity Animation system is a lot more limited as it requires each animation to be dragged into the MobController. This means if you want more than the default animation options you need to edit the code in the MobController to handle it which can be a bit tricky. By default, the legacy animation system handles the idle, walk, run, jump, combat idle, unarmed attack, and death. You can make these work by dragging the animation object into the animation slot on the mob controller component on the mob prefab.