Atavism Agent
Atavism Agent 1.0.8+ (Preview)
How to install Atavism Agent
In order to install Atavism Agent you can use one of the two possible installation options:
- If you are using one of the supported Linux distributions (Ubuntu 18.04 32/64 bit, Ubuntu 20.04 64 bit, Ubuntu 22.04 64 bit) then you can use our premade packages that are available in the downloads section in the apanel. Upload it to your server using your preferred file manager like WinSCP, Filezilla, etc., and in the SSH console on the server using the below command
sudo dpkg -i atavism-agent_1.0.8-1_amd64.debreplace
atavism-agent_1.0.8-1_amd64.debwith your package name
After installation run the following commandcd /opt/atavism-agent/lib/appand then invoke the command
sudo nohup ./agent.sh -e YOUR-EMAIL -k LICENSE-KEY -d PATH >/dev/null 2>&1 & - where:
- YOUR-EMAIL is the one that you are using for your Atavism License
- LICENSE-KEY is your Atavism license key
- PATH defines where your Atavism is or will be installed
- If you are using another Linux distribution, then download Ataivsm Agent for Custom Linux from the apanel. Upload it to your server using your preferred file manager like WinSCP, Filezilla, etc., unpack it, and in the SSH console on the server use the below command
cd AGENT-PATHby default, it will be
cd /opt/atavism-agent/lib/appand then invoke the command
sudo nohup ./agent.sh -e YOUR-EMAIL -k LICENSE-KEY -d PATH >/dev/null 2>&1 &where:
-
- AGENT-PATH defines where your Atavism Agent is unpacked
- YOUR-EMAIL is the one that you are using for your Atavism License
- LICENSE-KEY is your Atavism license key
- PATH defines where your Atavism is or will be installed
Optionally for the second procedure, you can define Linux Service and start it with the server.
Important Note. For this installation type, you will need to install Java 17 in your system, so in this case, it’s suitable only for Atavism X.7 which supports java 17 LTS as well.
The last step is to open the 8080 TCP port on the server firewall. Do it the same way as you opened it for your Atavism Server installation and depending on the installation type it can be on the Linux machine only or within Google Cloud or Oracle Cloud as well.
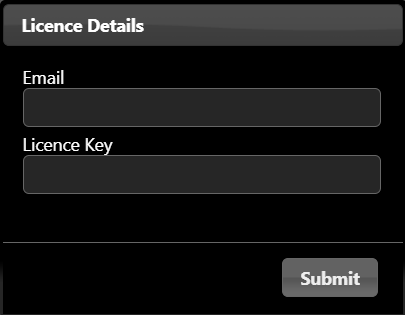
After that your Atavism Agent panel should be accessible through a website using your server IP address like:
https://YOUR-SERVER-IP:8080/
where you have to replace YOUR-SERVER-IP with your server one and log in using the email address provided as YOUR-EMAIL and your LICENSE-KEY.
Atavism Agent generates an SSL certificate during the first startup to secure your connection, but of course, browsers won’t recognize it as a trusted one because it’s self-signed. You can disable the SSL certificate completely using this additional parameter
-Dserver.ssl.enabled=falseor you can use your own one by setting these parameters
-Dserver.ssl.key-store=path_to_jks_file -Dserver.ssl.key-store-password=password_to_your_certificate -Dserver.ssl.key-alias=certificate_filenameHow to use Atavism Agent
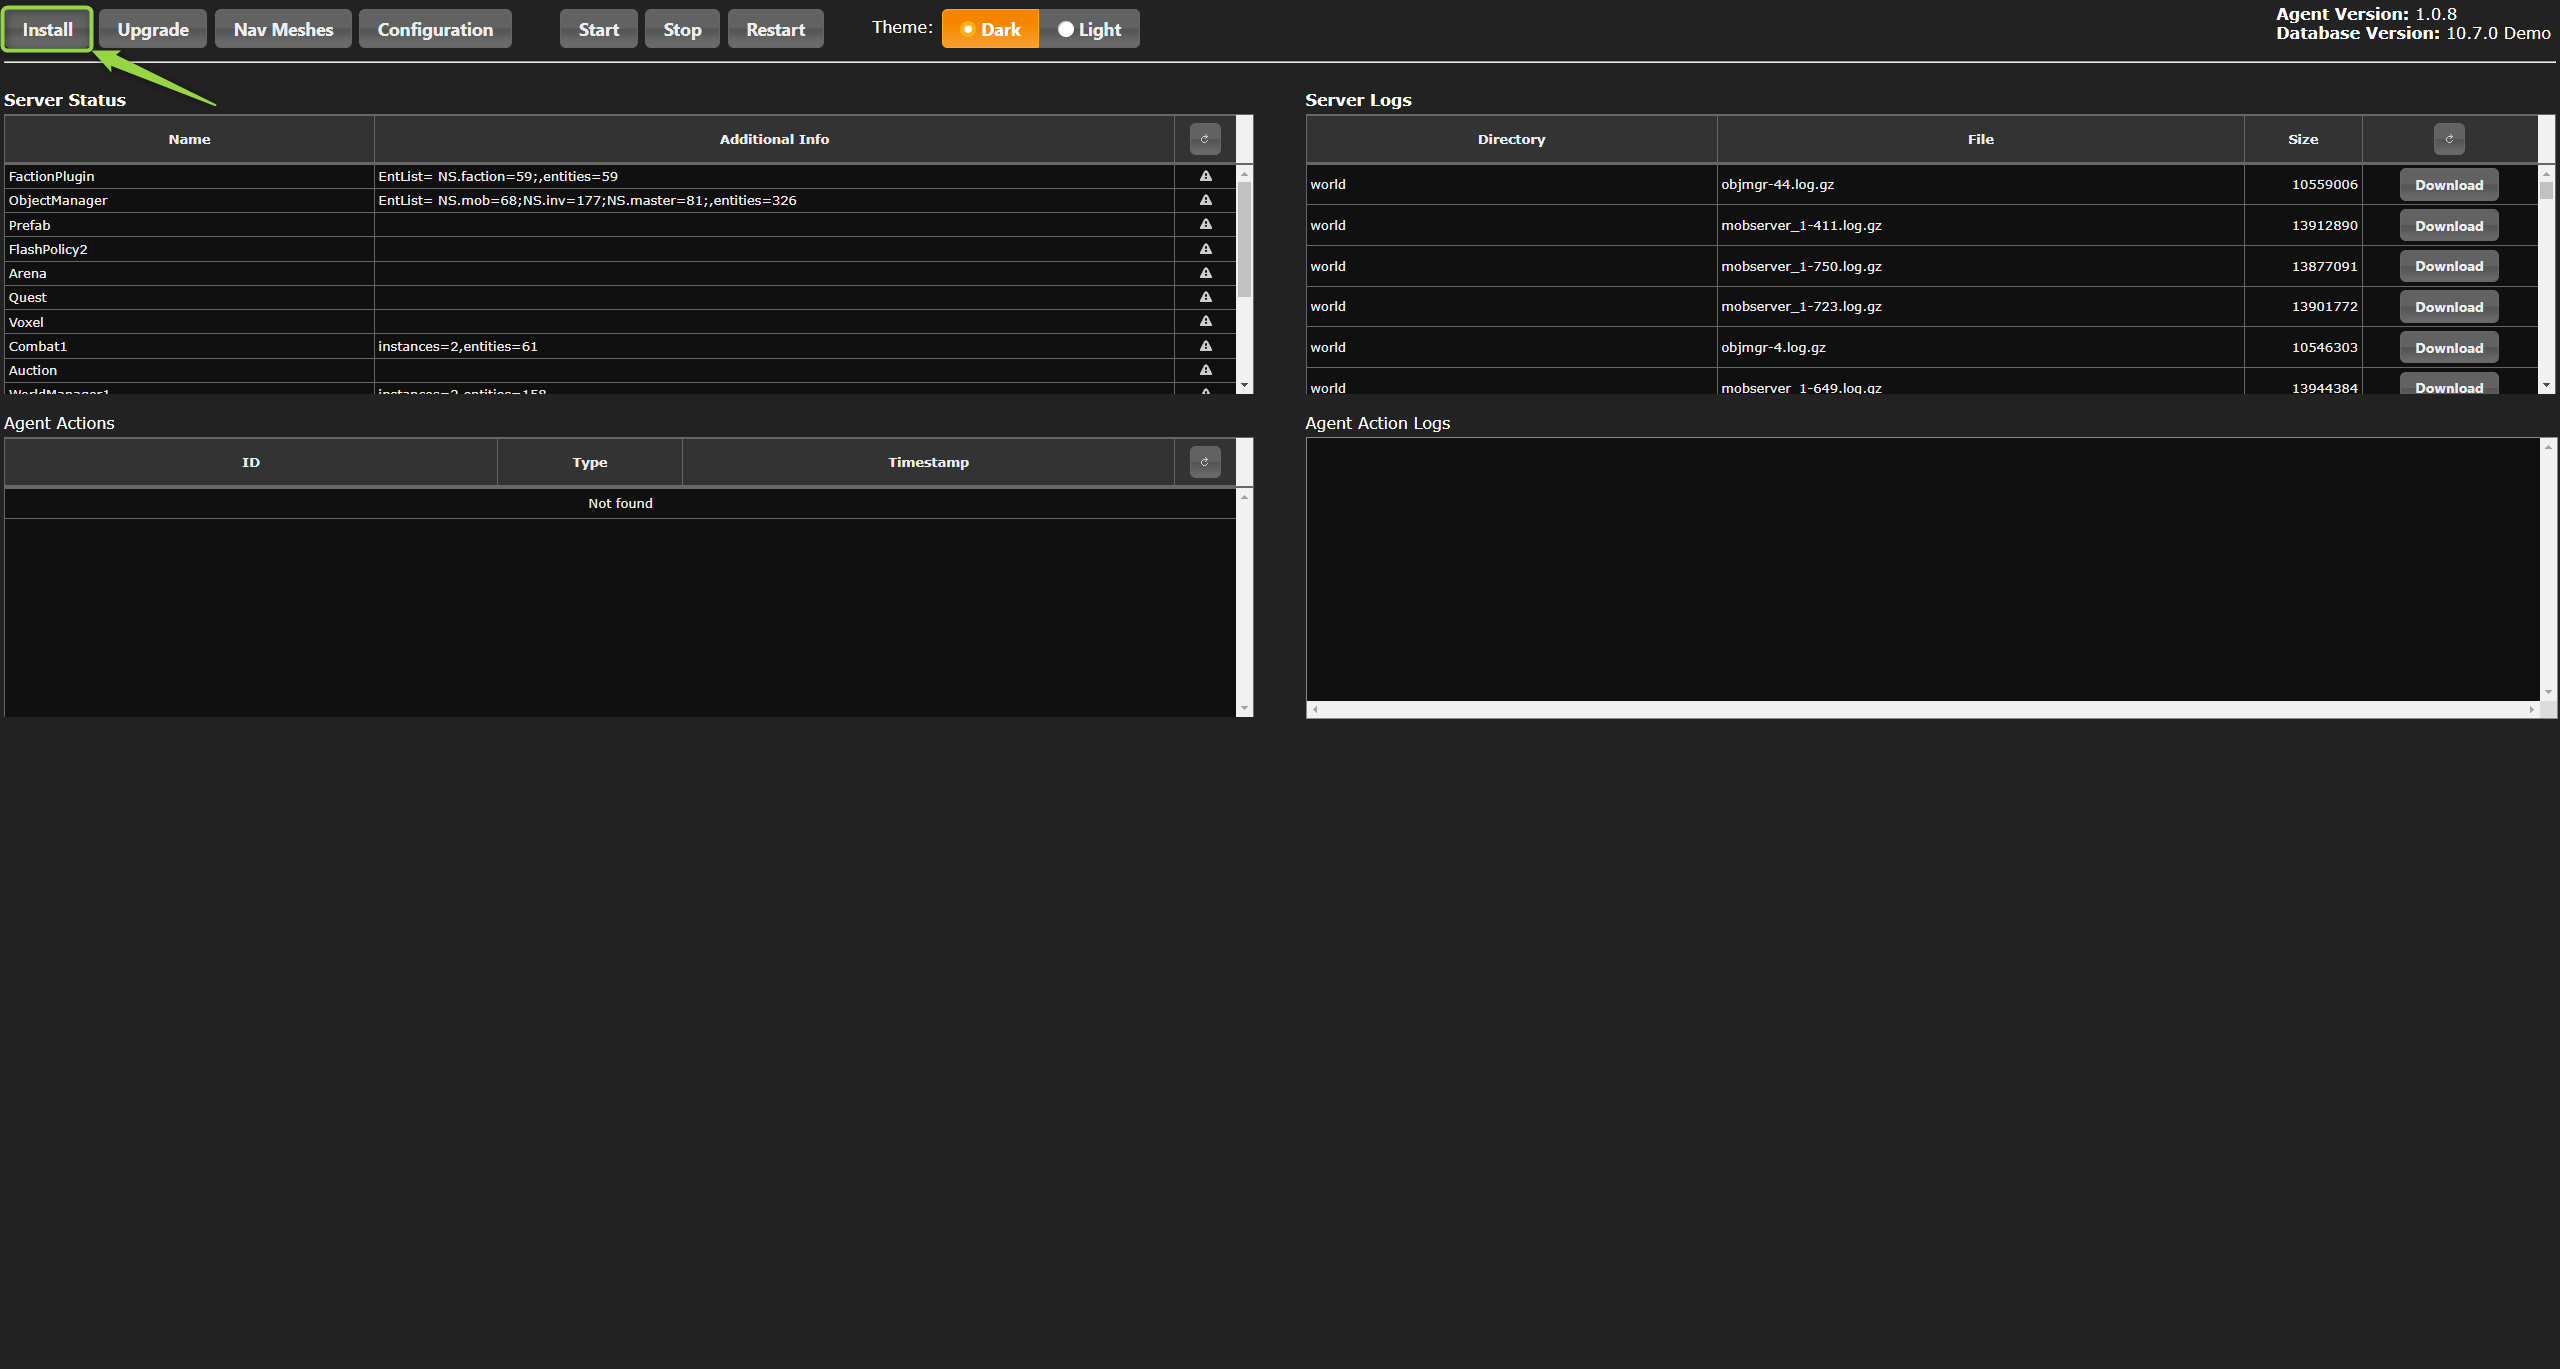
After the installation and login, you can:
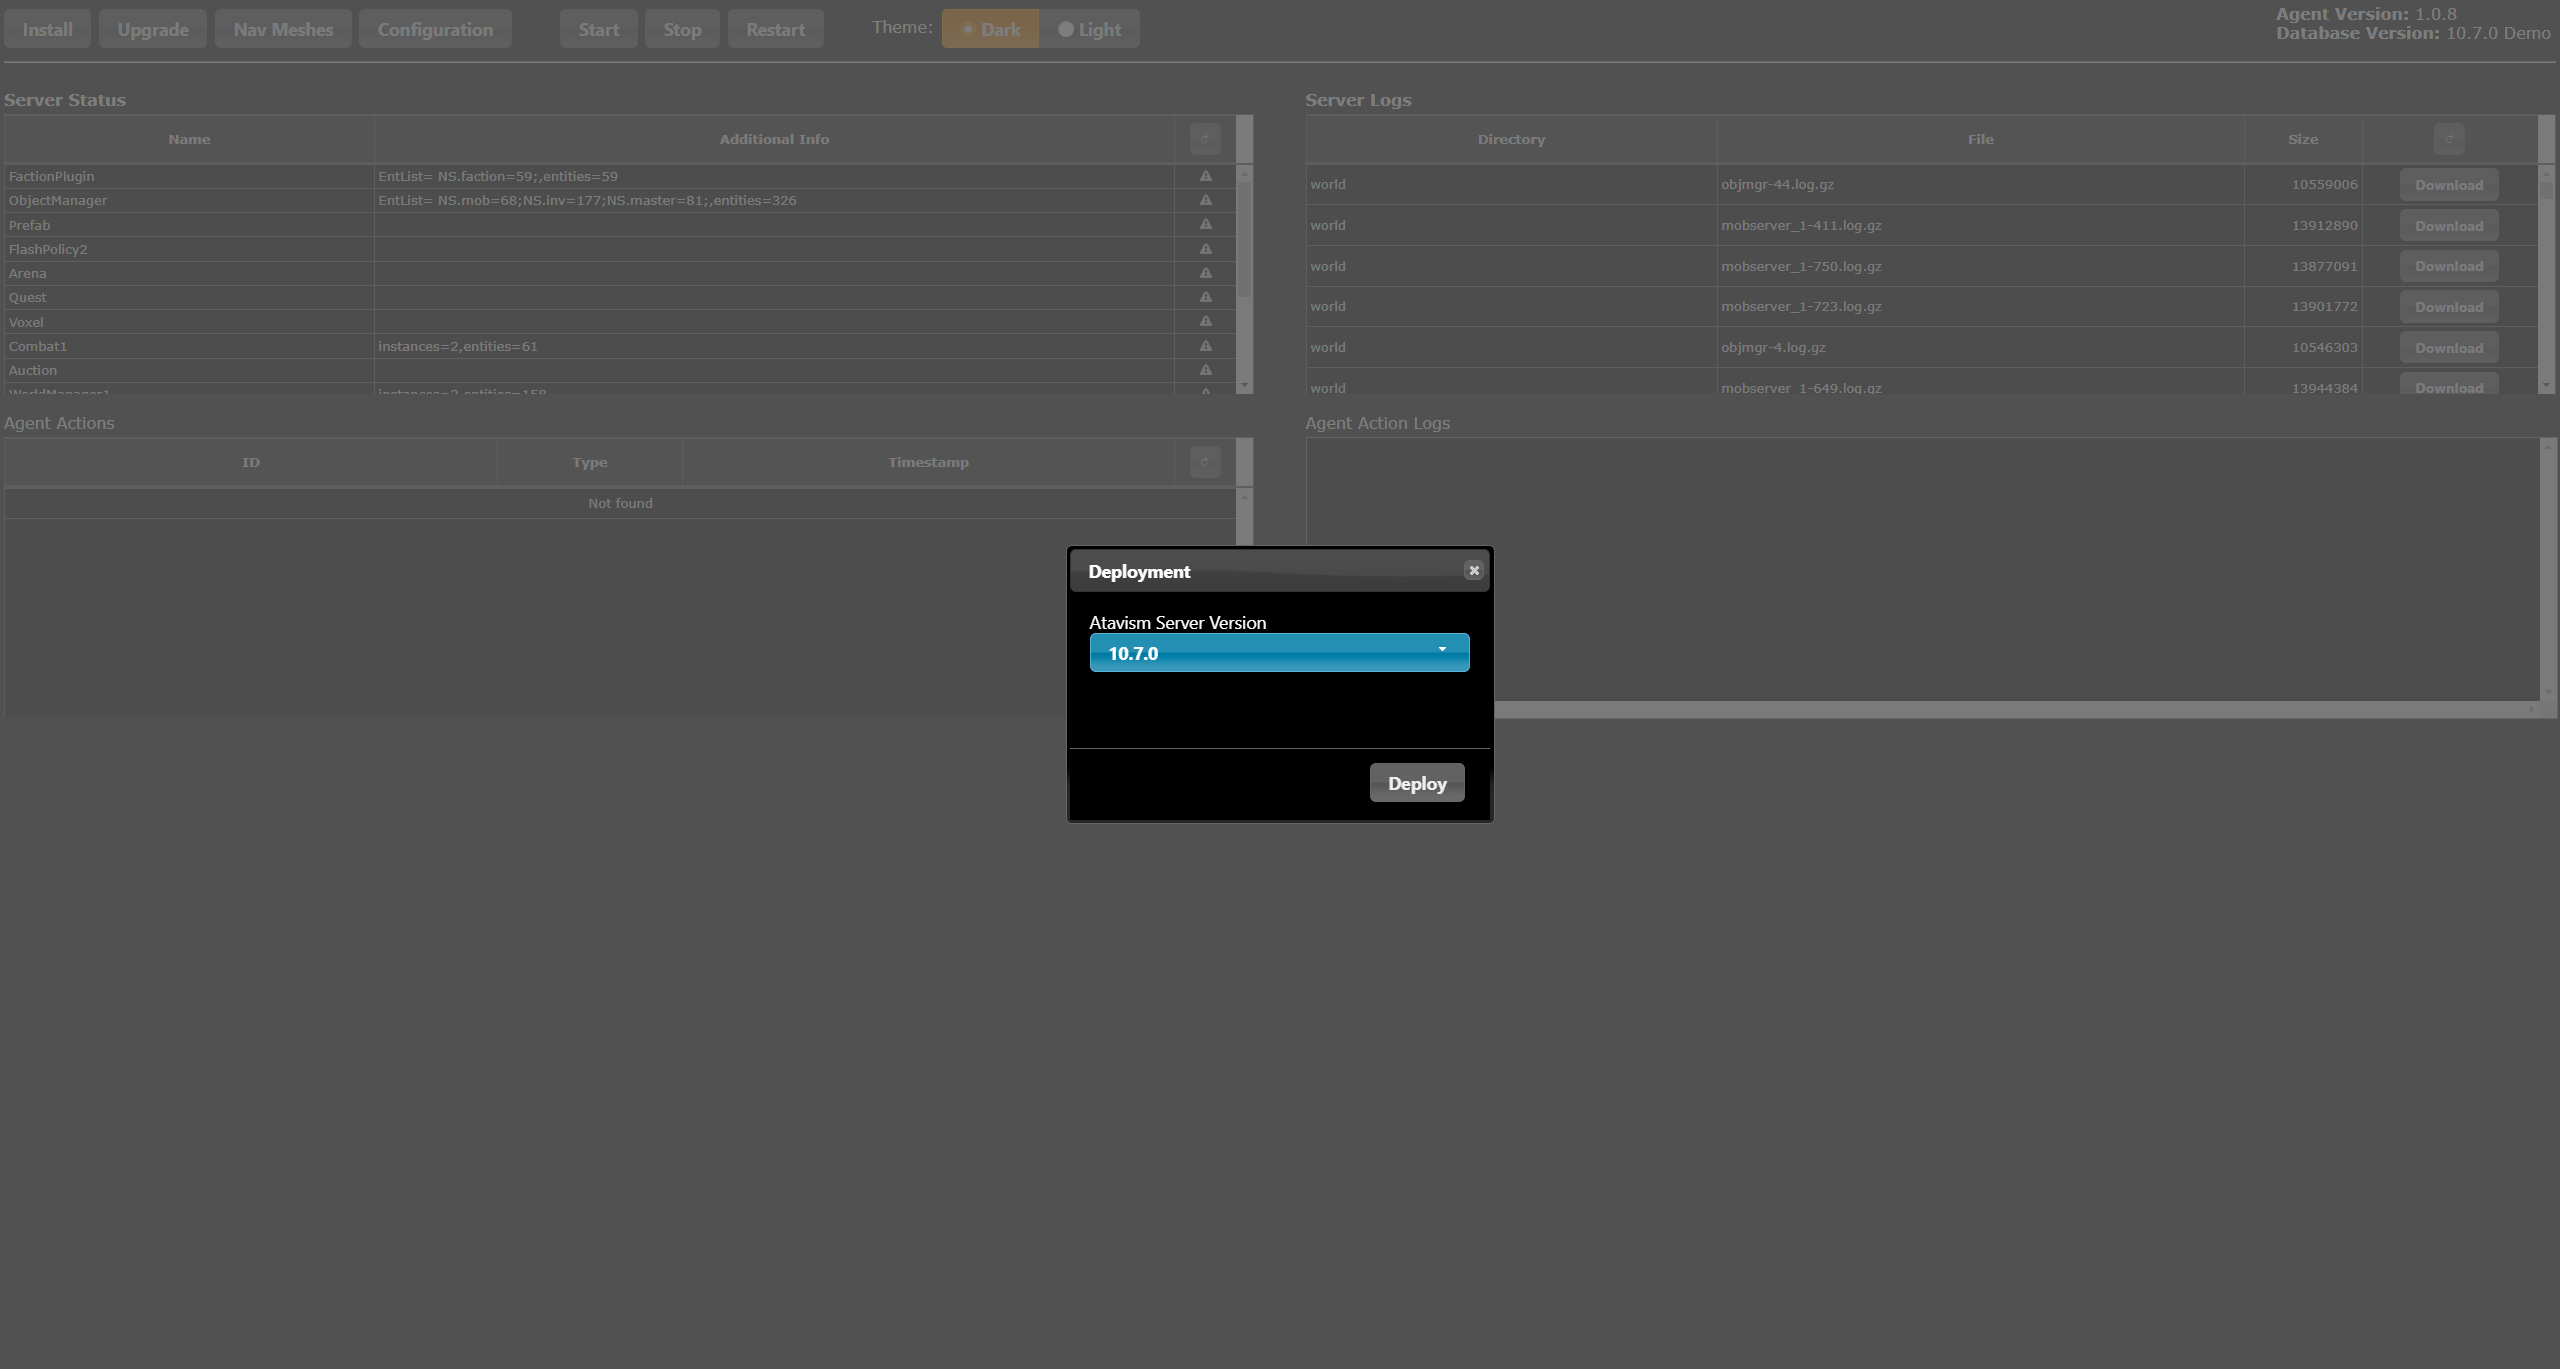
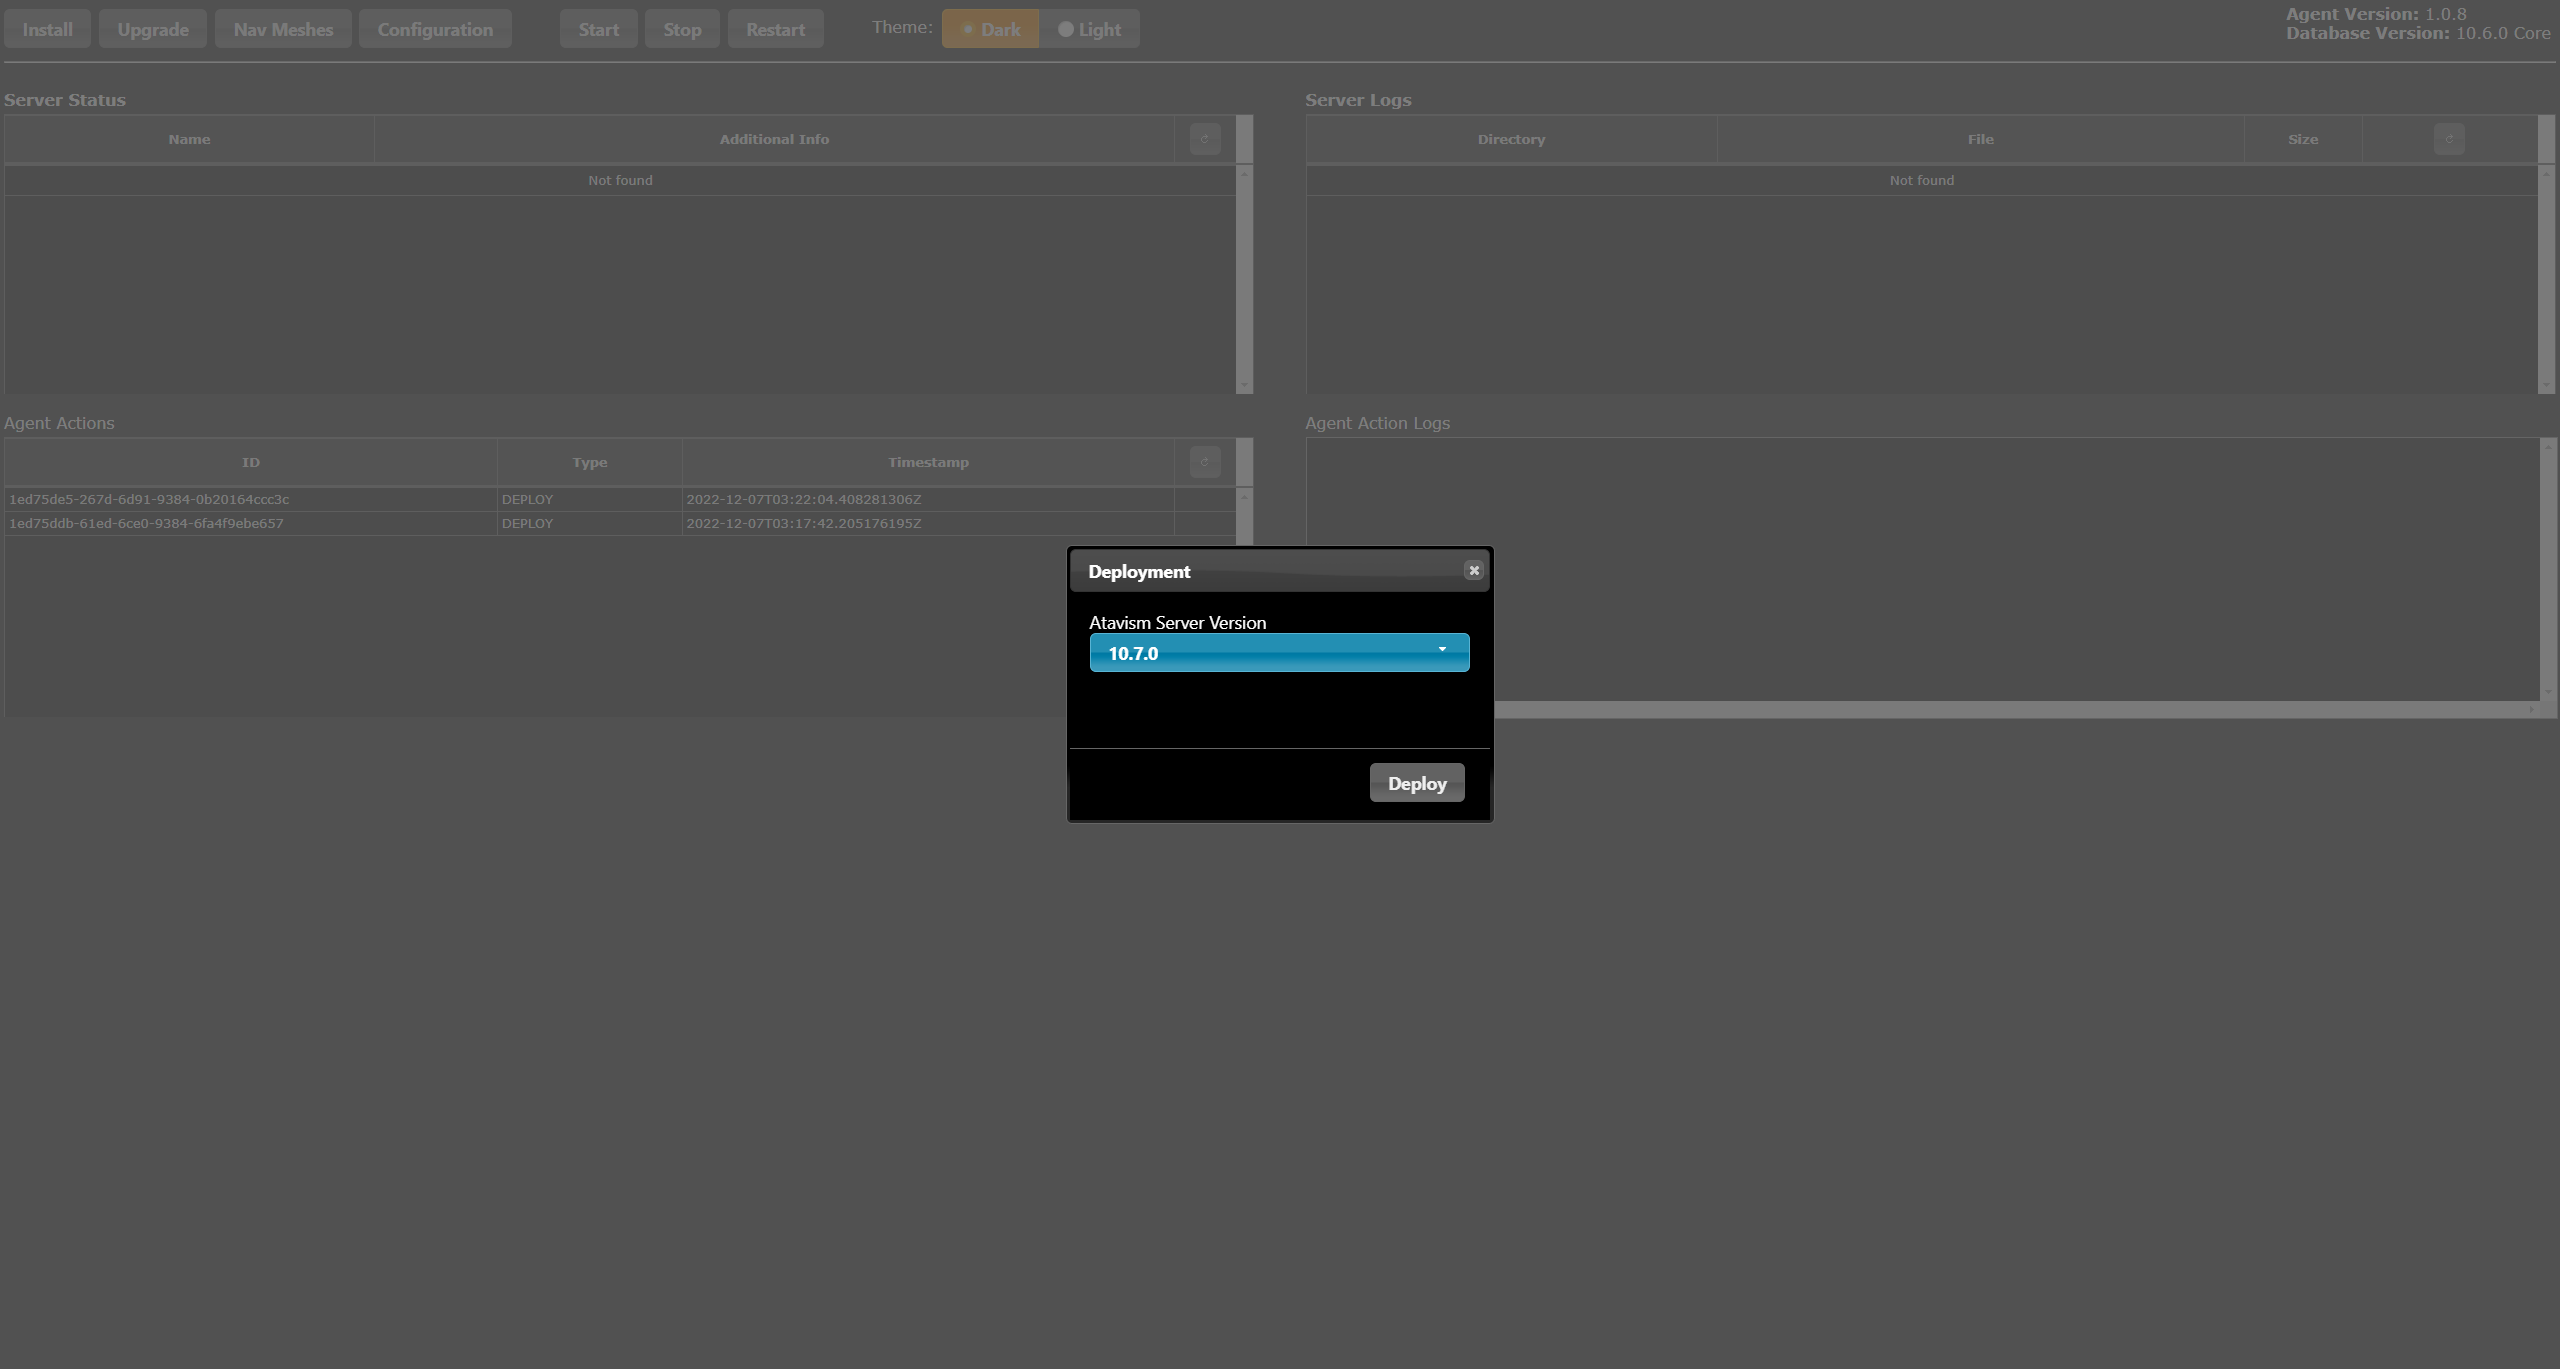
- Deploy/Install your atavism server
Select a version from the dropdown menu. Only versions available for the provided license key will be displayed, and click Deploy.
Then provide the database host (usually localhost or 127.0.0.1), database username, and database password that you set on the server. It can be root with its password or any other user that you created for your database. Select the installation type between Core data and Demo data. There is also a third option (Do not initialize) if you will want to redeploy atavism files without overwriting Atavism’s databases, and click the Set button.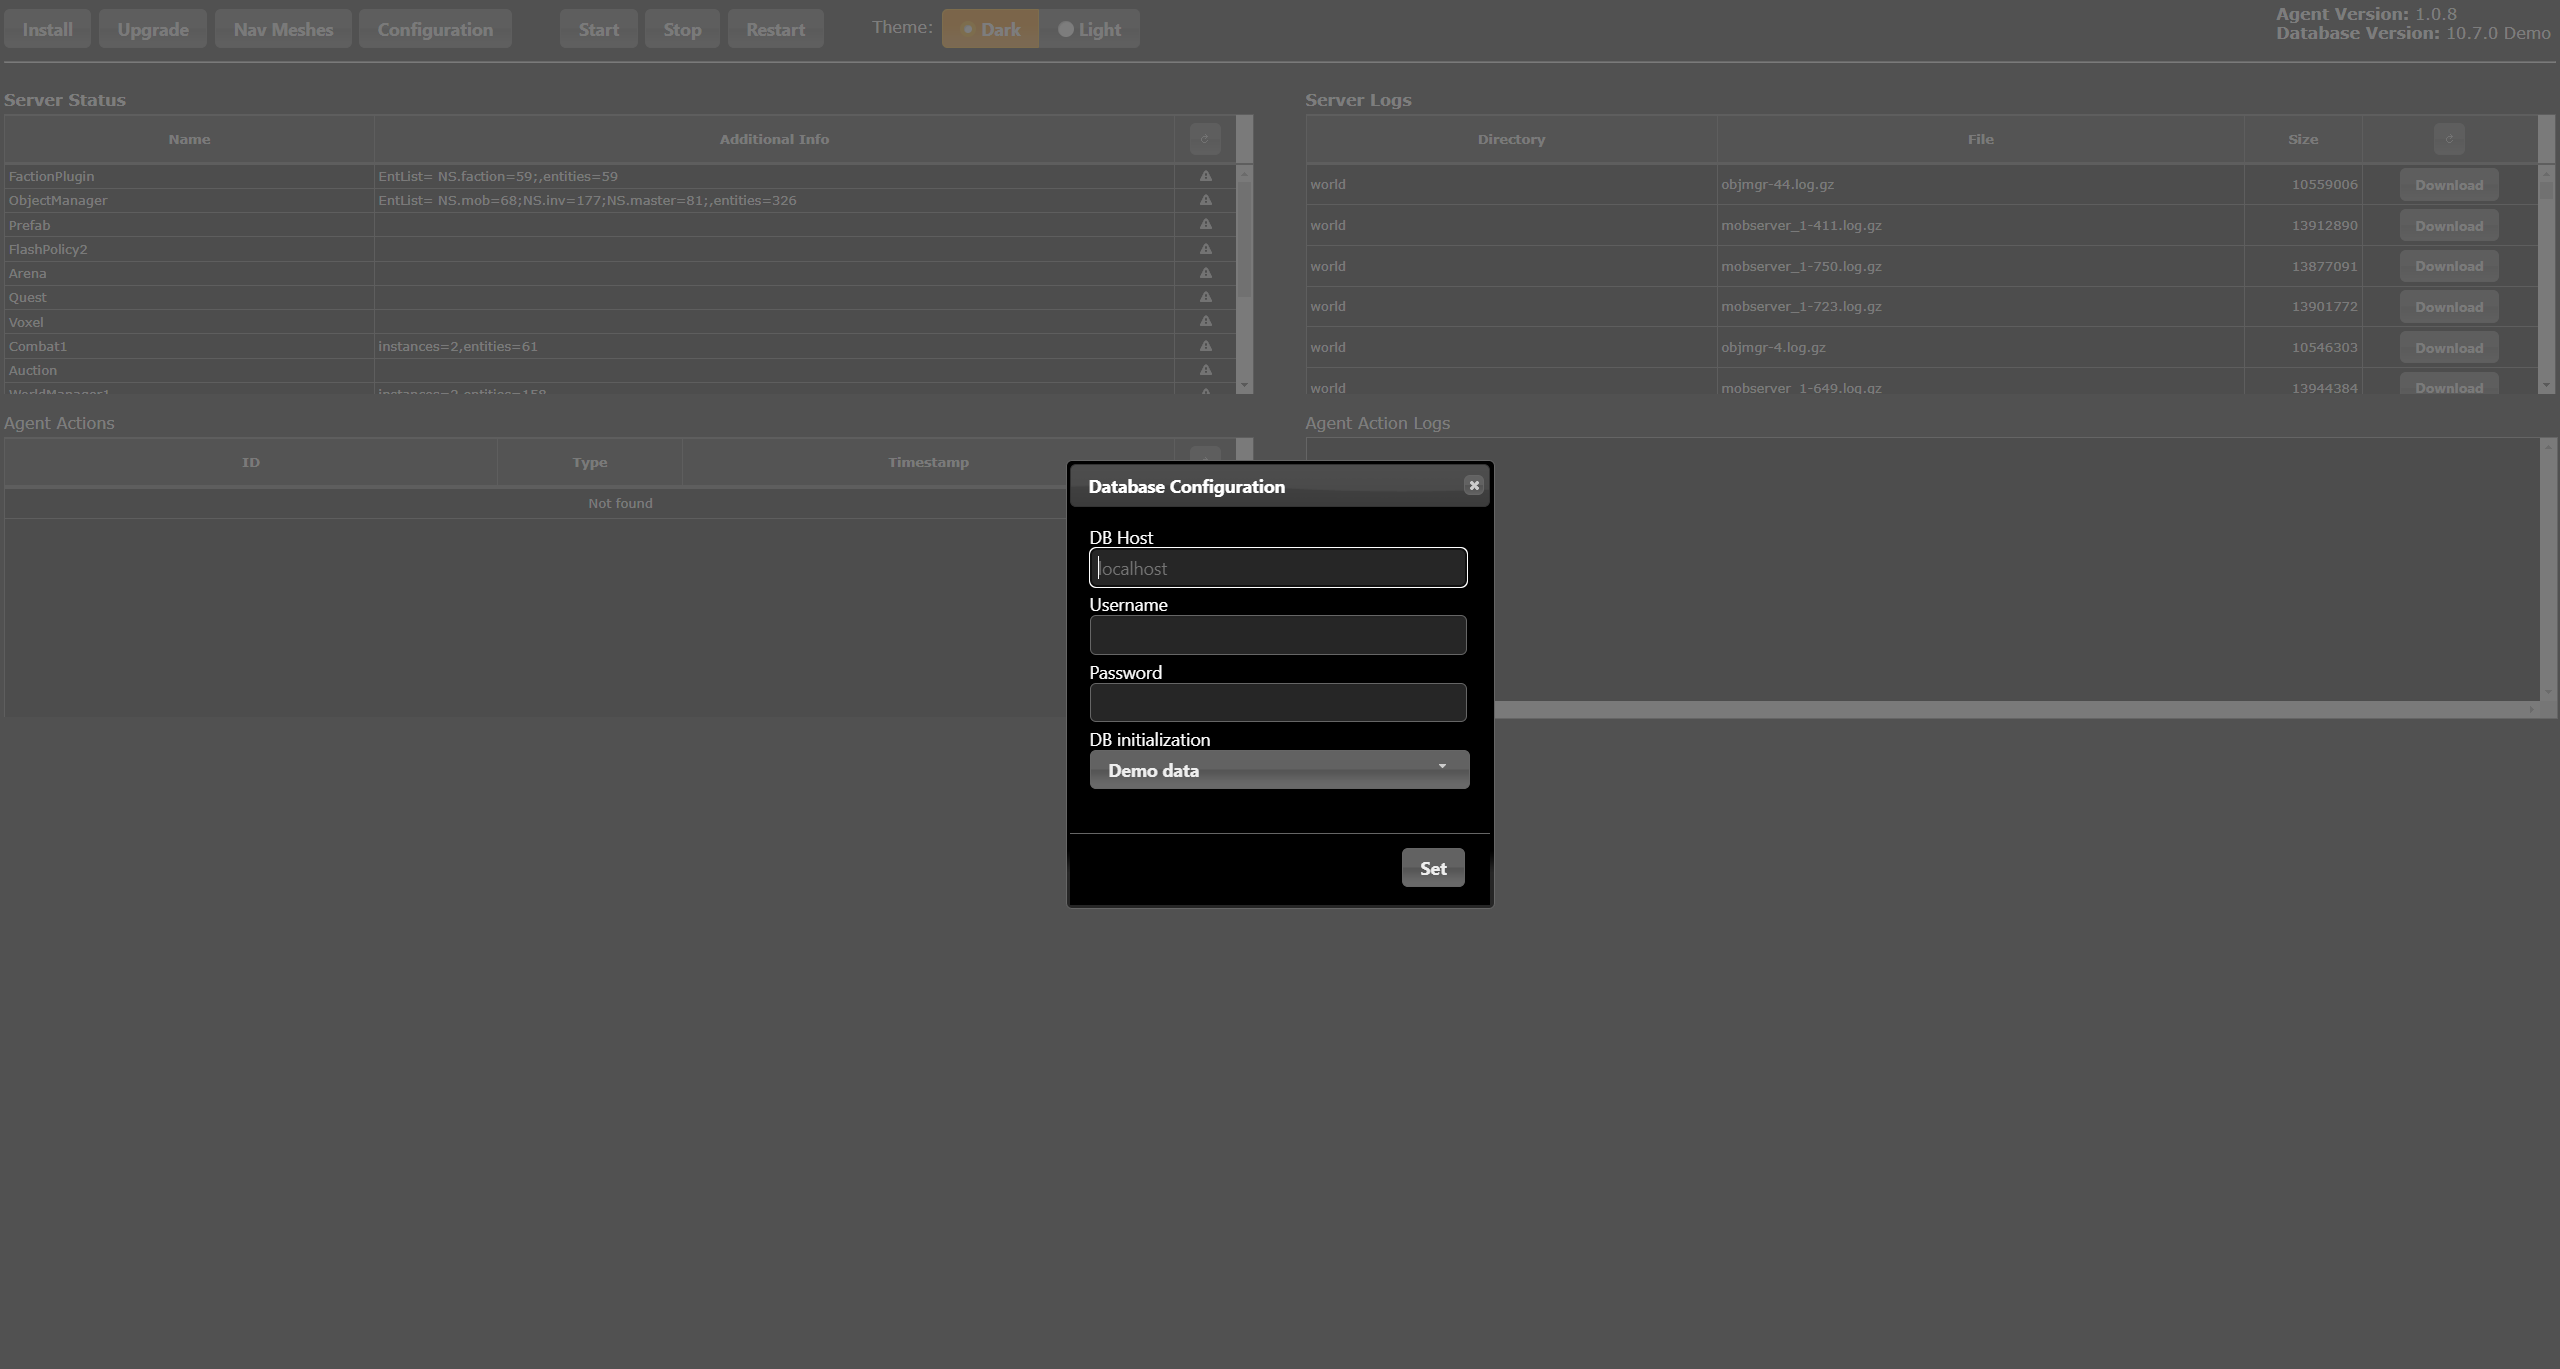
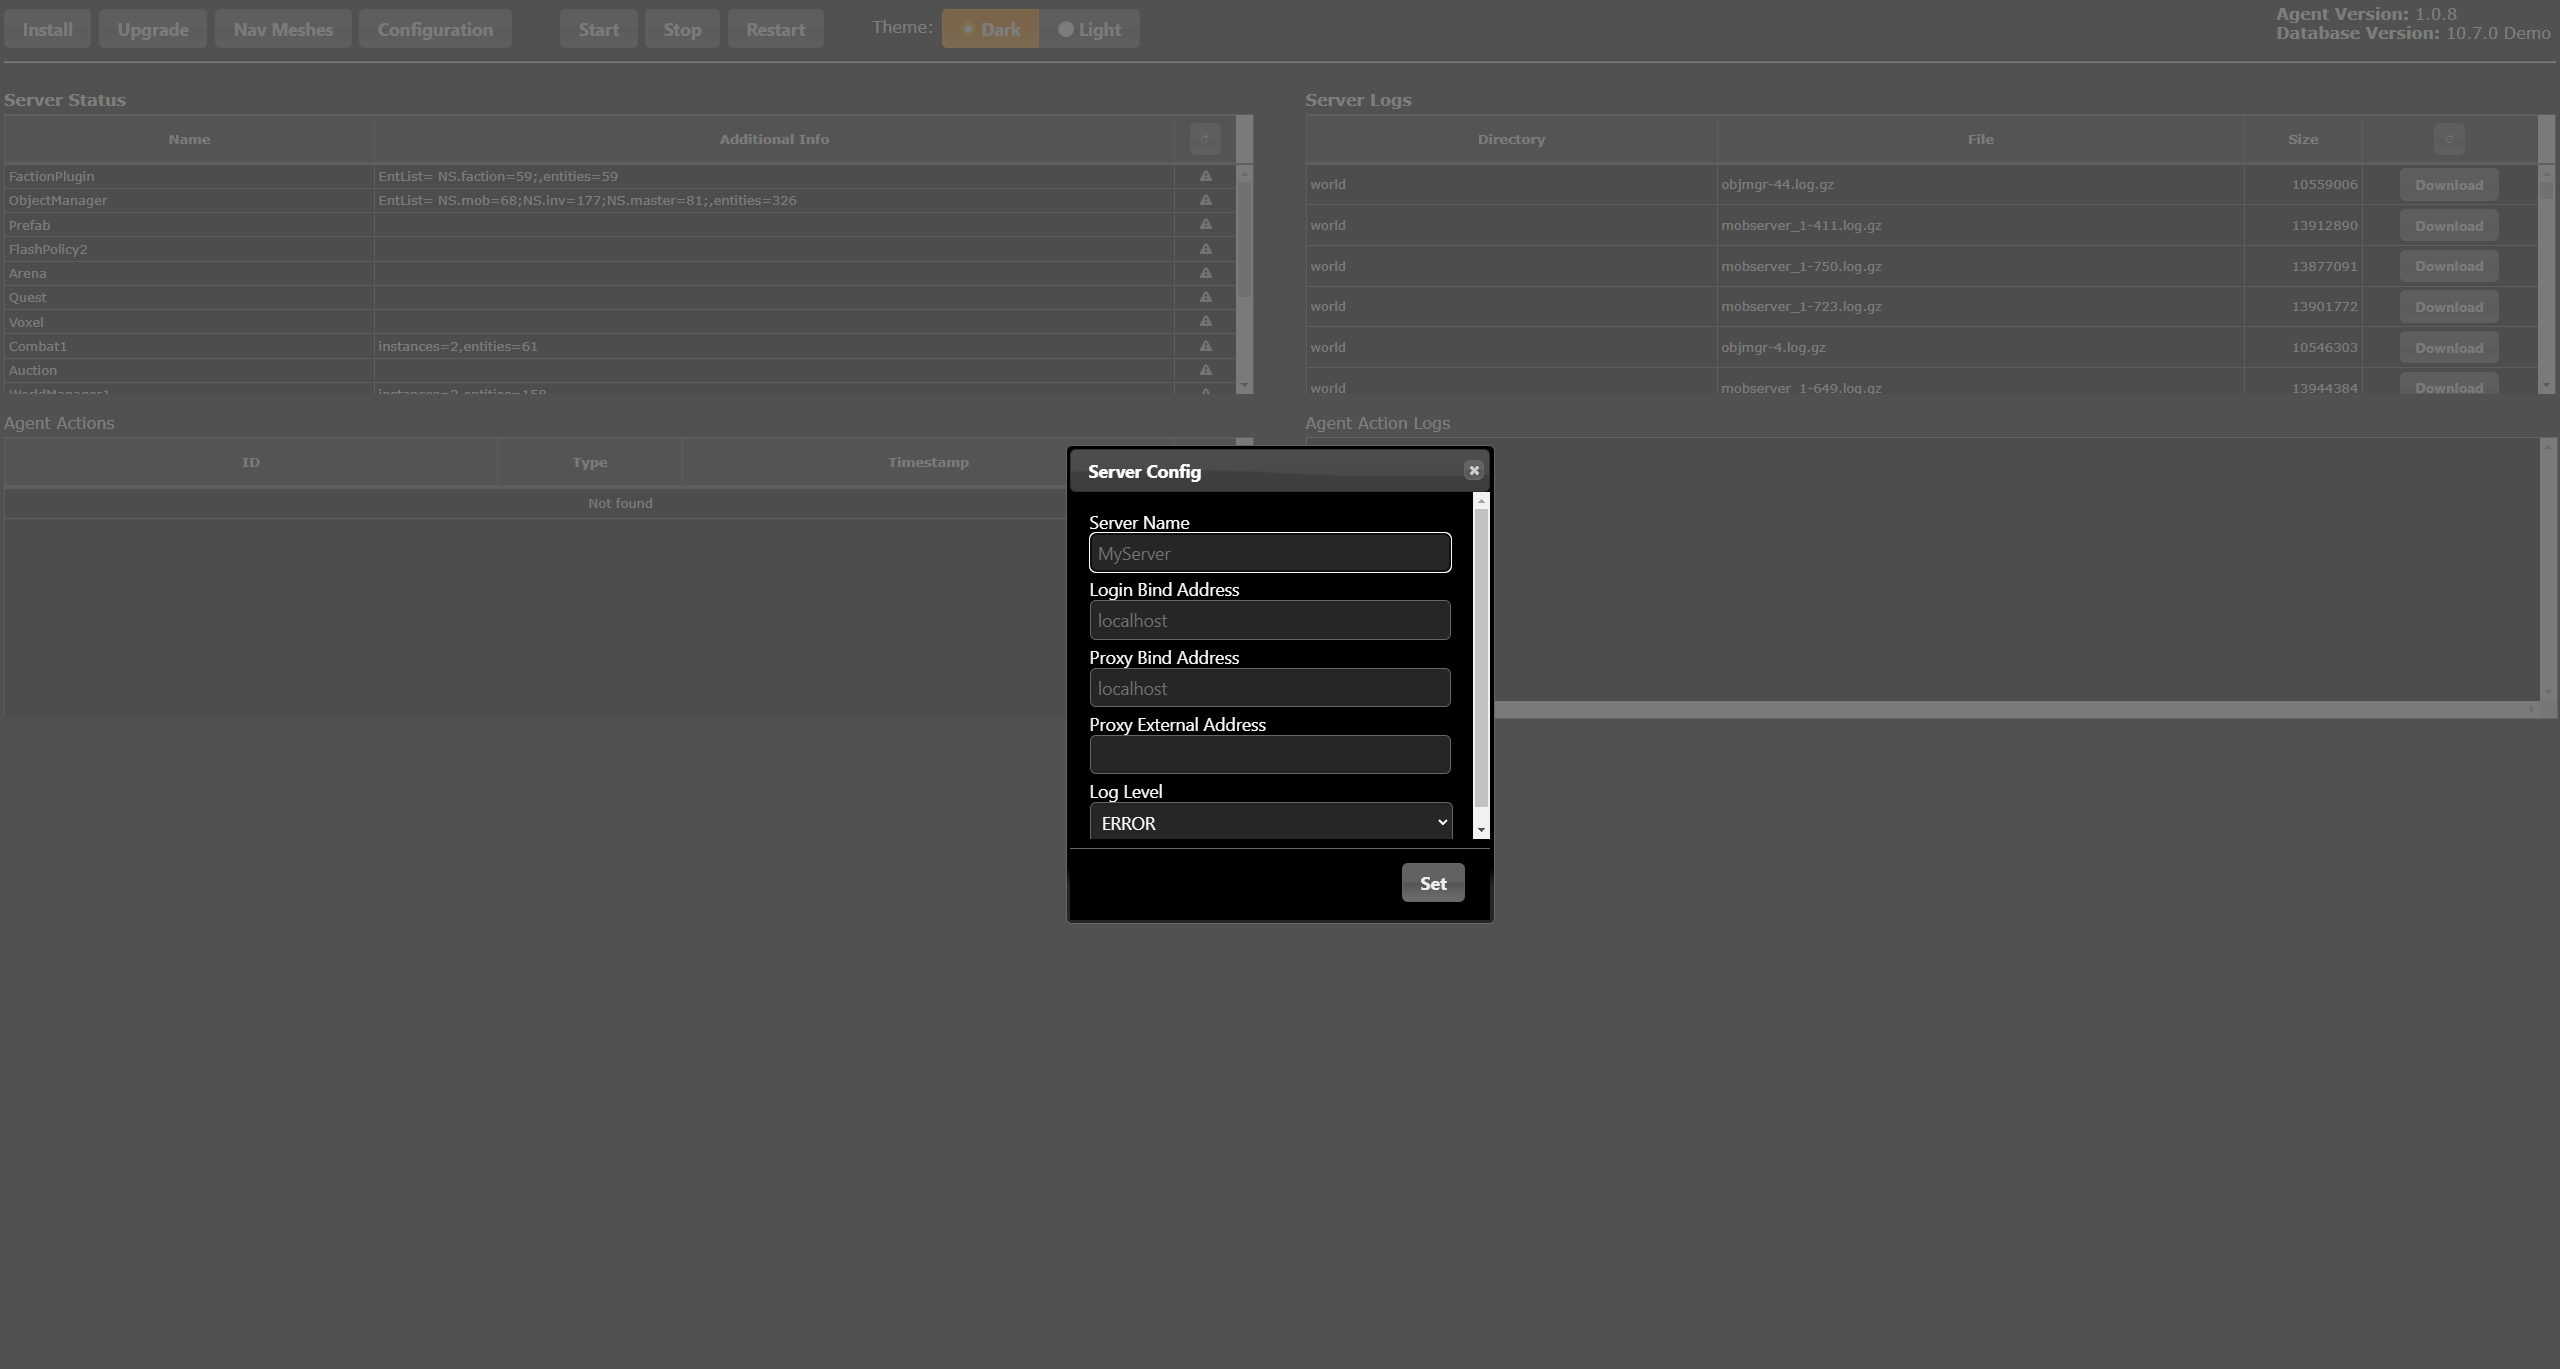
Then define the Server Name which is your Atavism world name, and Login Bind Address which is your server IP address or domain, the same for Proxy Bind Address and Proxy External Address. Select log level (by default ERROR are fine to not log too many events and not cause too much impact on server performance), and click the Set button.
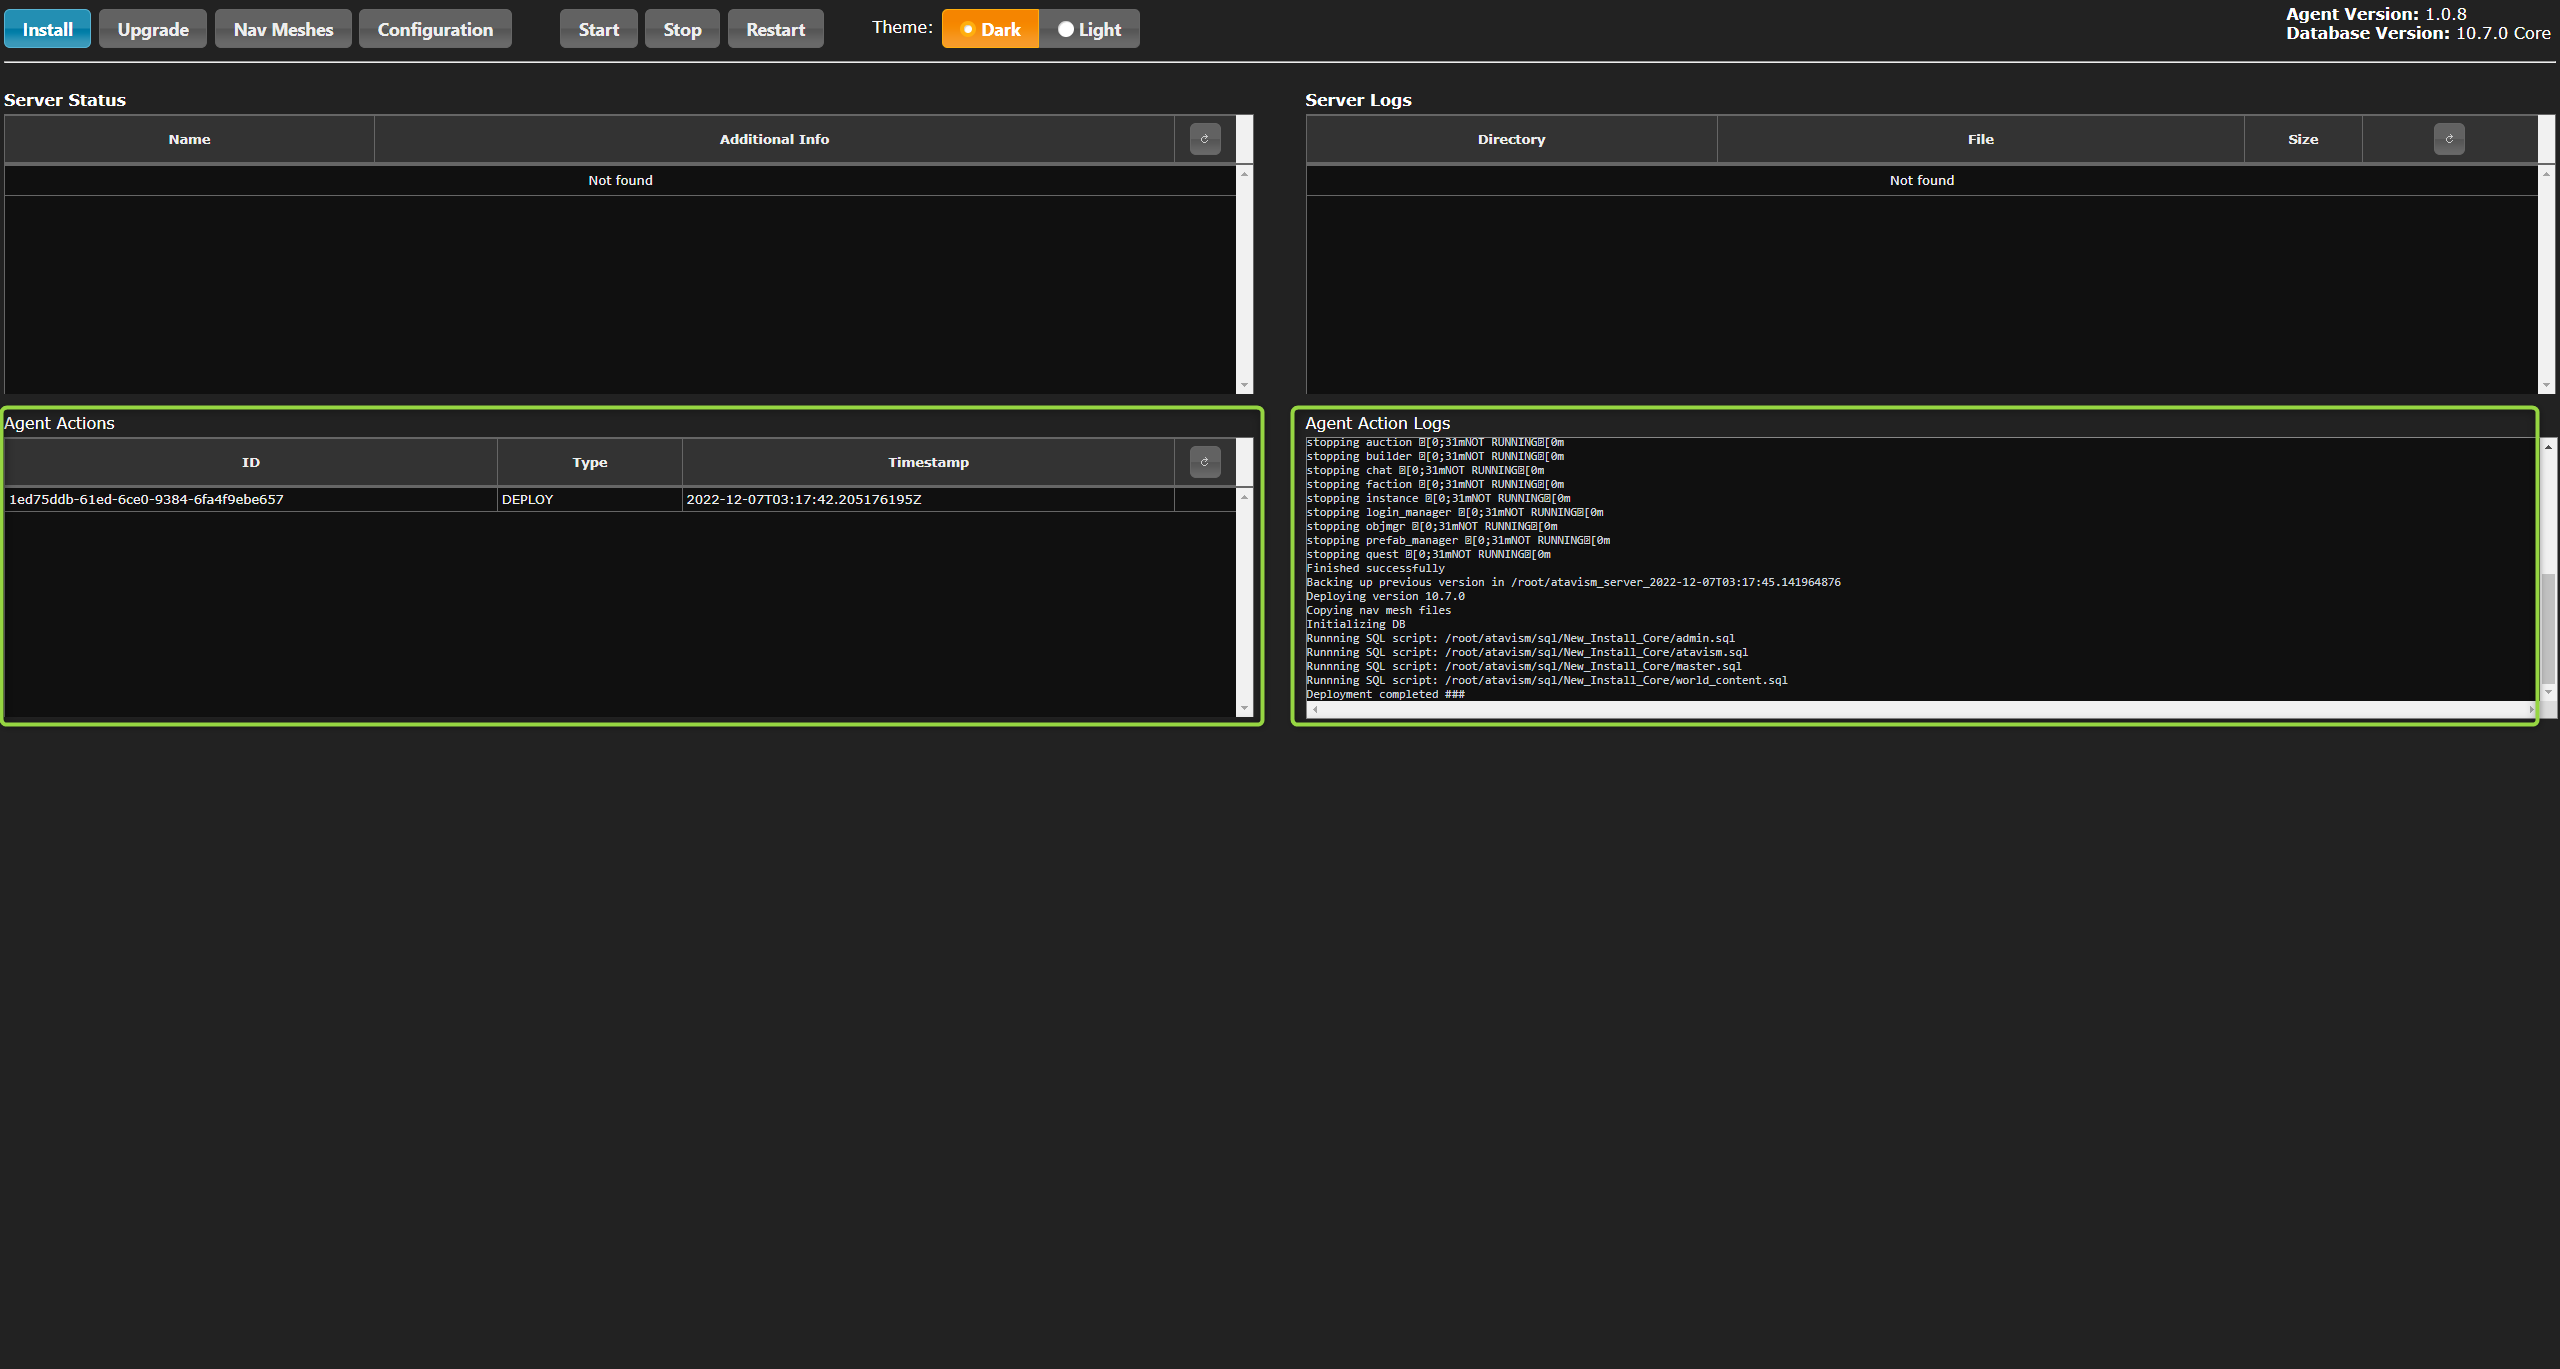
Then you should see console logs in the Agent Action Logs window as well as there should be a new entry in the Agent Actions with Type: Deploy.
- Upgrade your atavism server
This time we will click the Upgrade button in the top section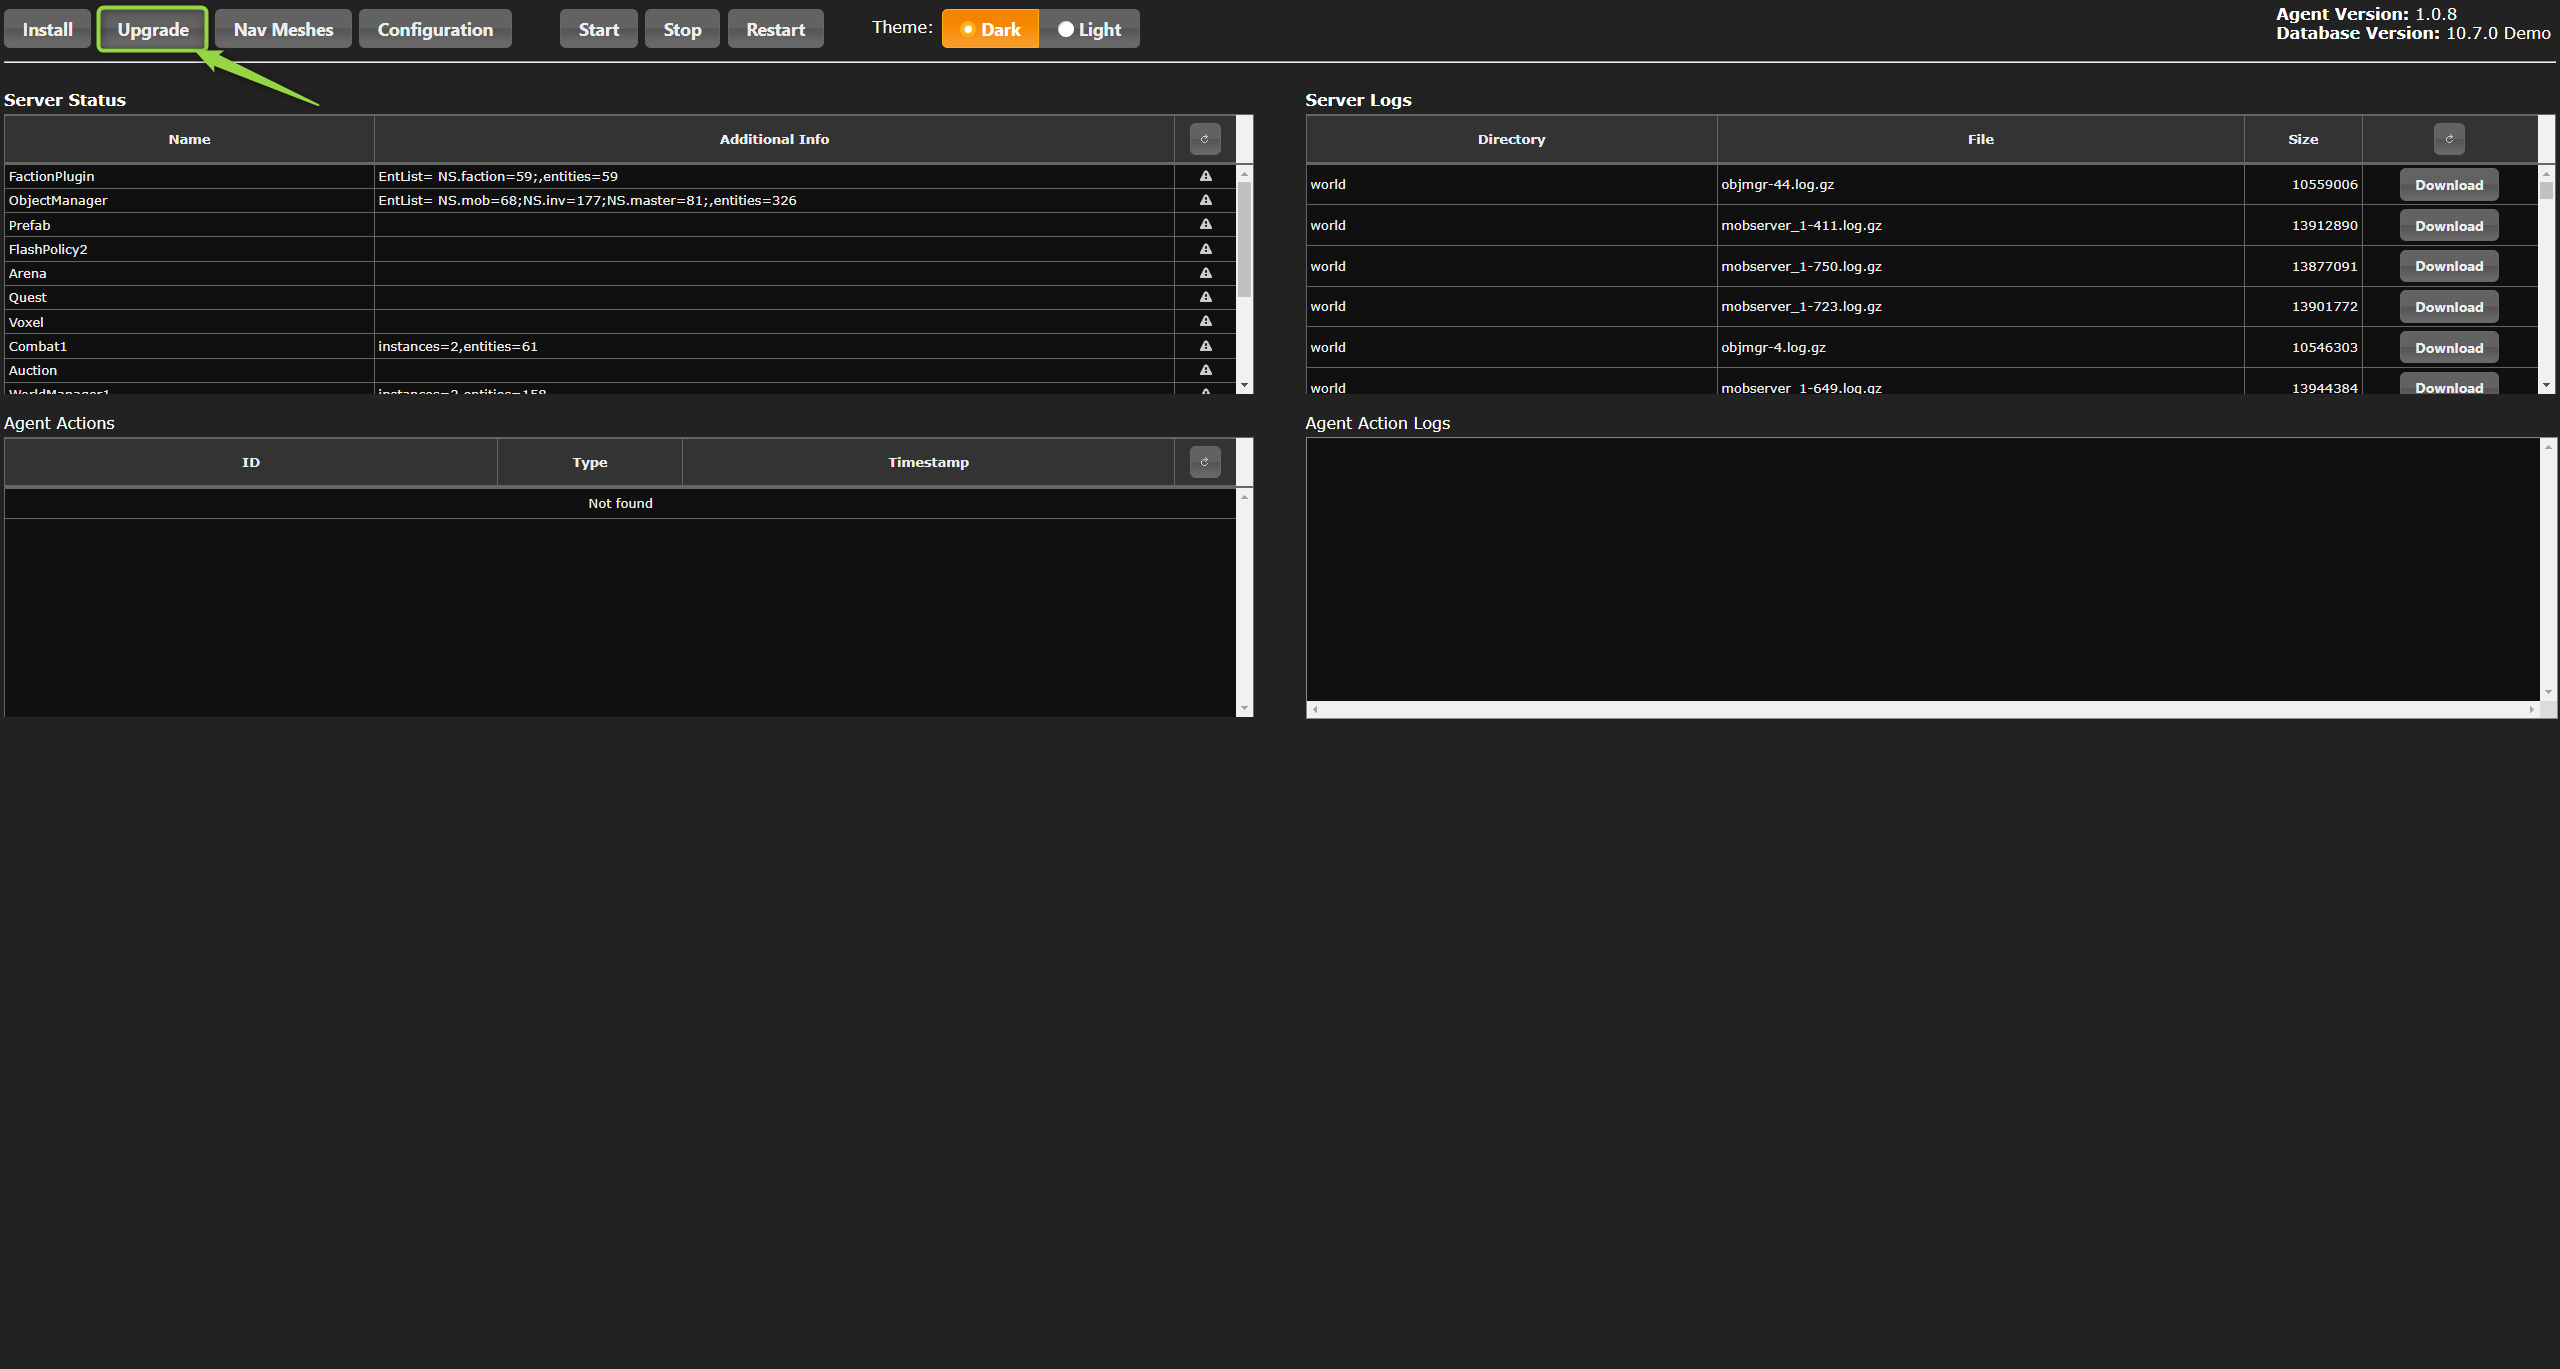 If there are available versions to which you can upgrade they will be on the list. Select the one to which you want to upgrade the Atavism server and click the Deploy button.
The installer will backup your server files and use the same configuration parameters that you provided for the previous installation, so no other data are required.
- Editing Atavism configuration
Click the Configuration button in the top section
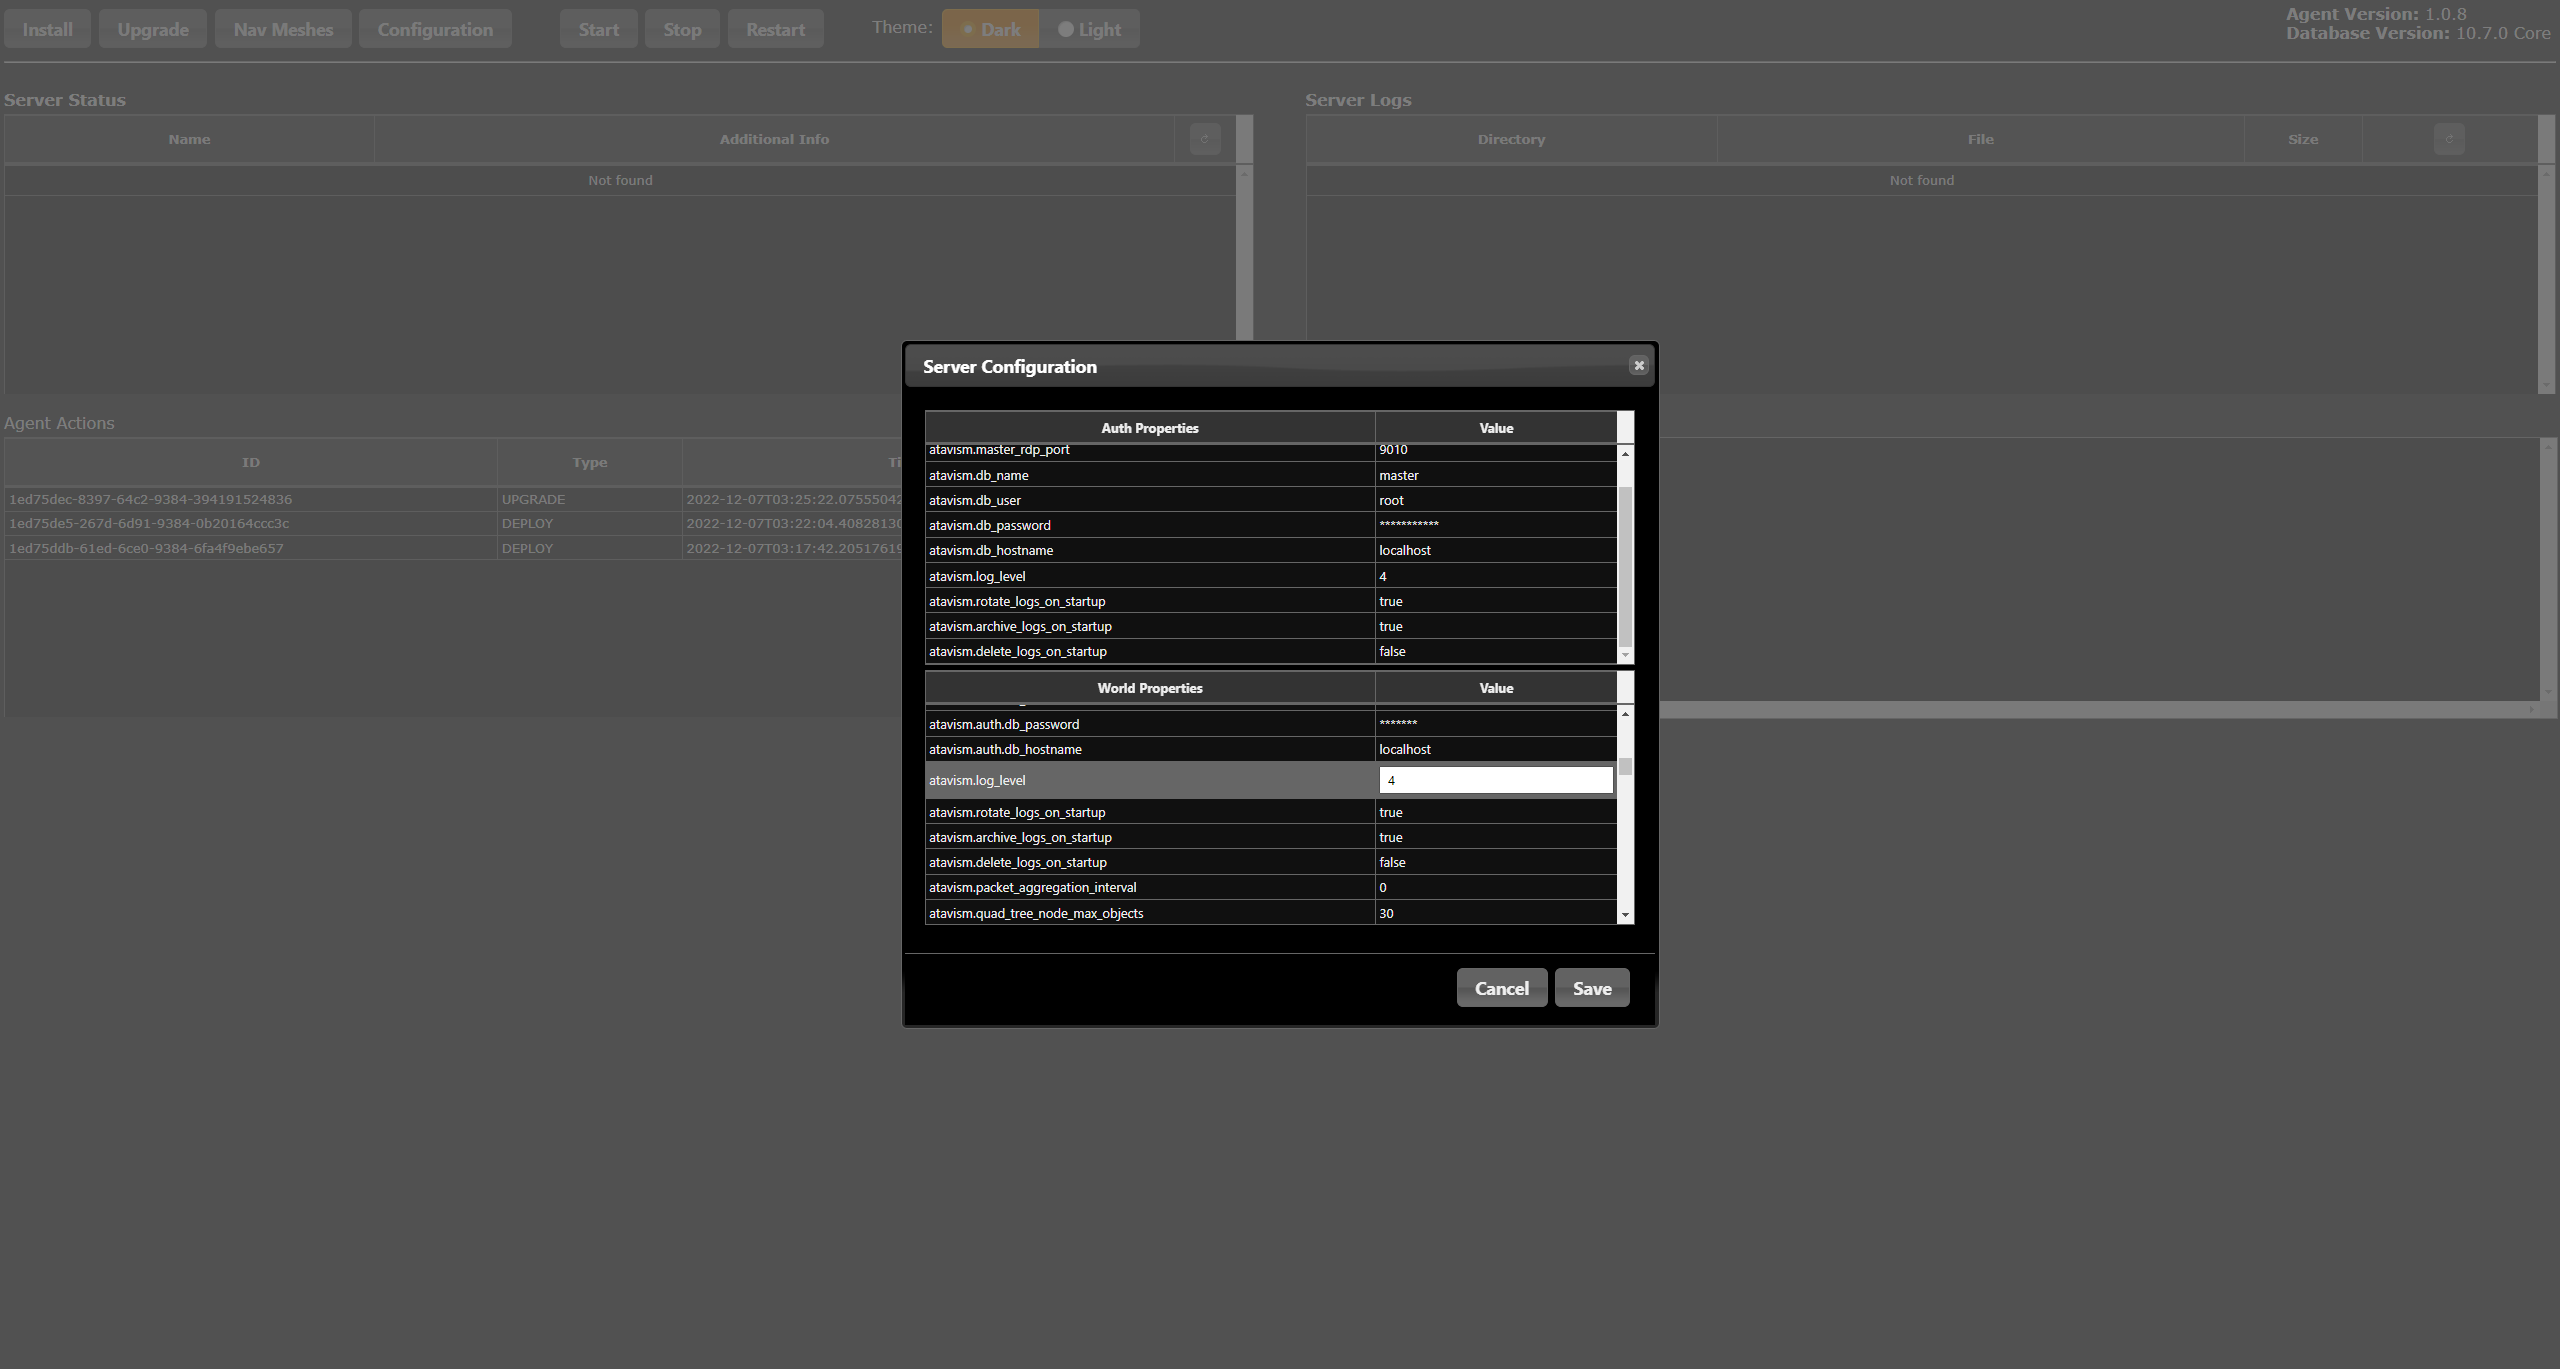
And a new window with parameters will be displayed where you can set many parameters that you set during installation but also additional ones, like ports, log level, and more settings for processes. Do it with caution and only when you know what you are doing. If you have any doubts contact our support team to ensure that you are setting them correctly.
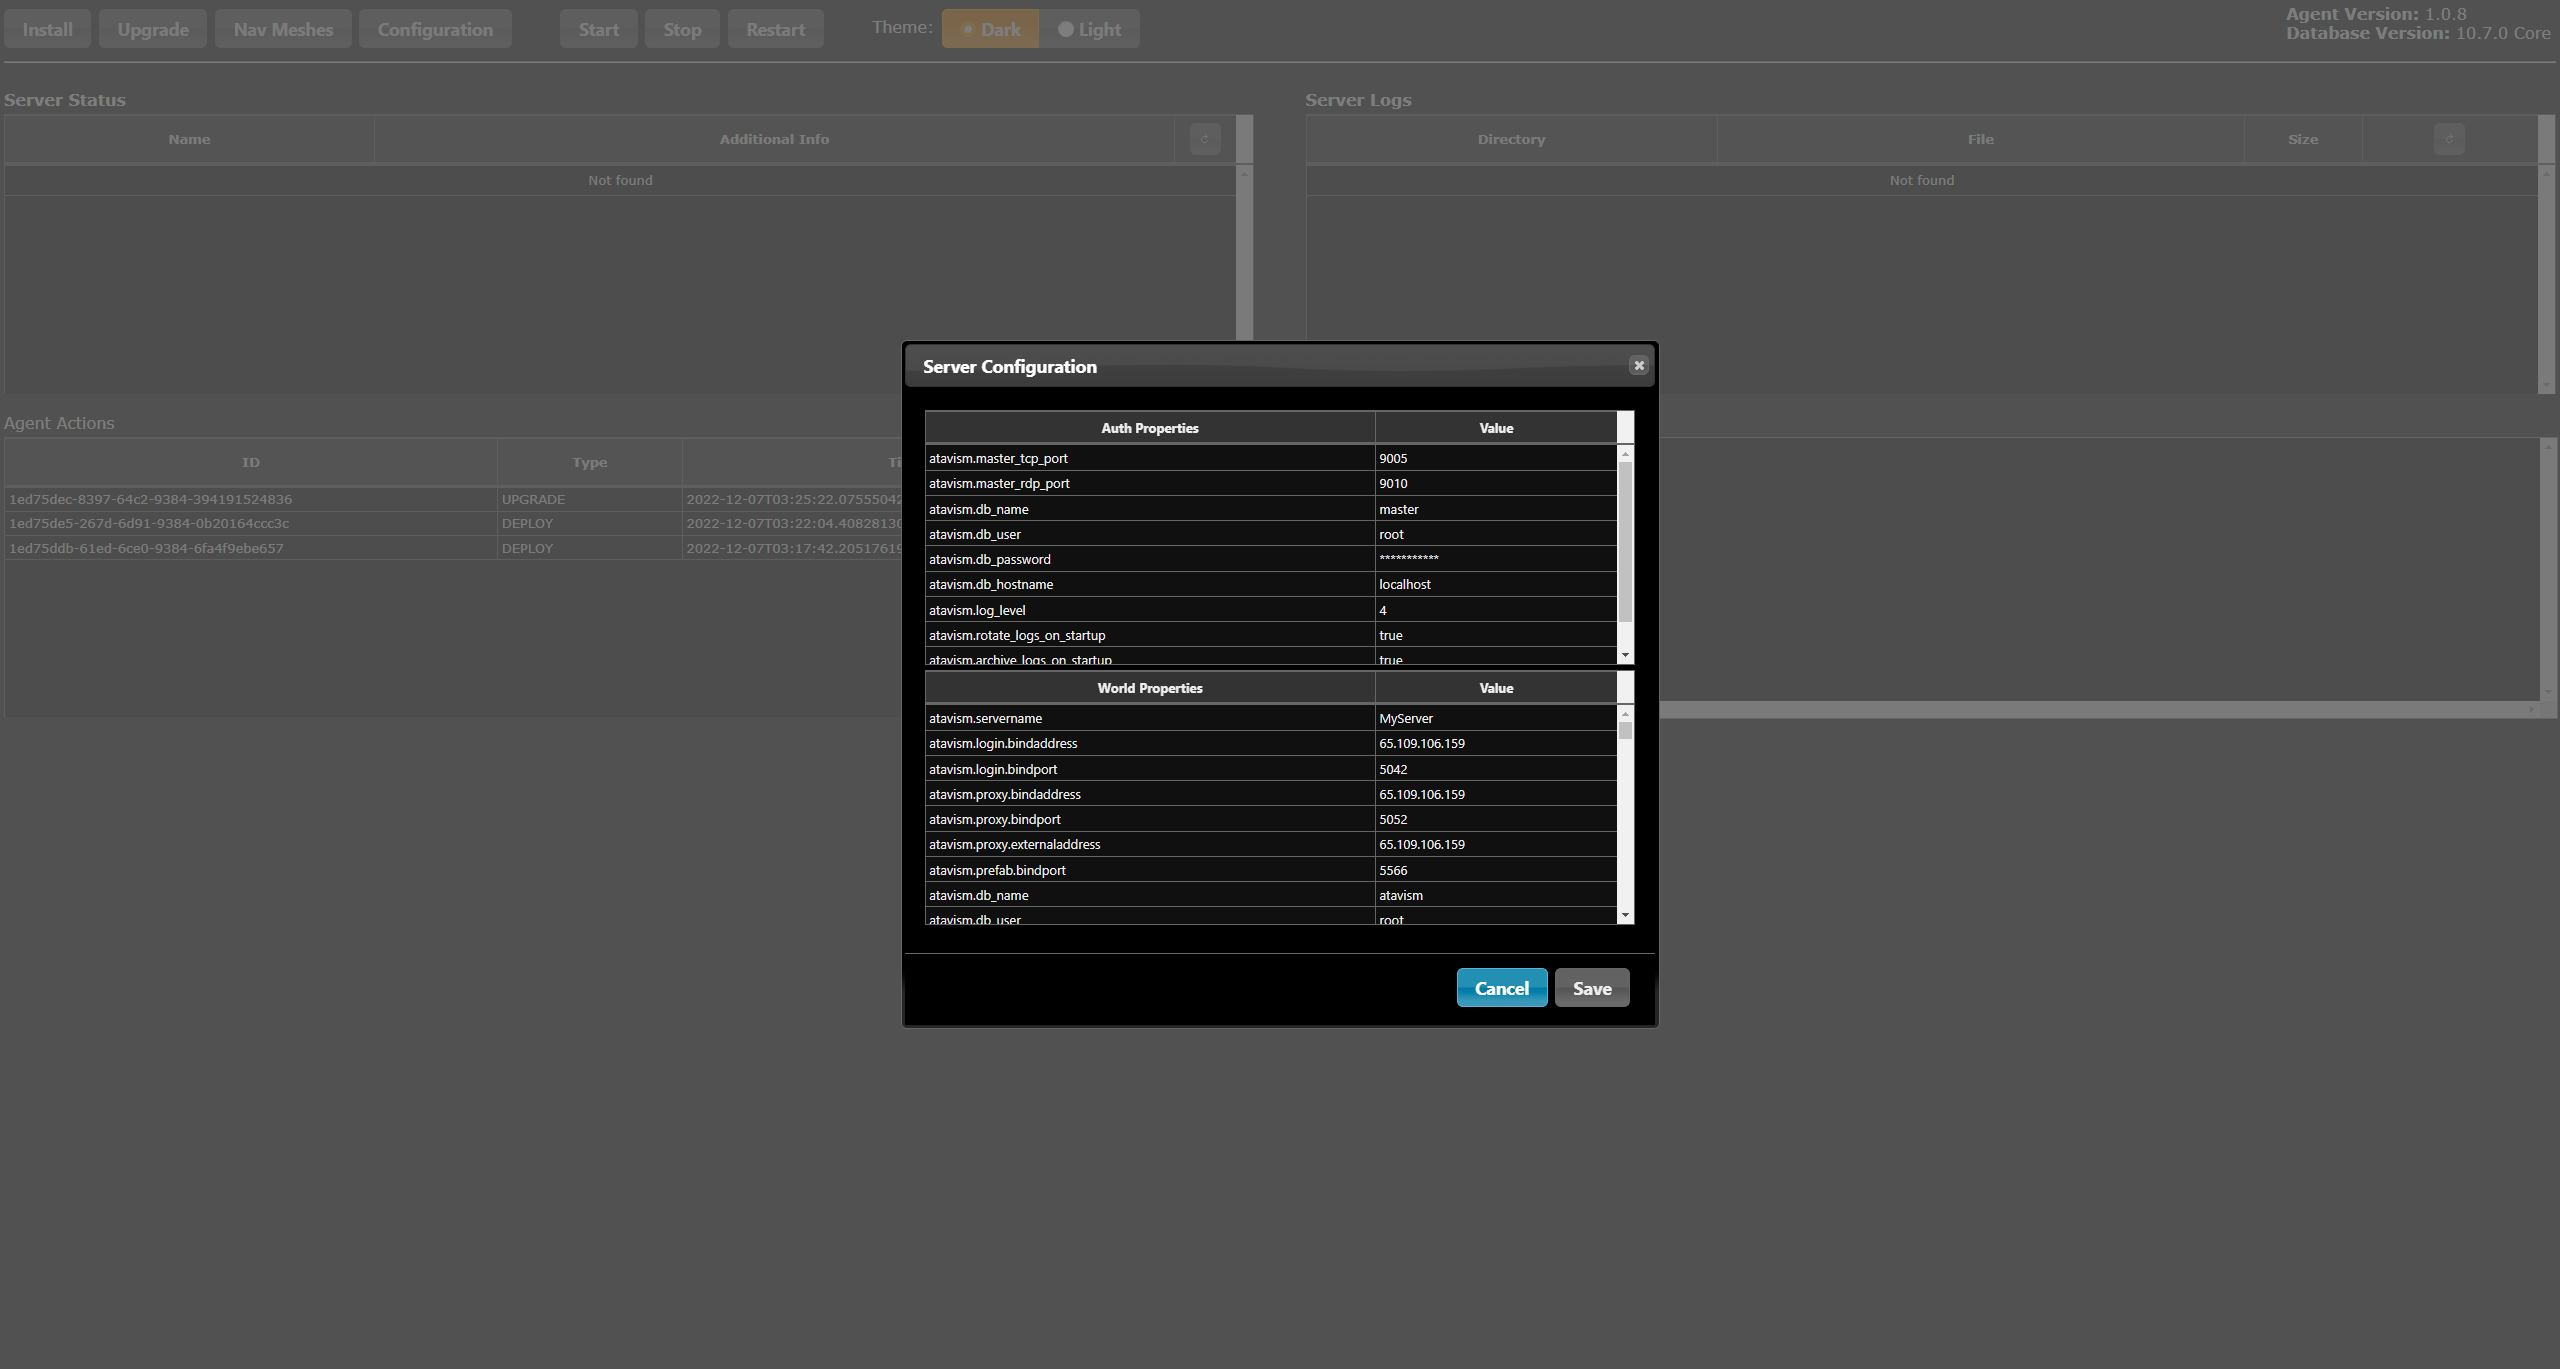
To edit one of the parameters, just click on the Value column for this parameter, insert a new value, then hit enter, and click the Save button.
- Start/Stop/Restart your Atavism services
Using these options you can do what buttons say, so start, stop, or restart your Atavism services.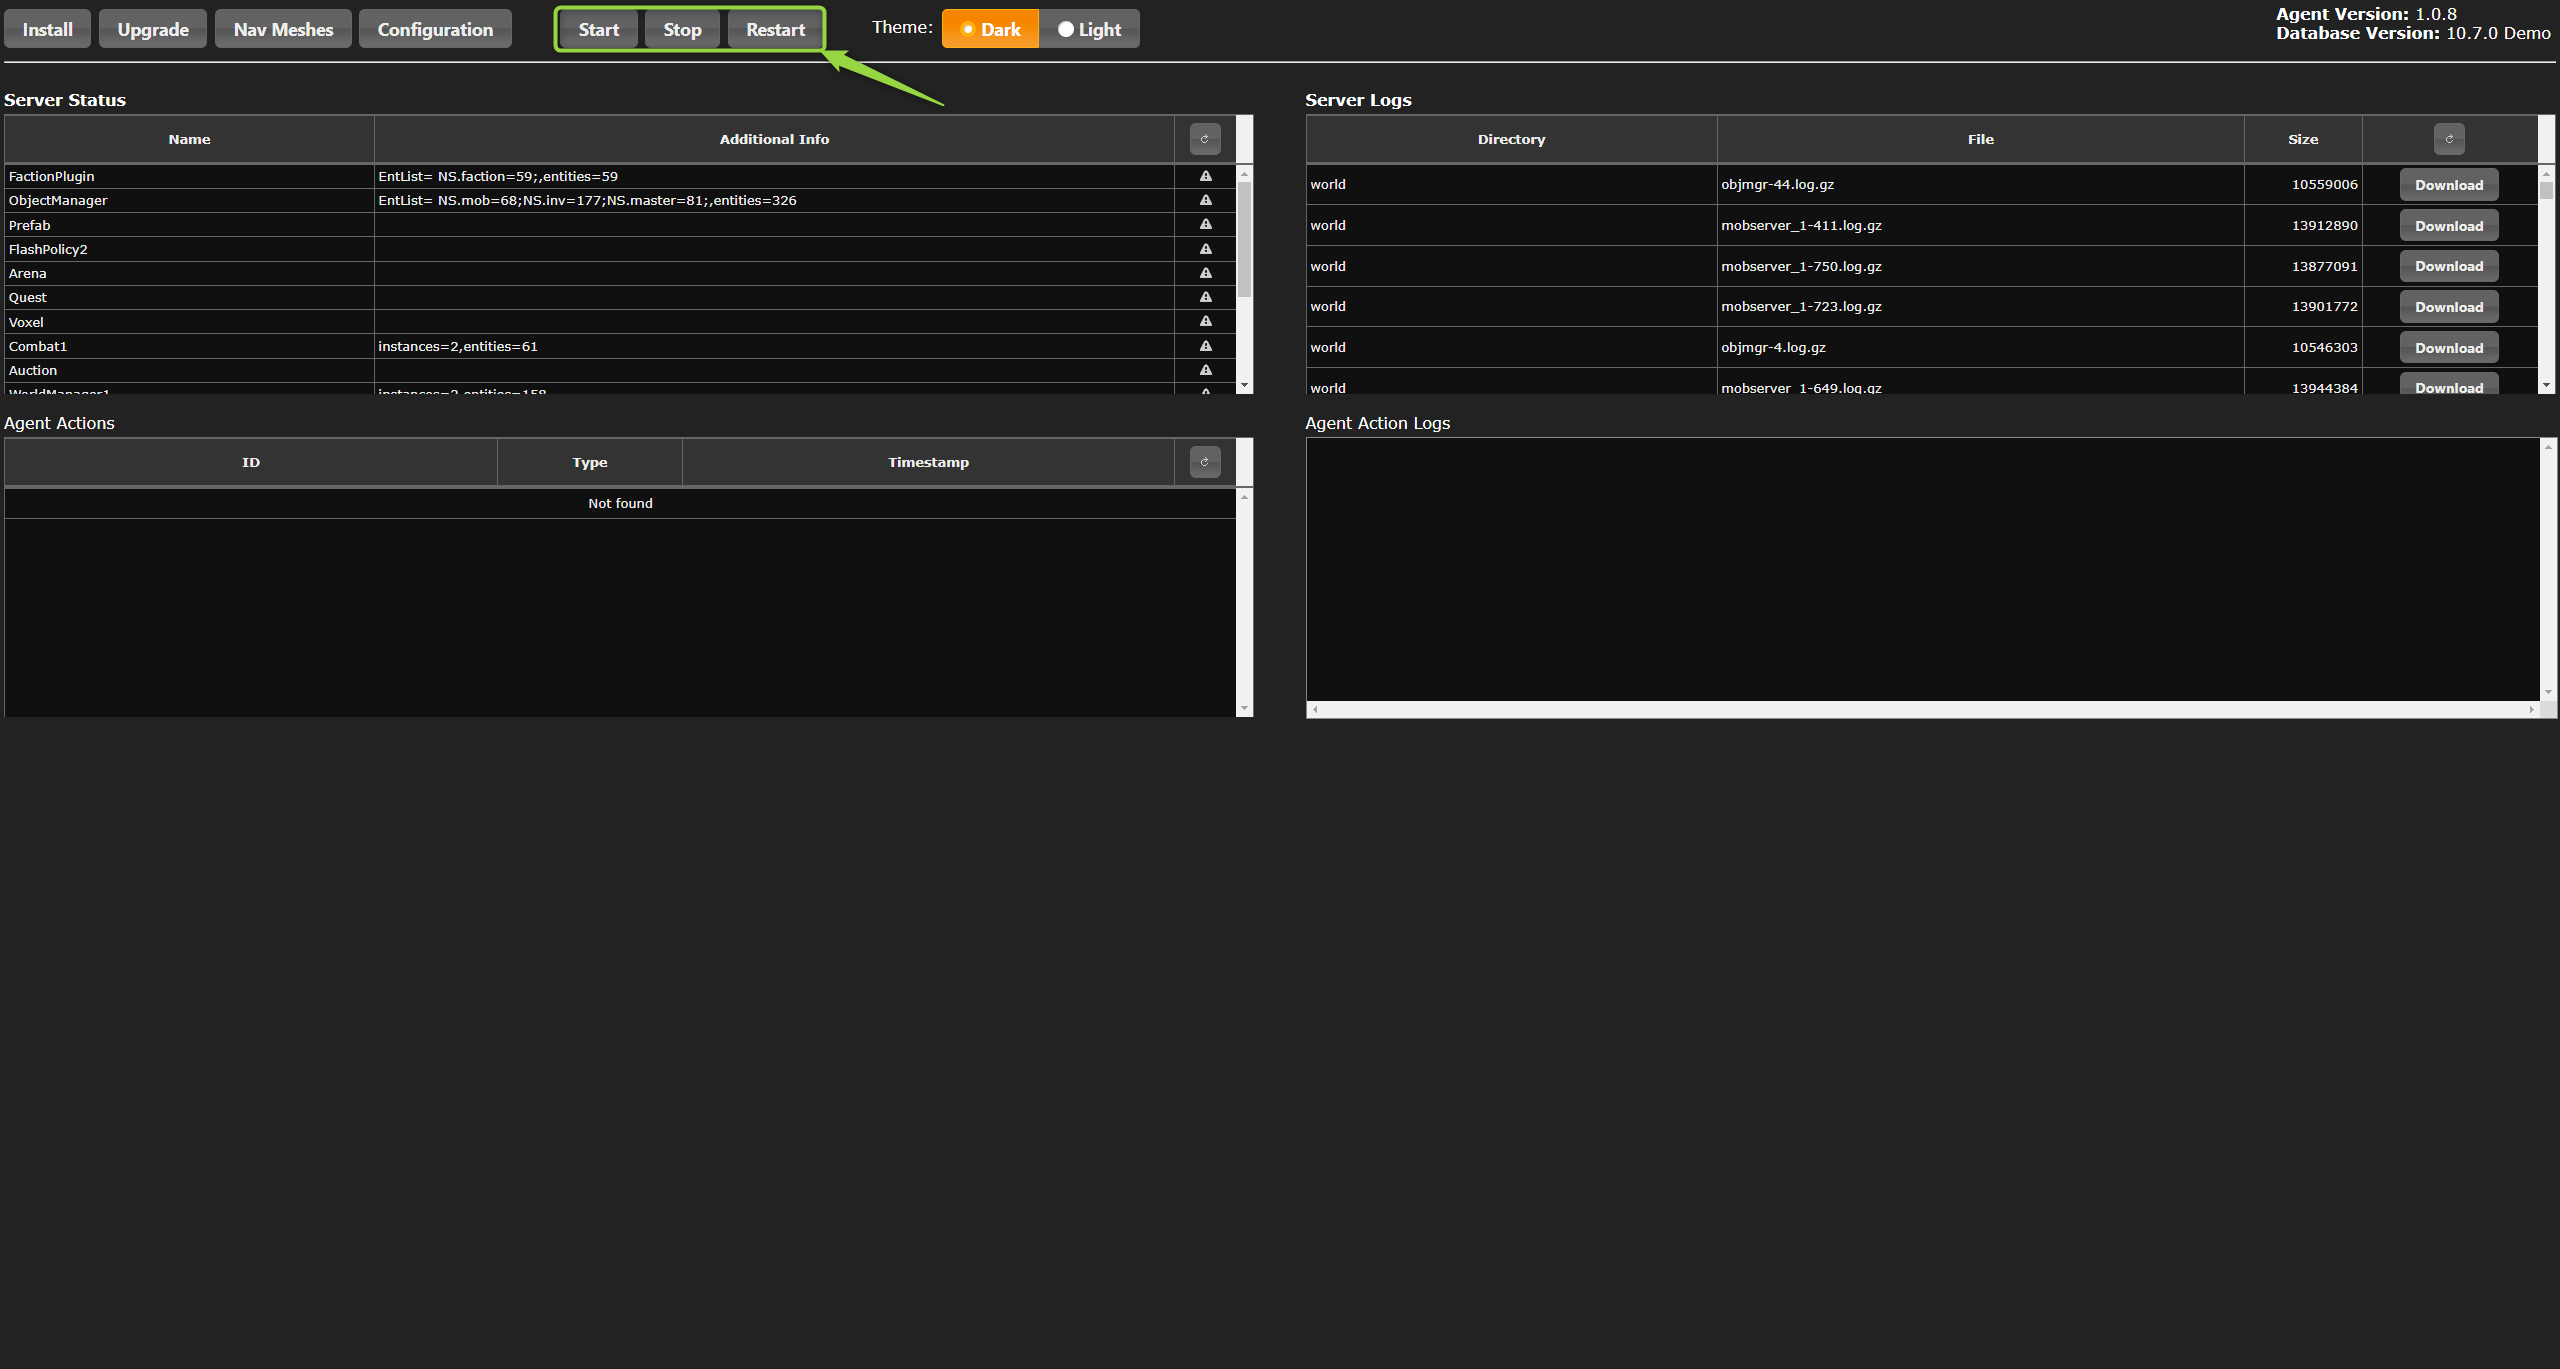
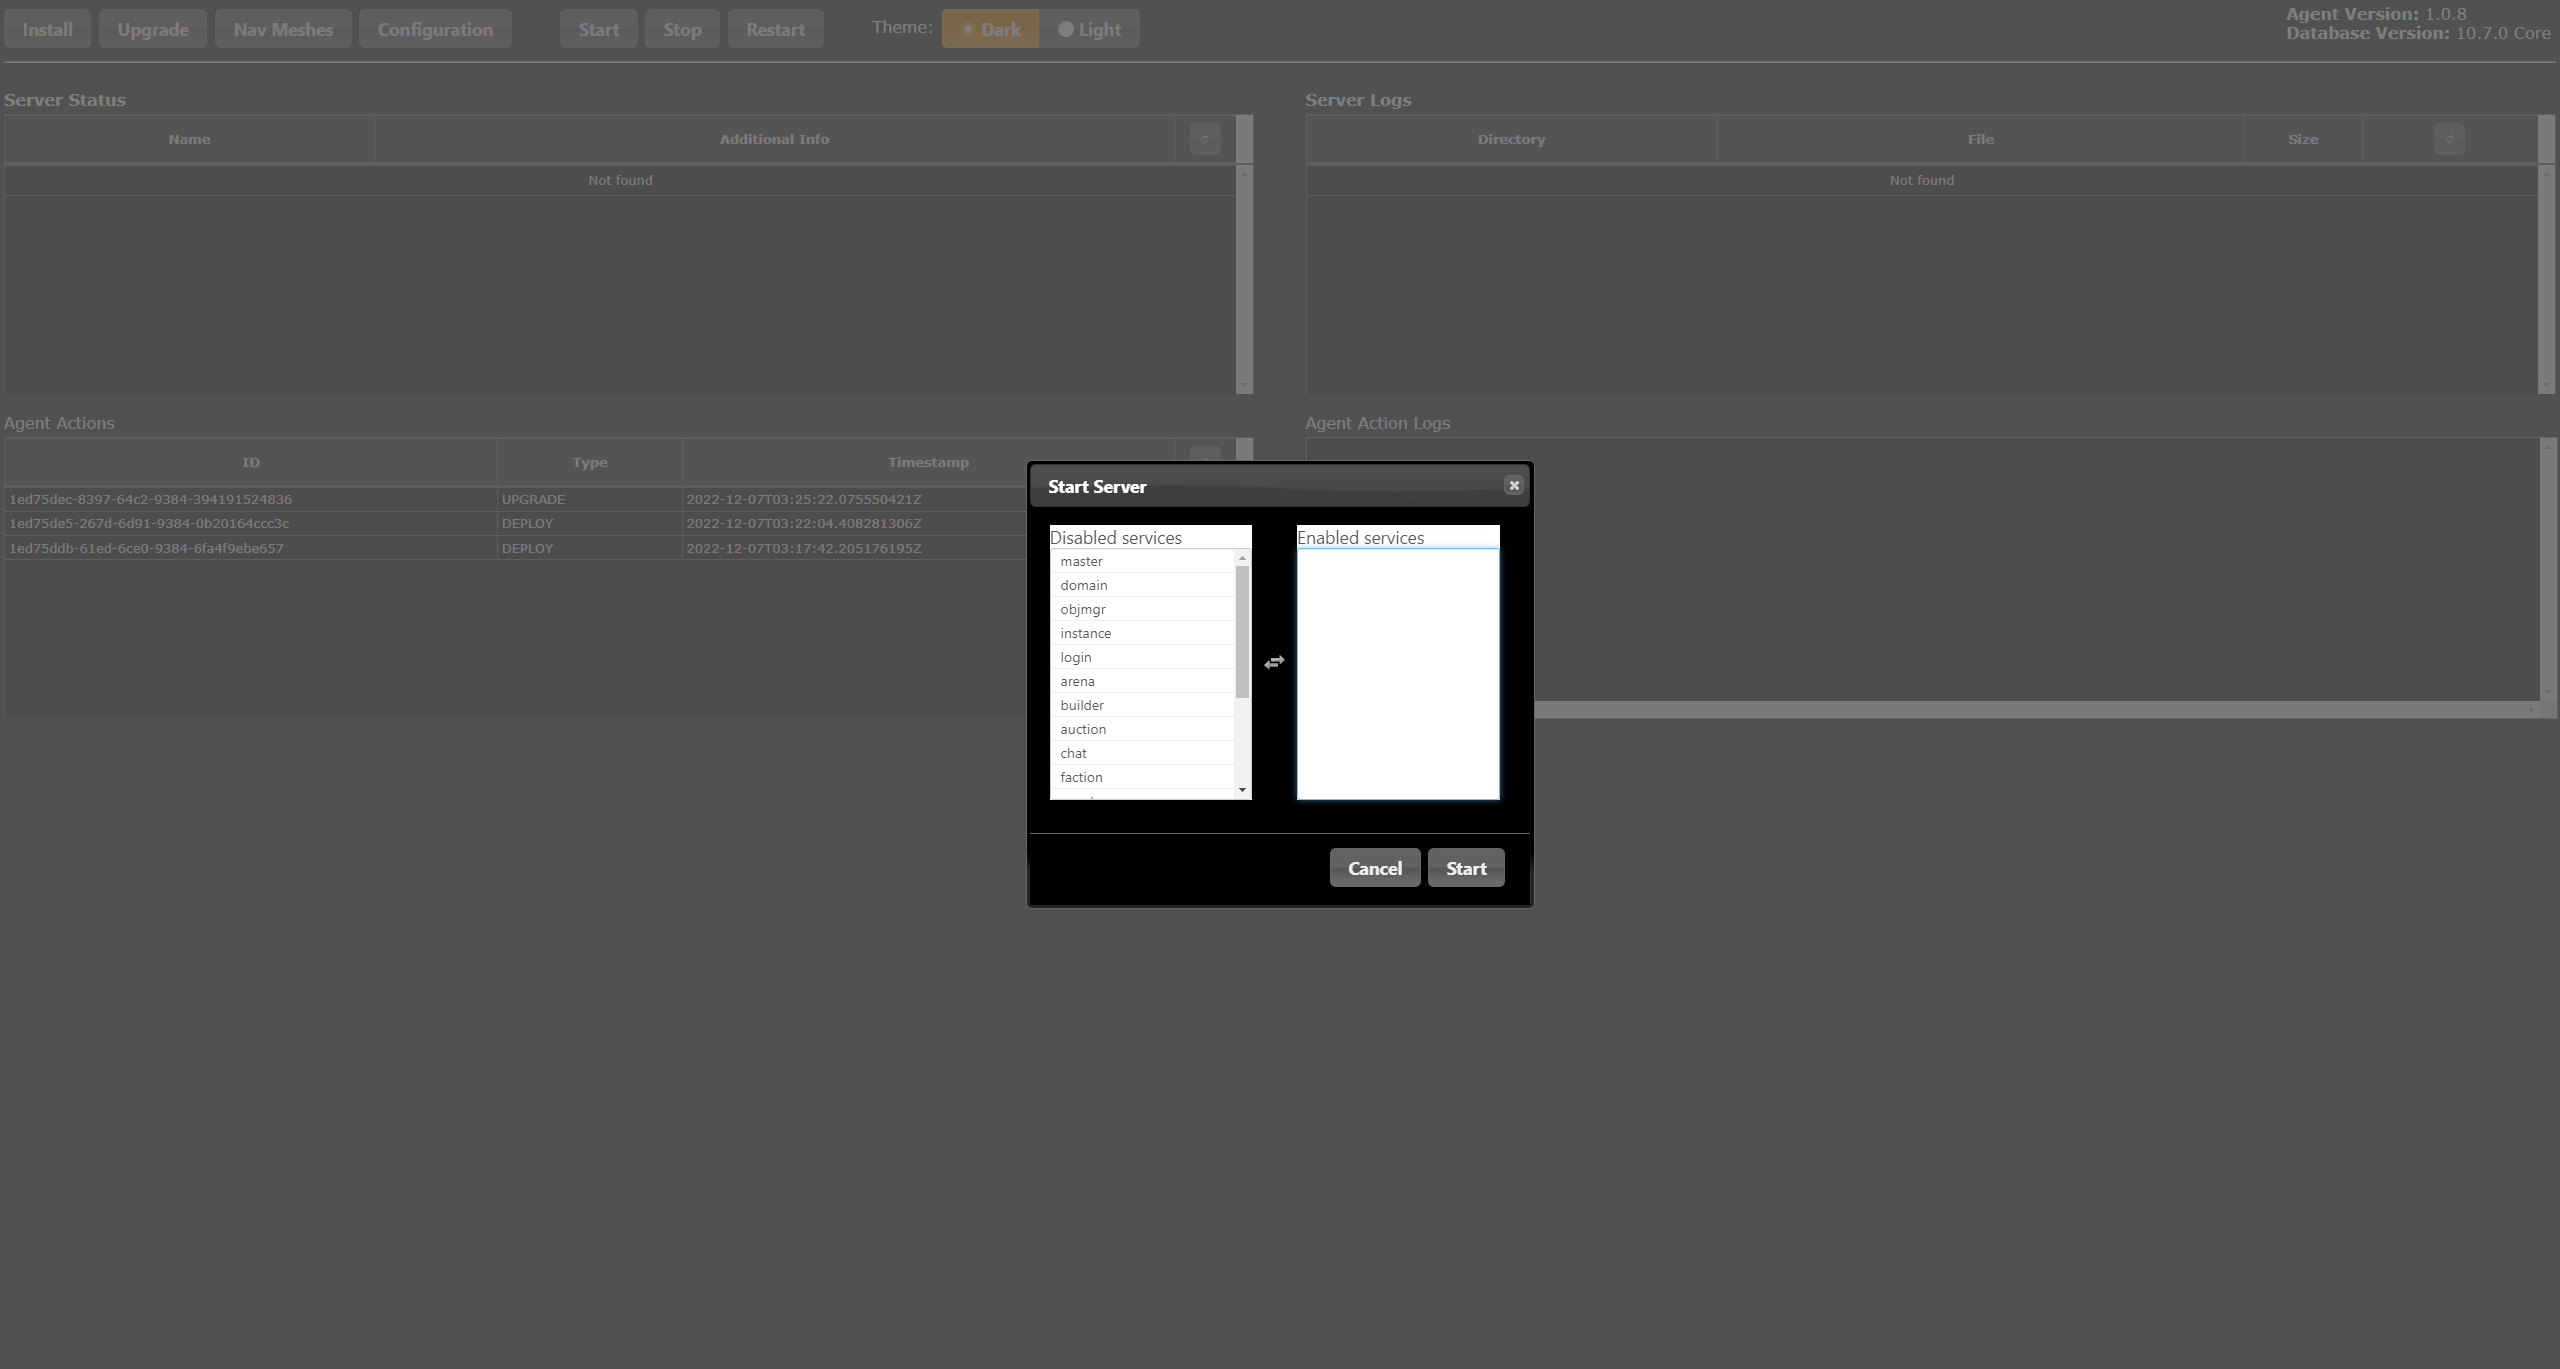
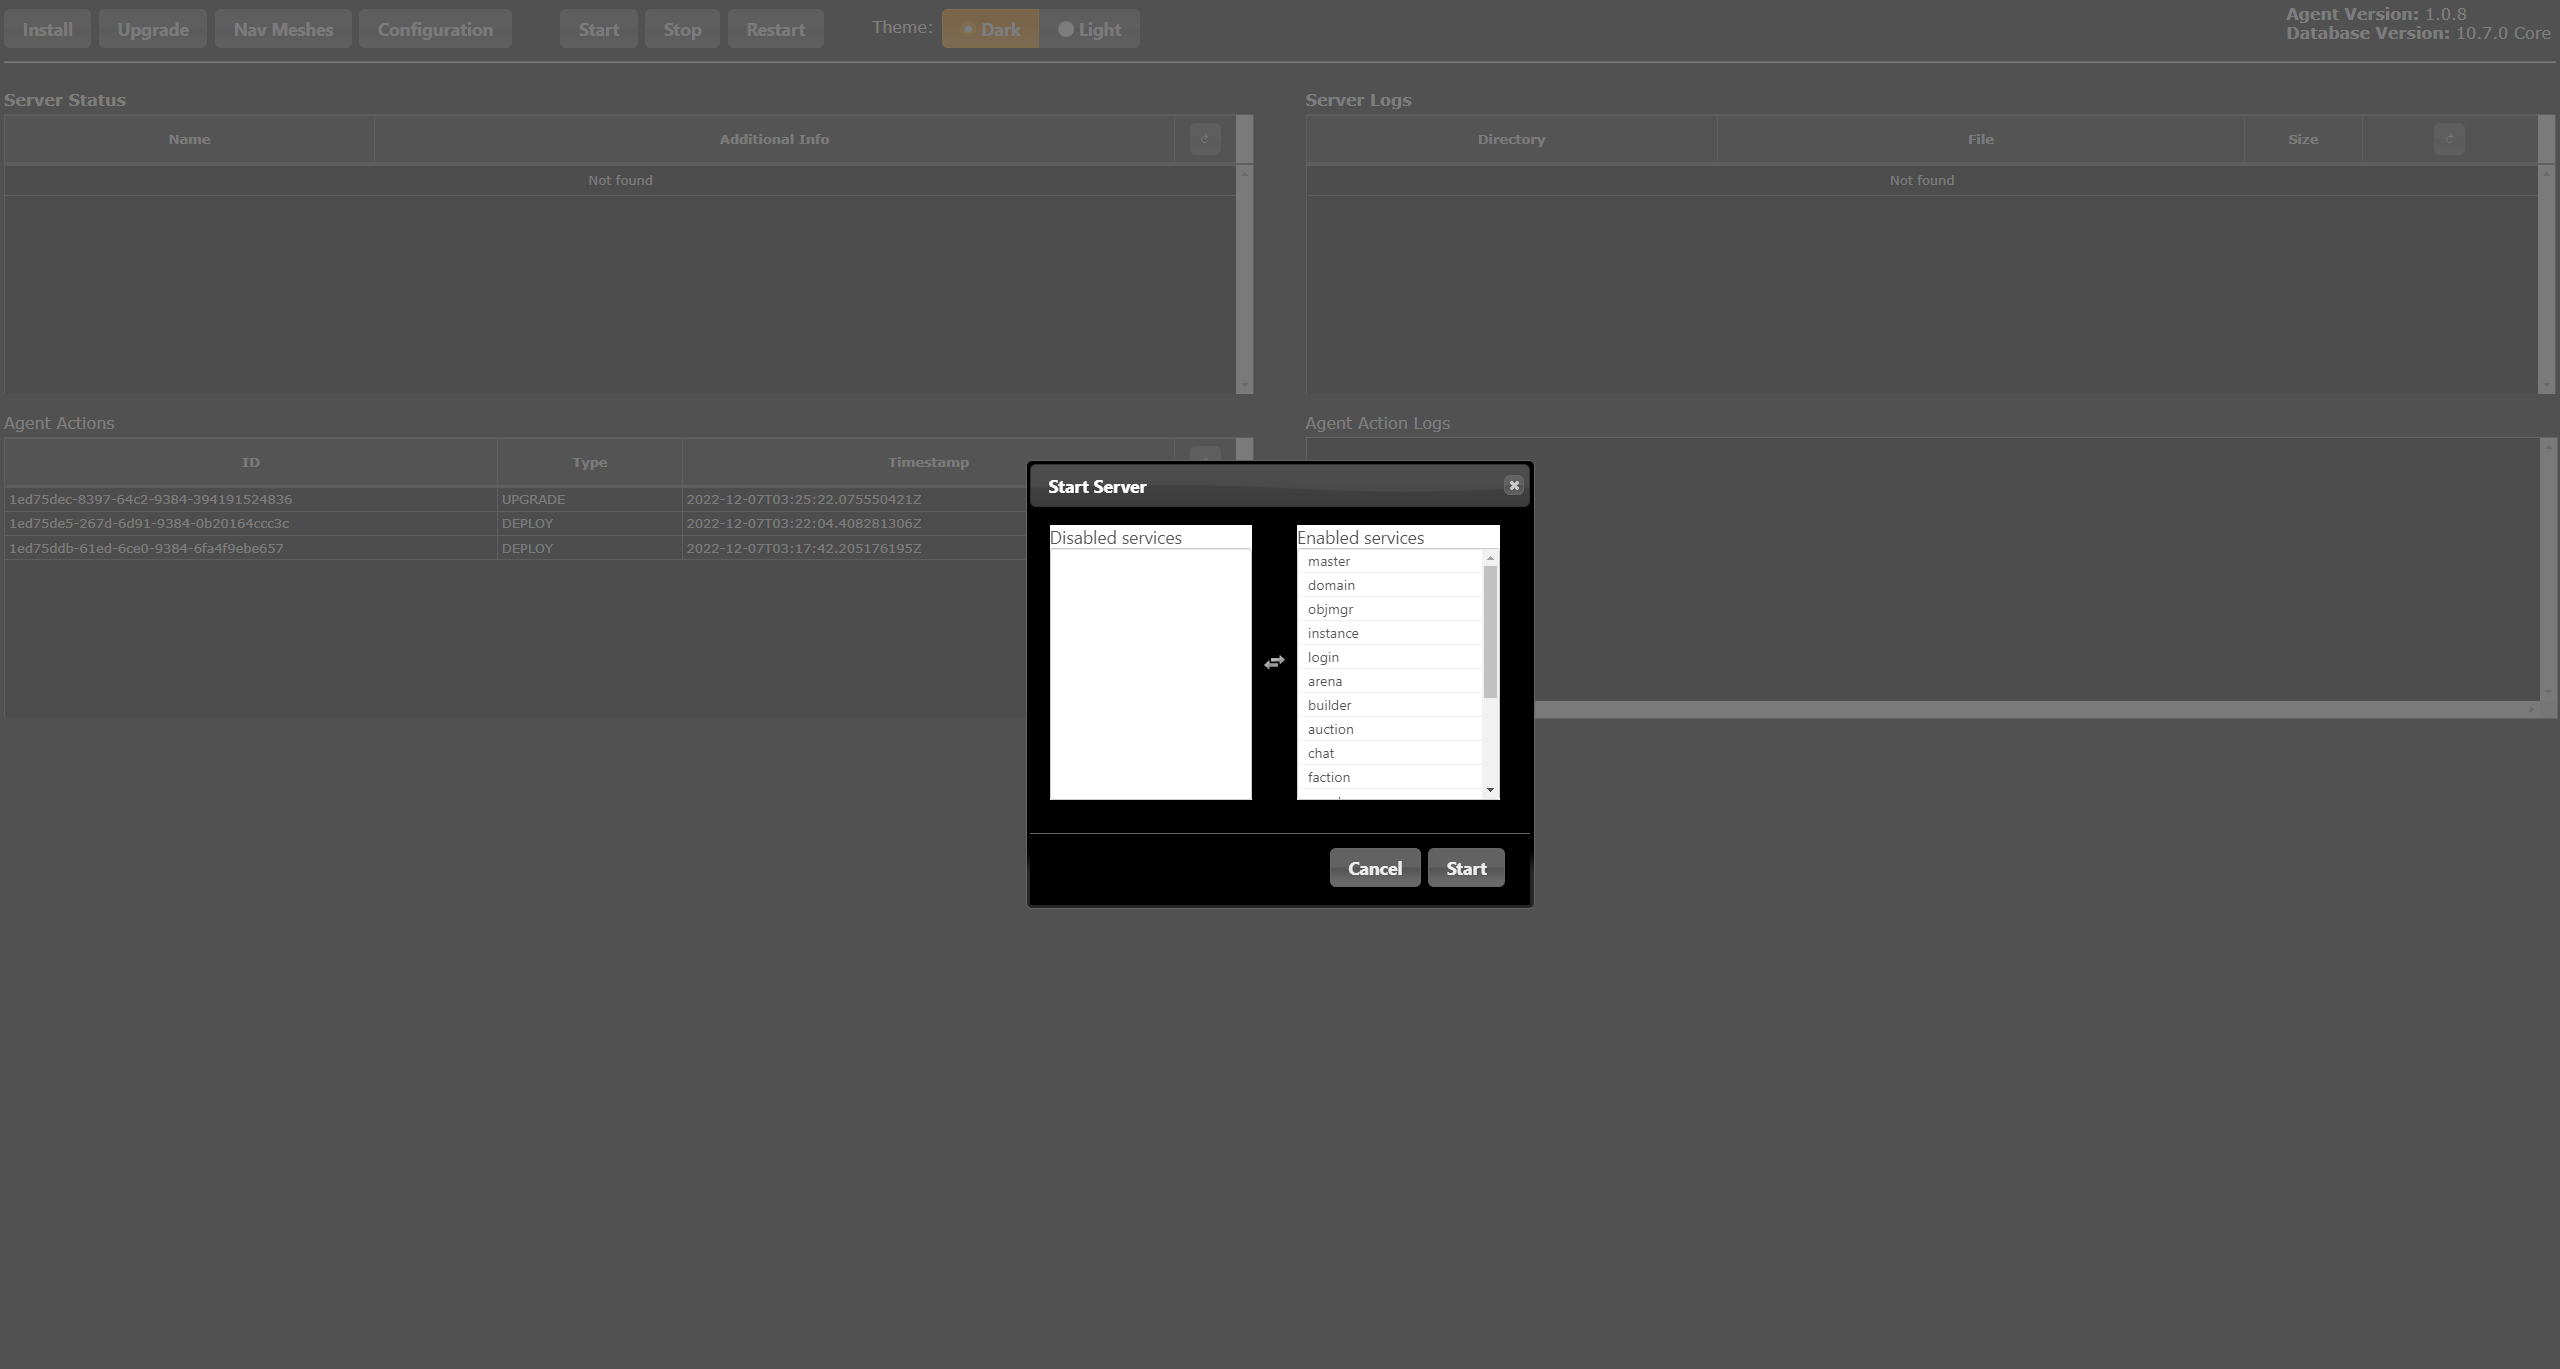
New Agent Action should be added to the list and Agent Action Logs should be displayed. When you will click the start button for the first time, it will display a new window with possible services. click on all of them to move them to the start action. It’s a preparation to handle a more complex infrastructure where you would want to have various services on different machines.
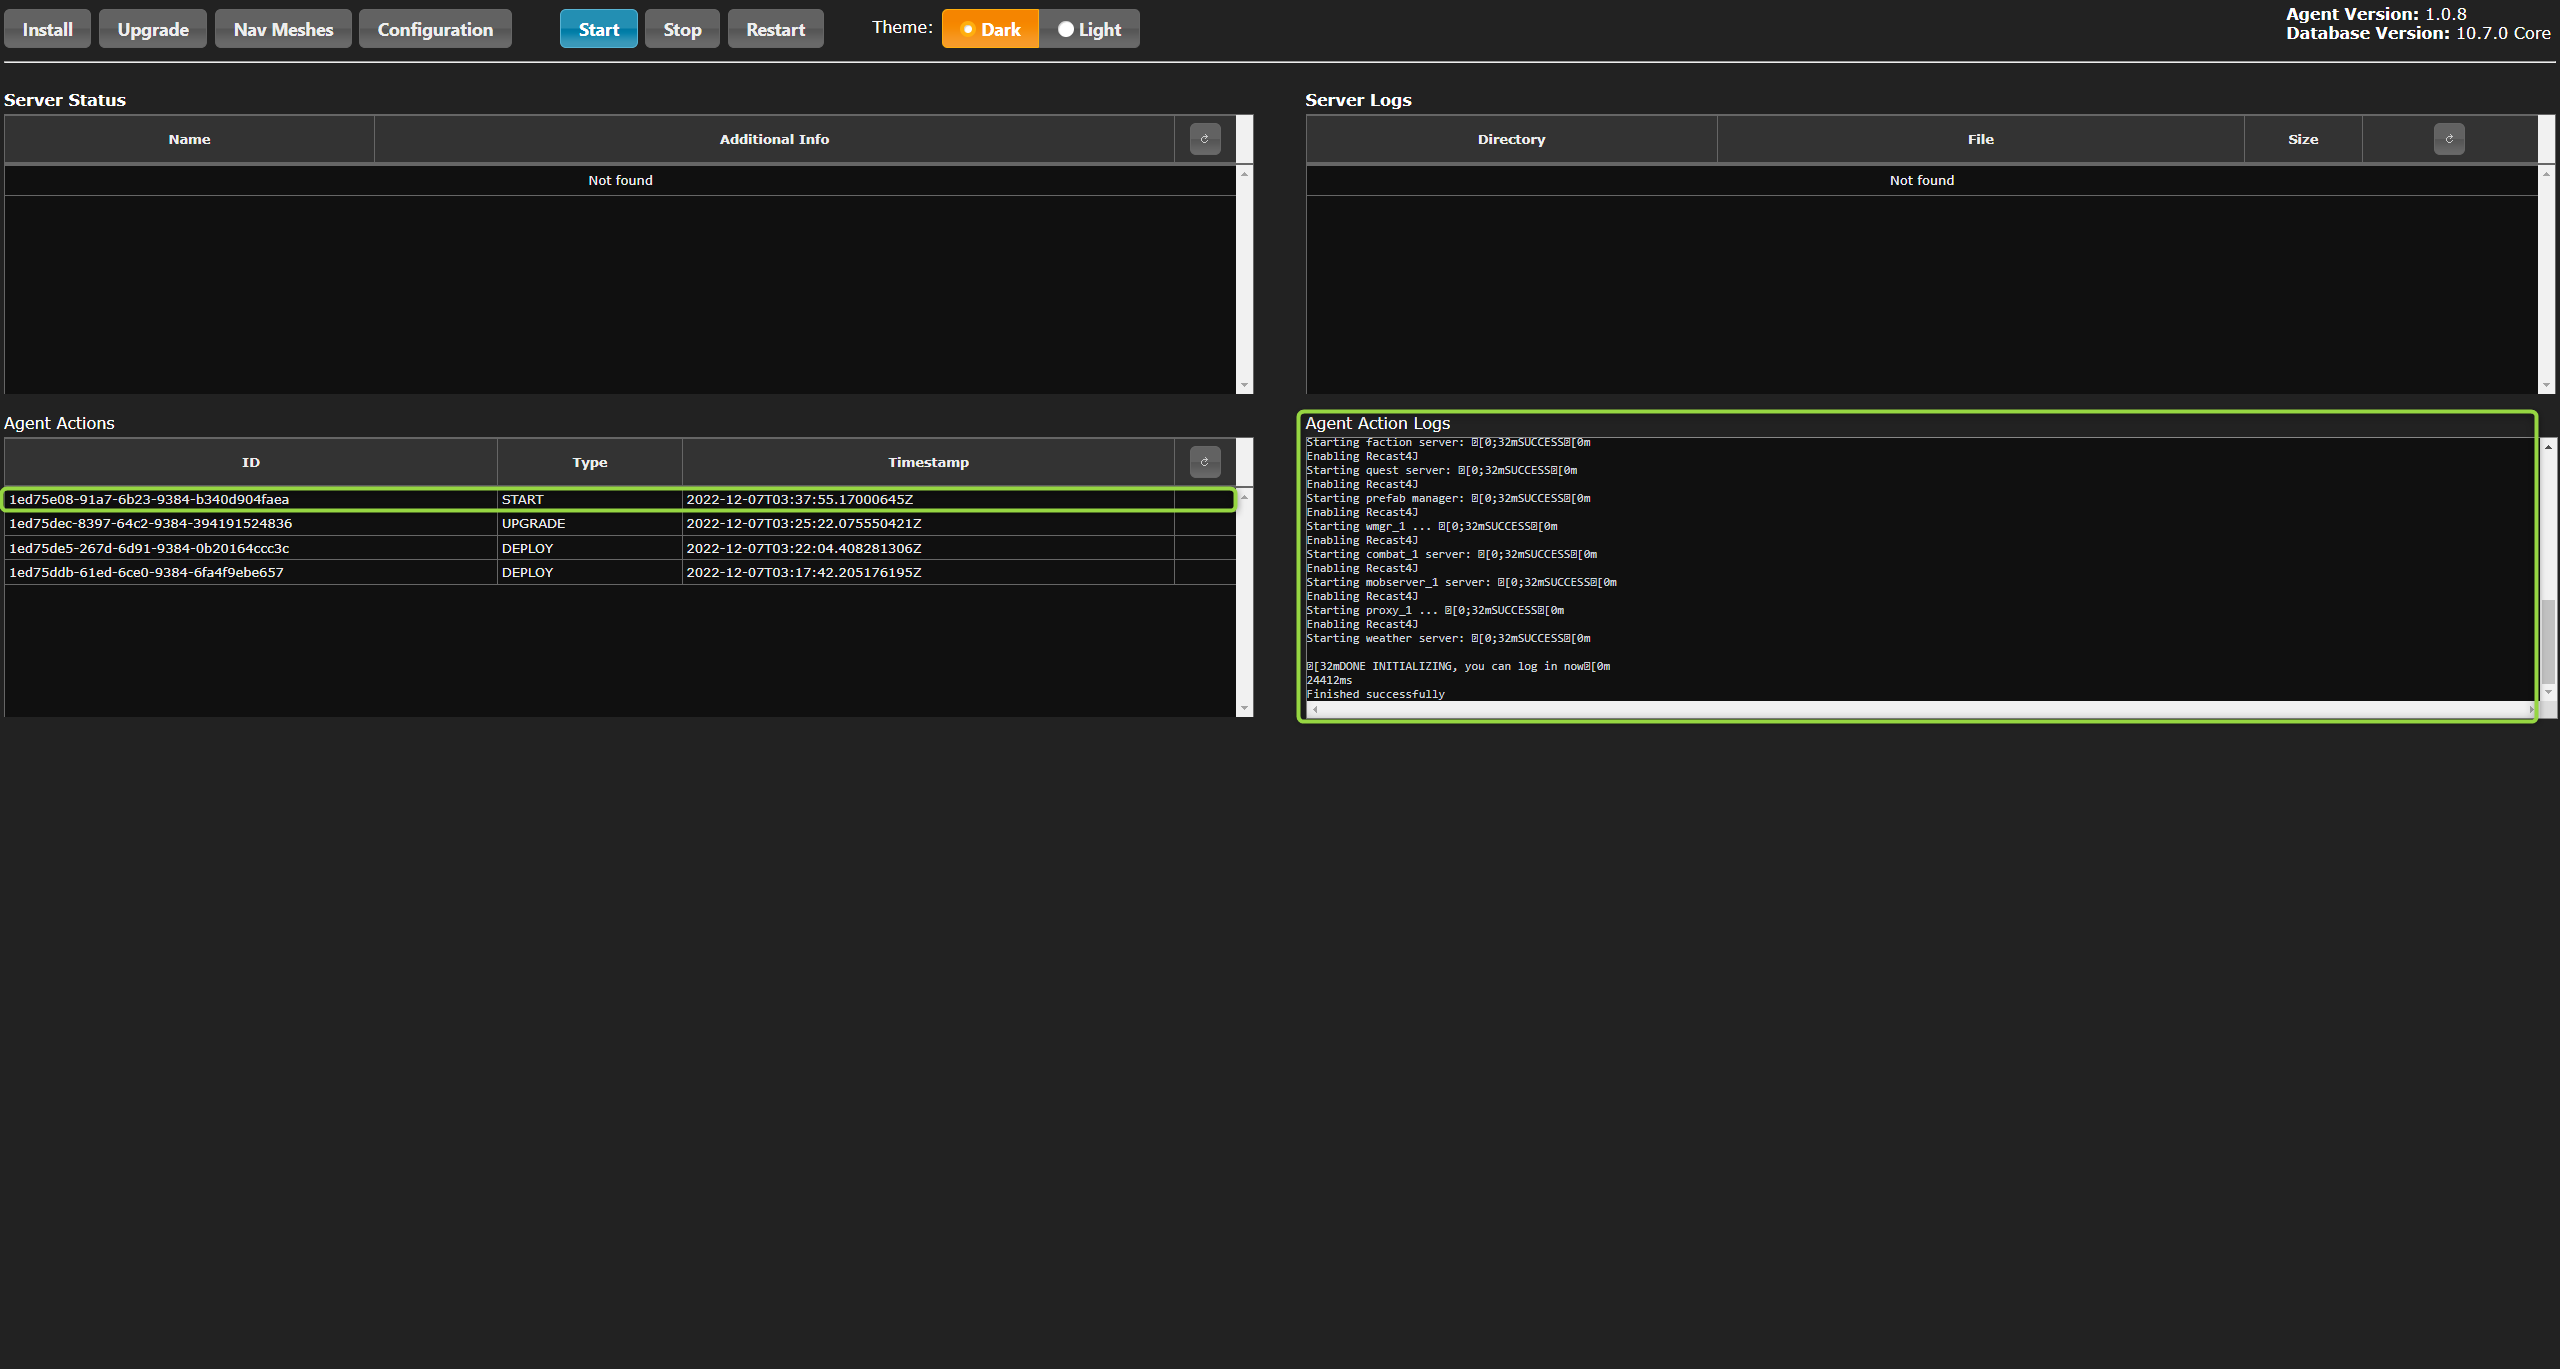
Next, you should see a new entry on the Agent Actions list with START type, and Agent Action Logs that should end with the familiar message “DONE INITIALIZING, you can log in now”
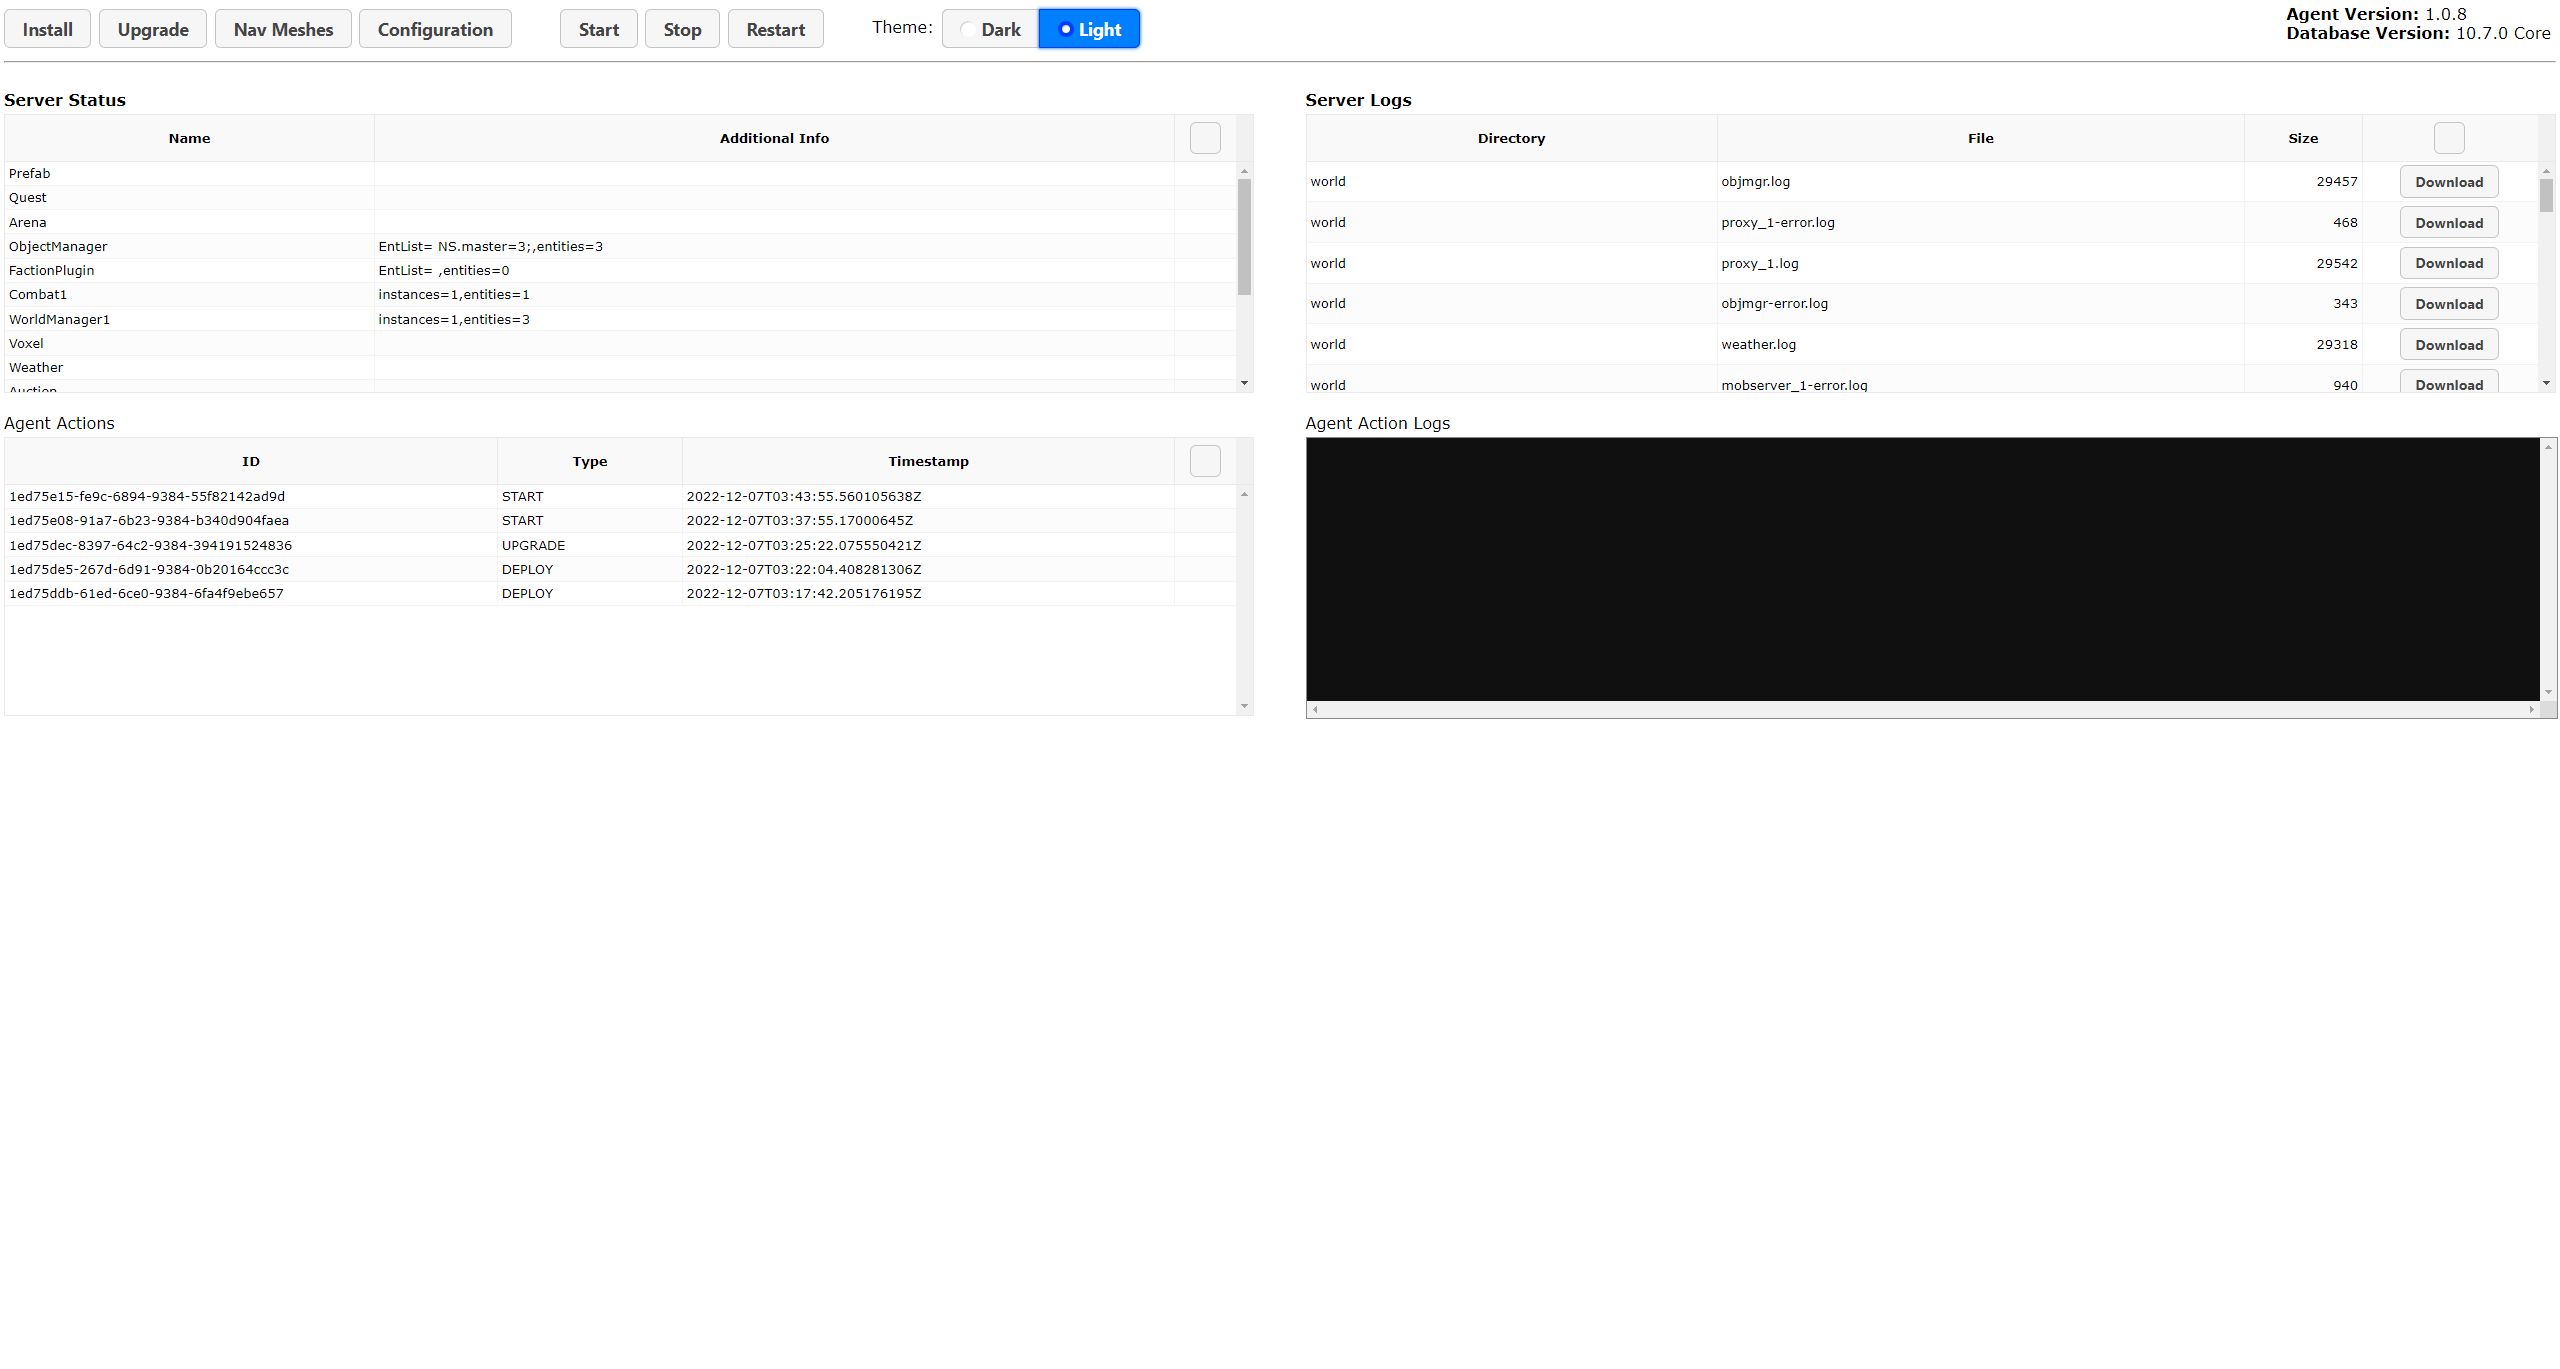
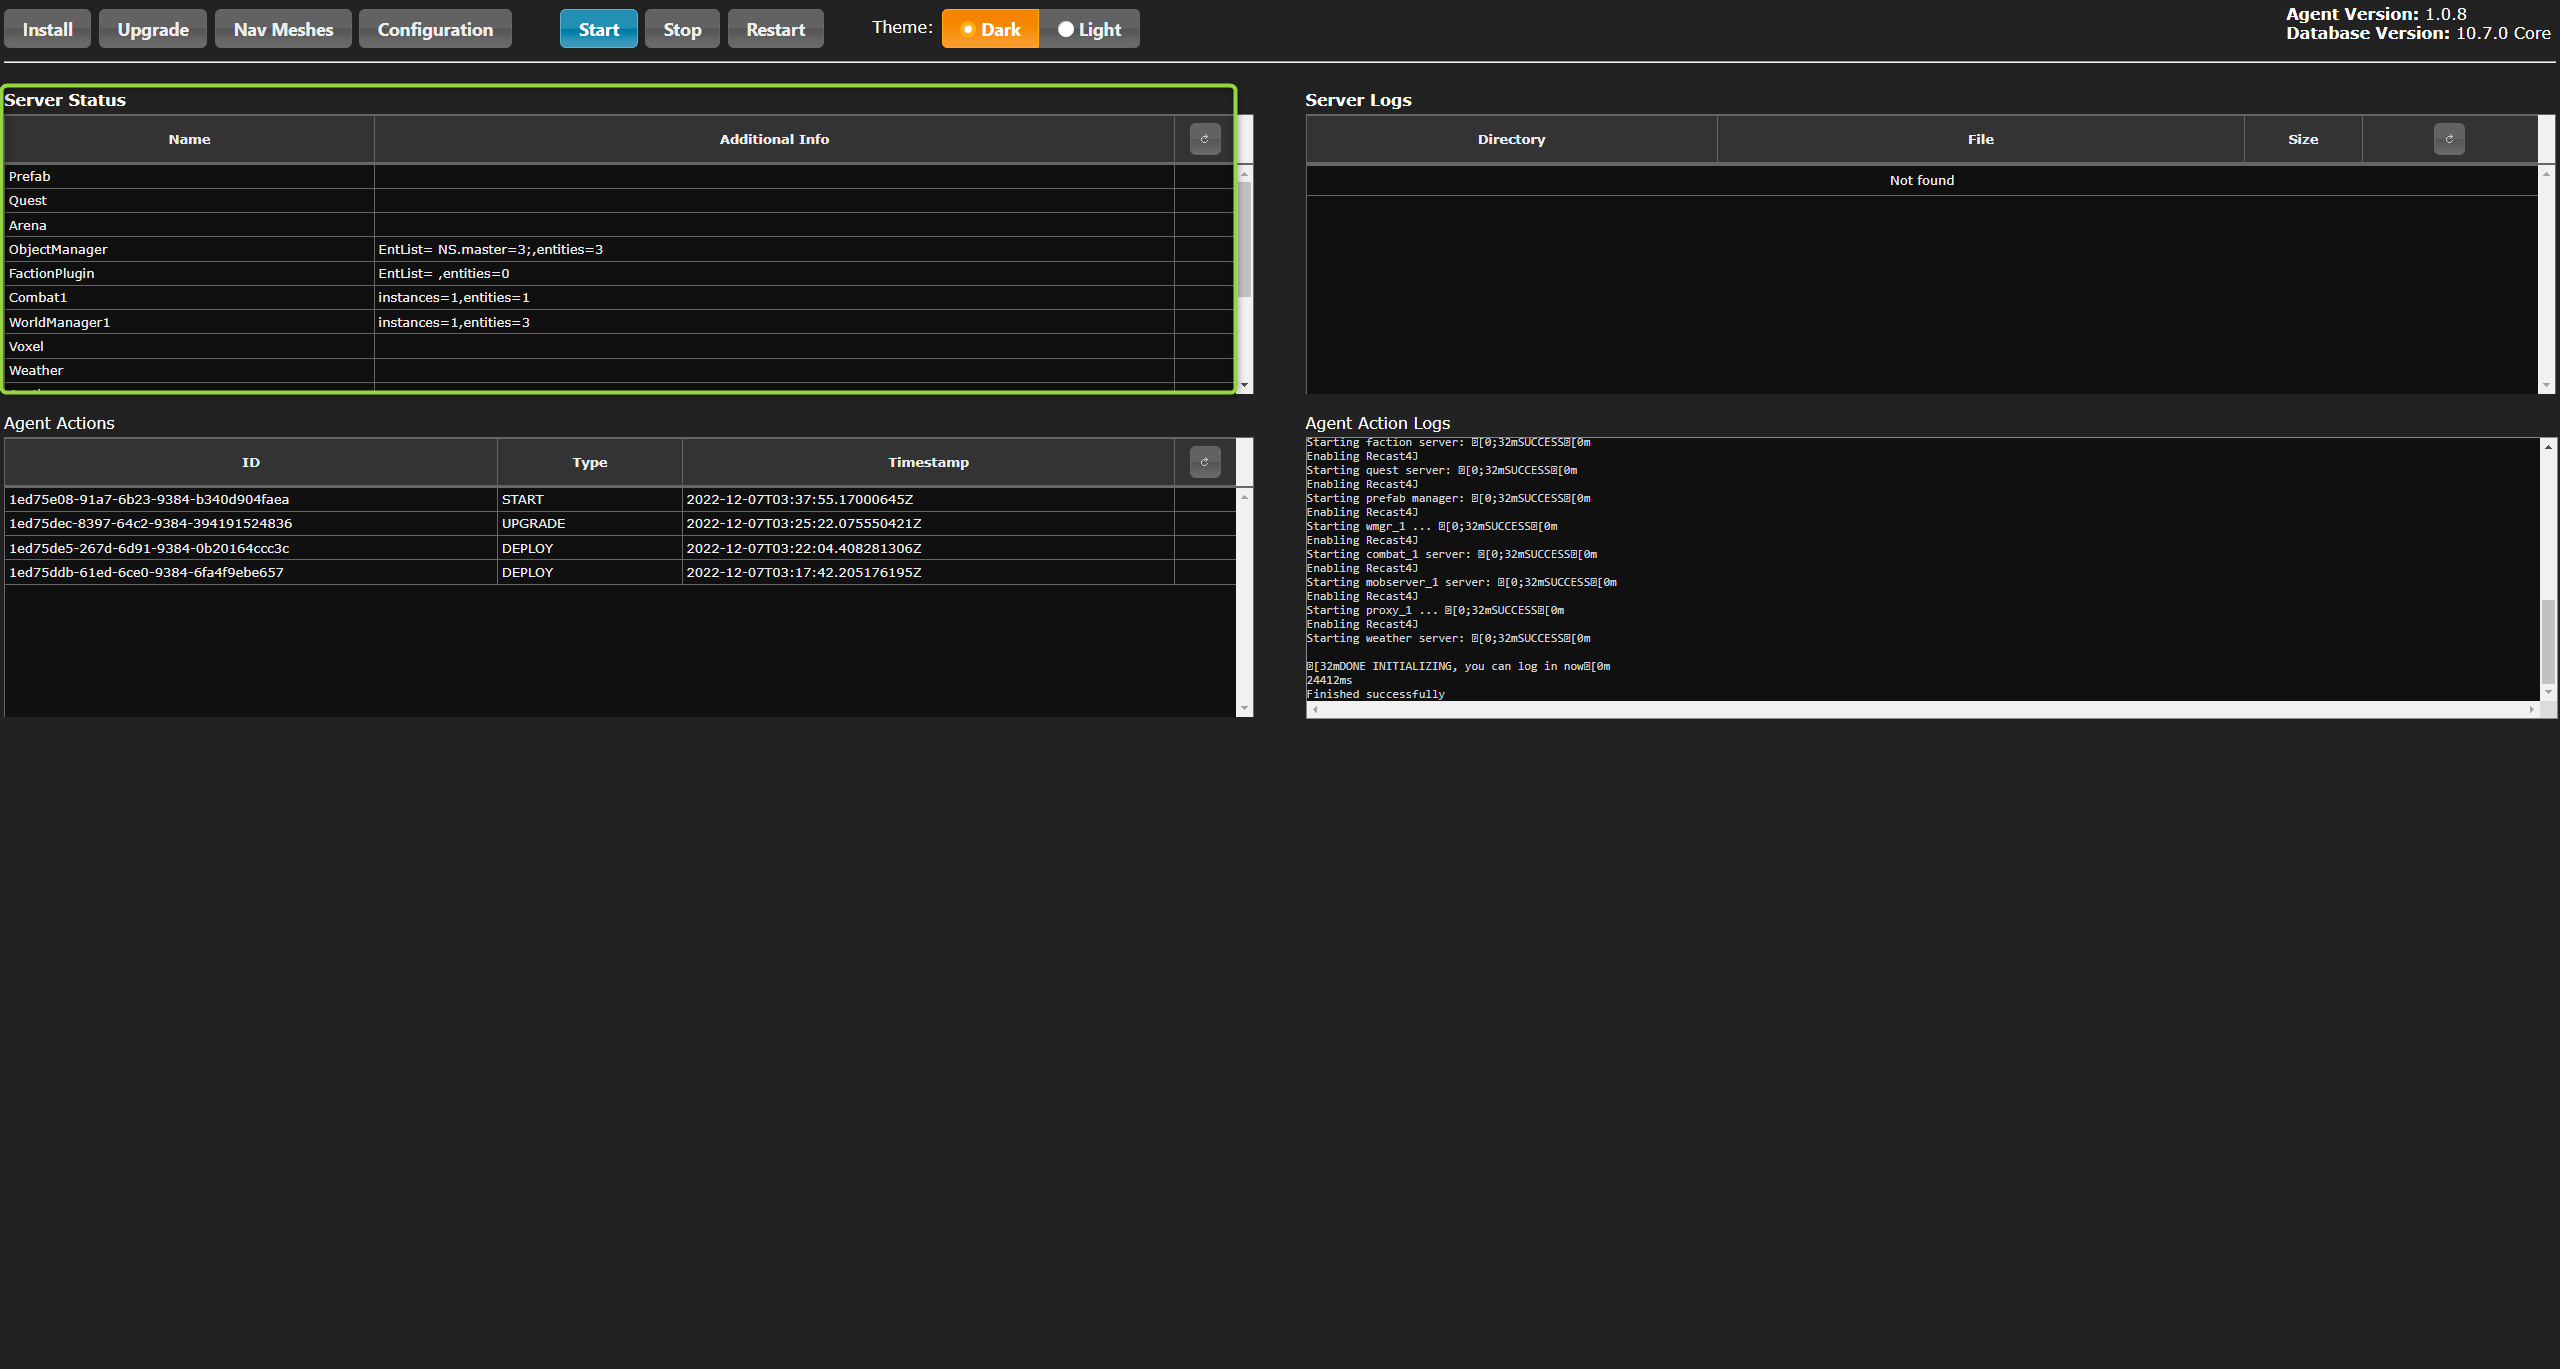
And after a moment you should also see filled in Server Status section
If you will try to start the server again even if it is running already, there will be another log entry in the Agent Actions with the same START type, but in the AGent Action Logs, you will see information that the service is already running.
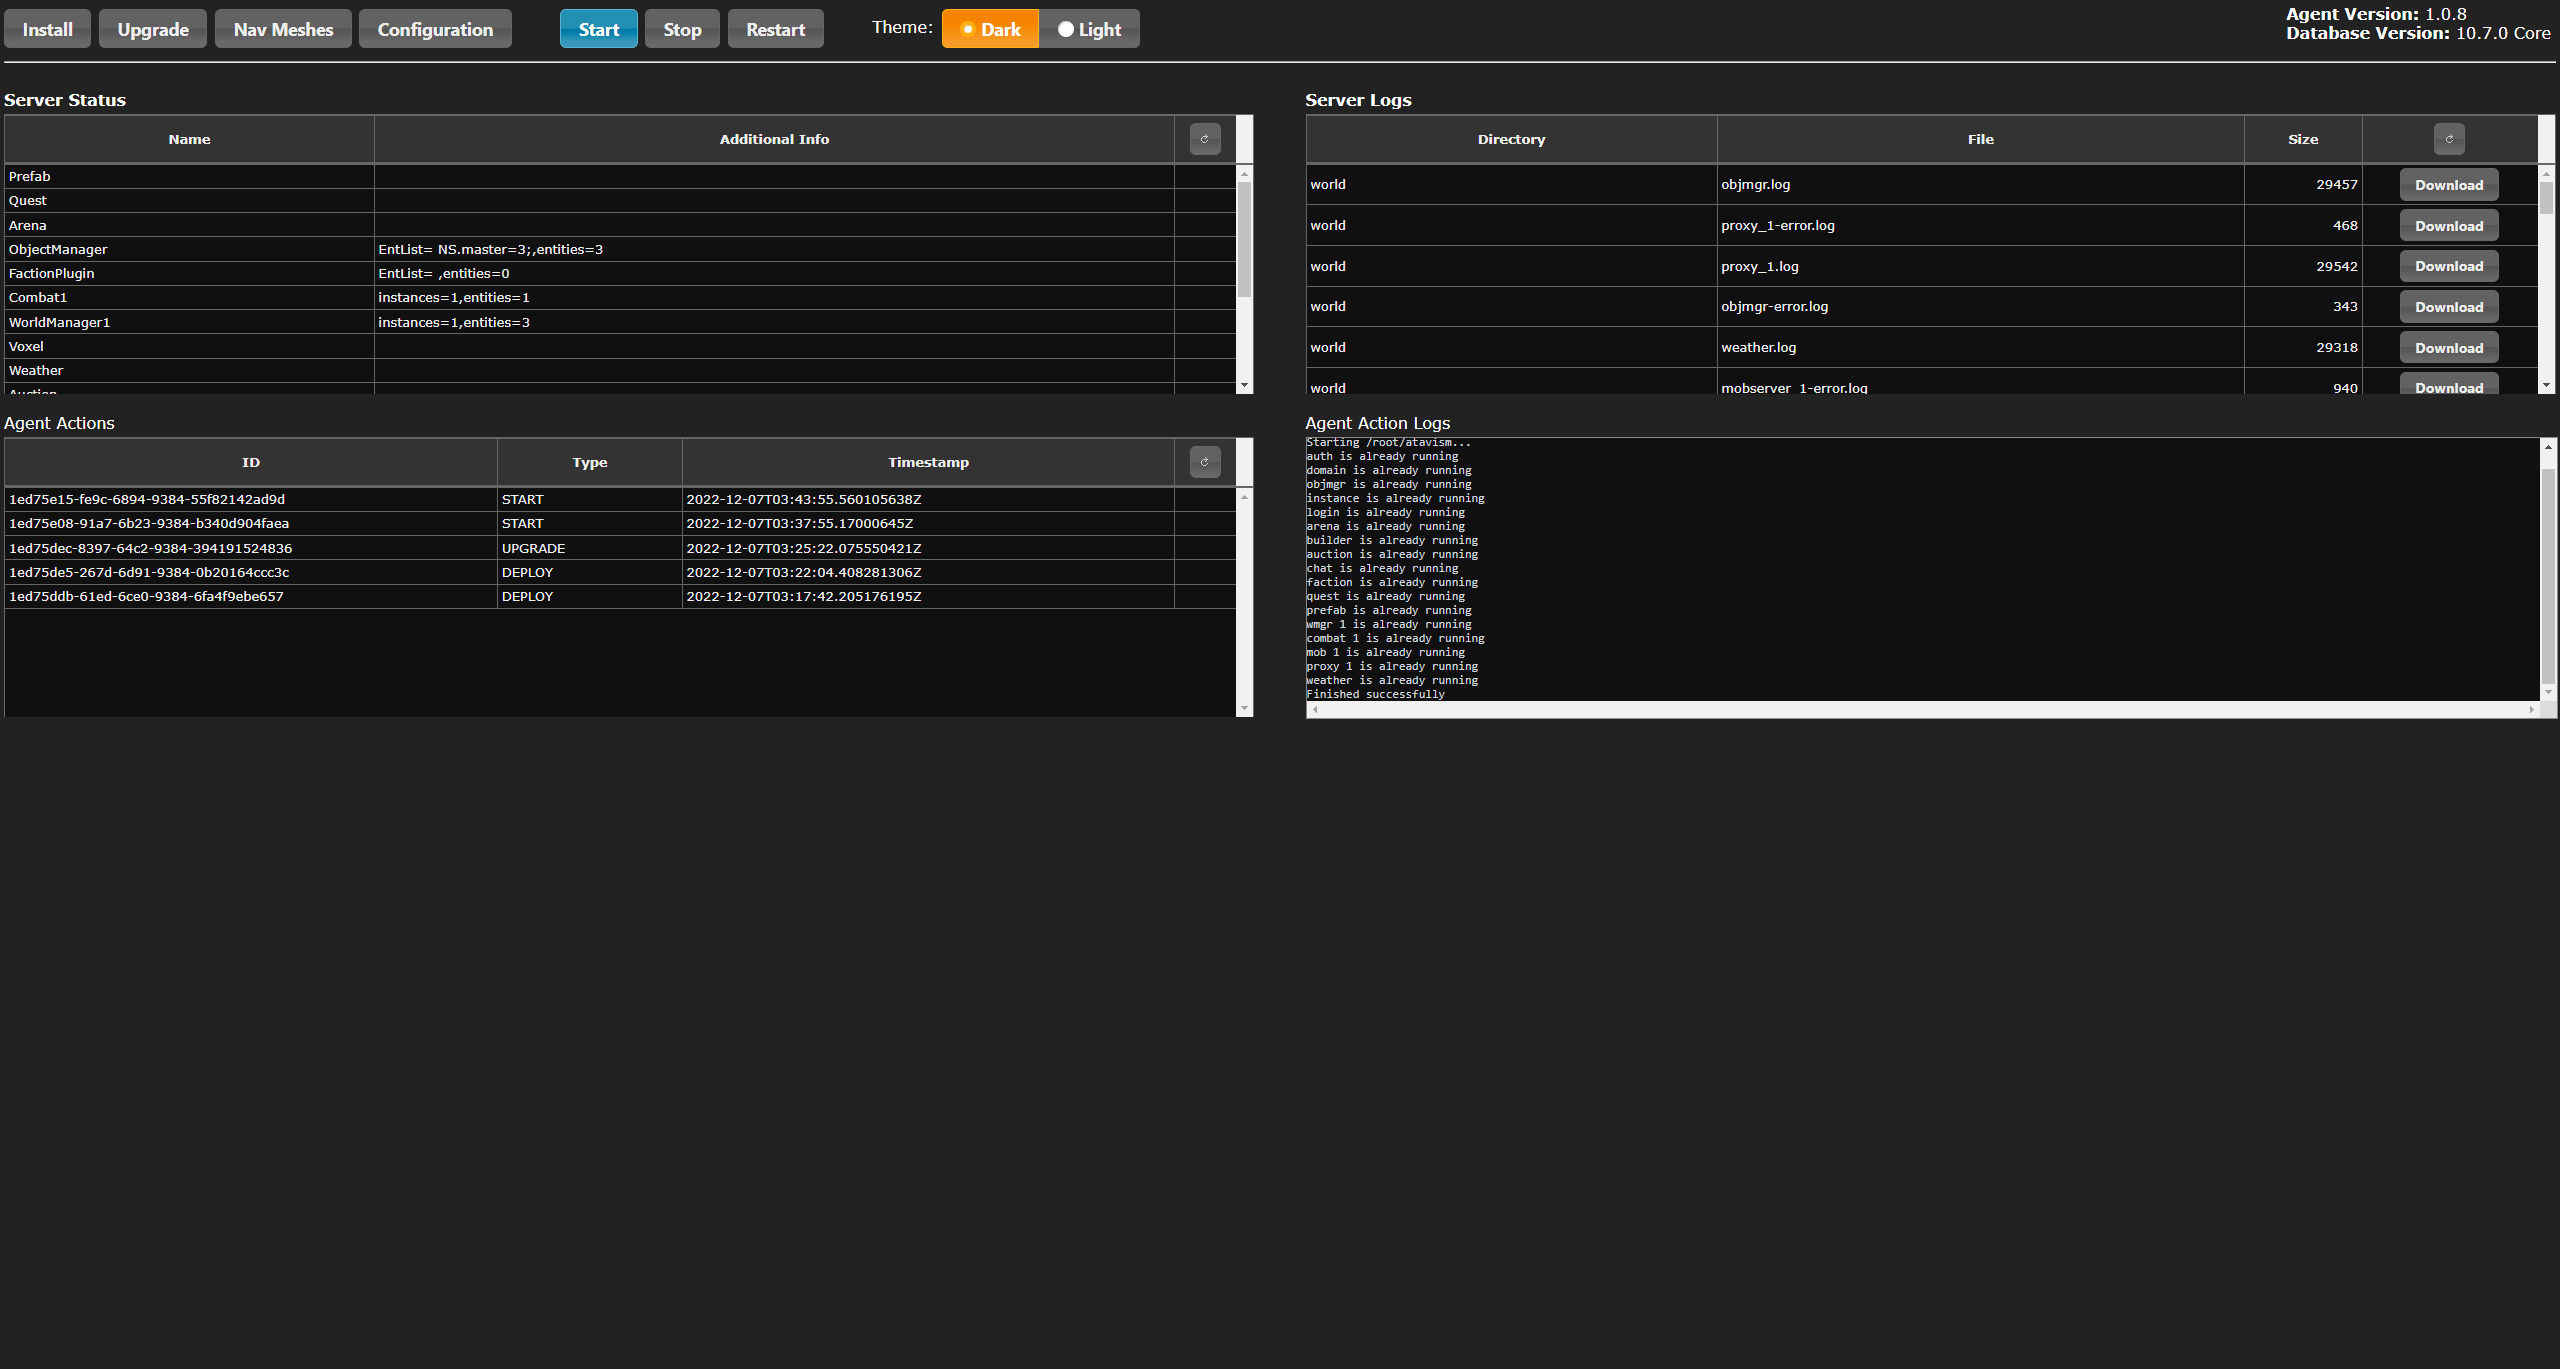
- Download server logs
When the server is running you can also see server logs and click on the download button to download each of them. This will let you access them easily without the need to login to your server SSH console through WinSCP or FileZilla, to get them when there will be something wrong with your server and you will need them for troubleshooting or one of our staff members will ask you for them.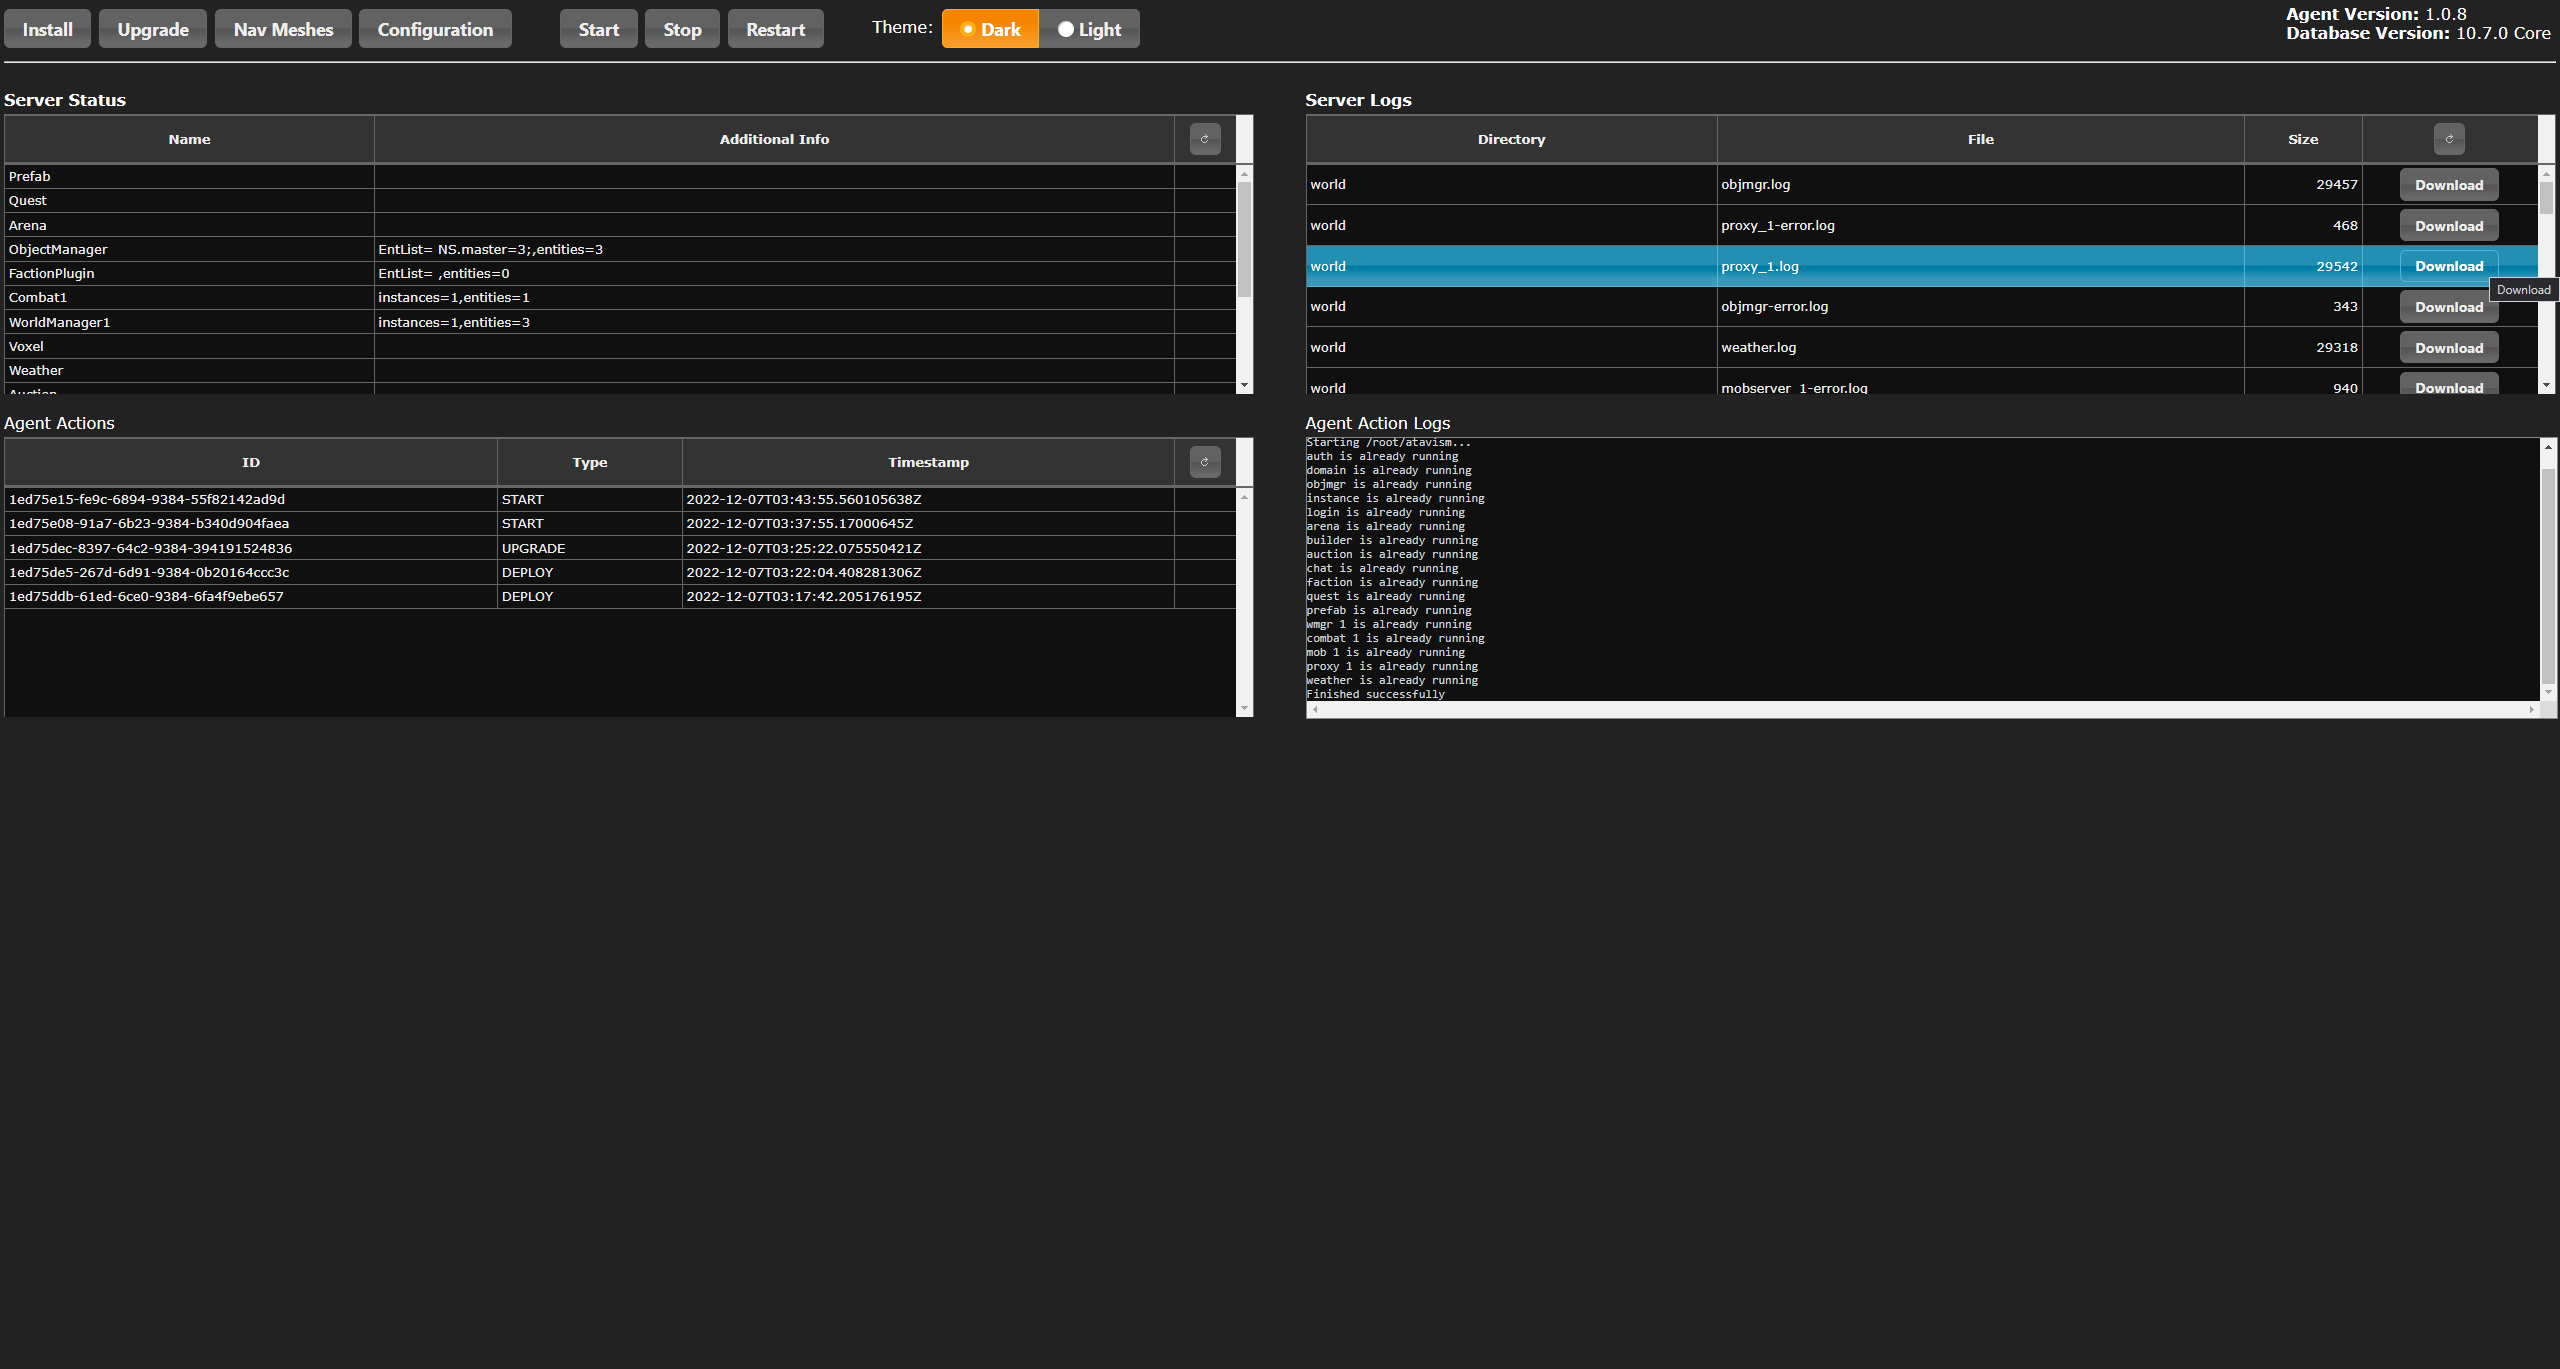
- Upload Navmesh
This is handy and similar to the situation with logs that you can download you will be able to access navmesh files to delete them if necessary when you want to not use navmesh file anymore for some reason or upload new ones to the server.
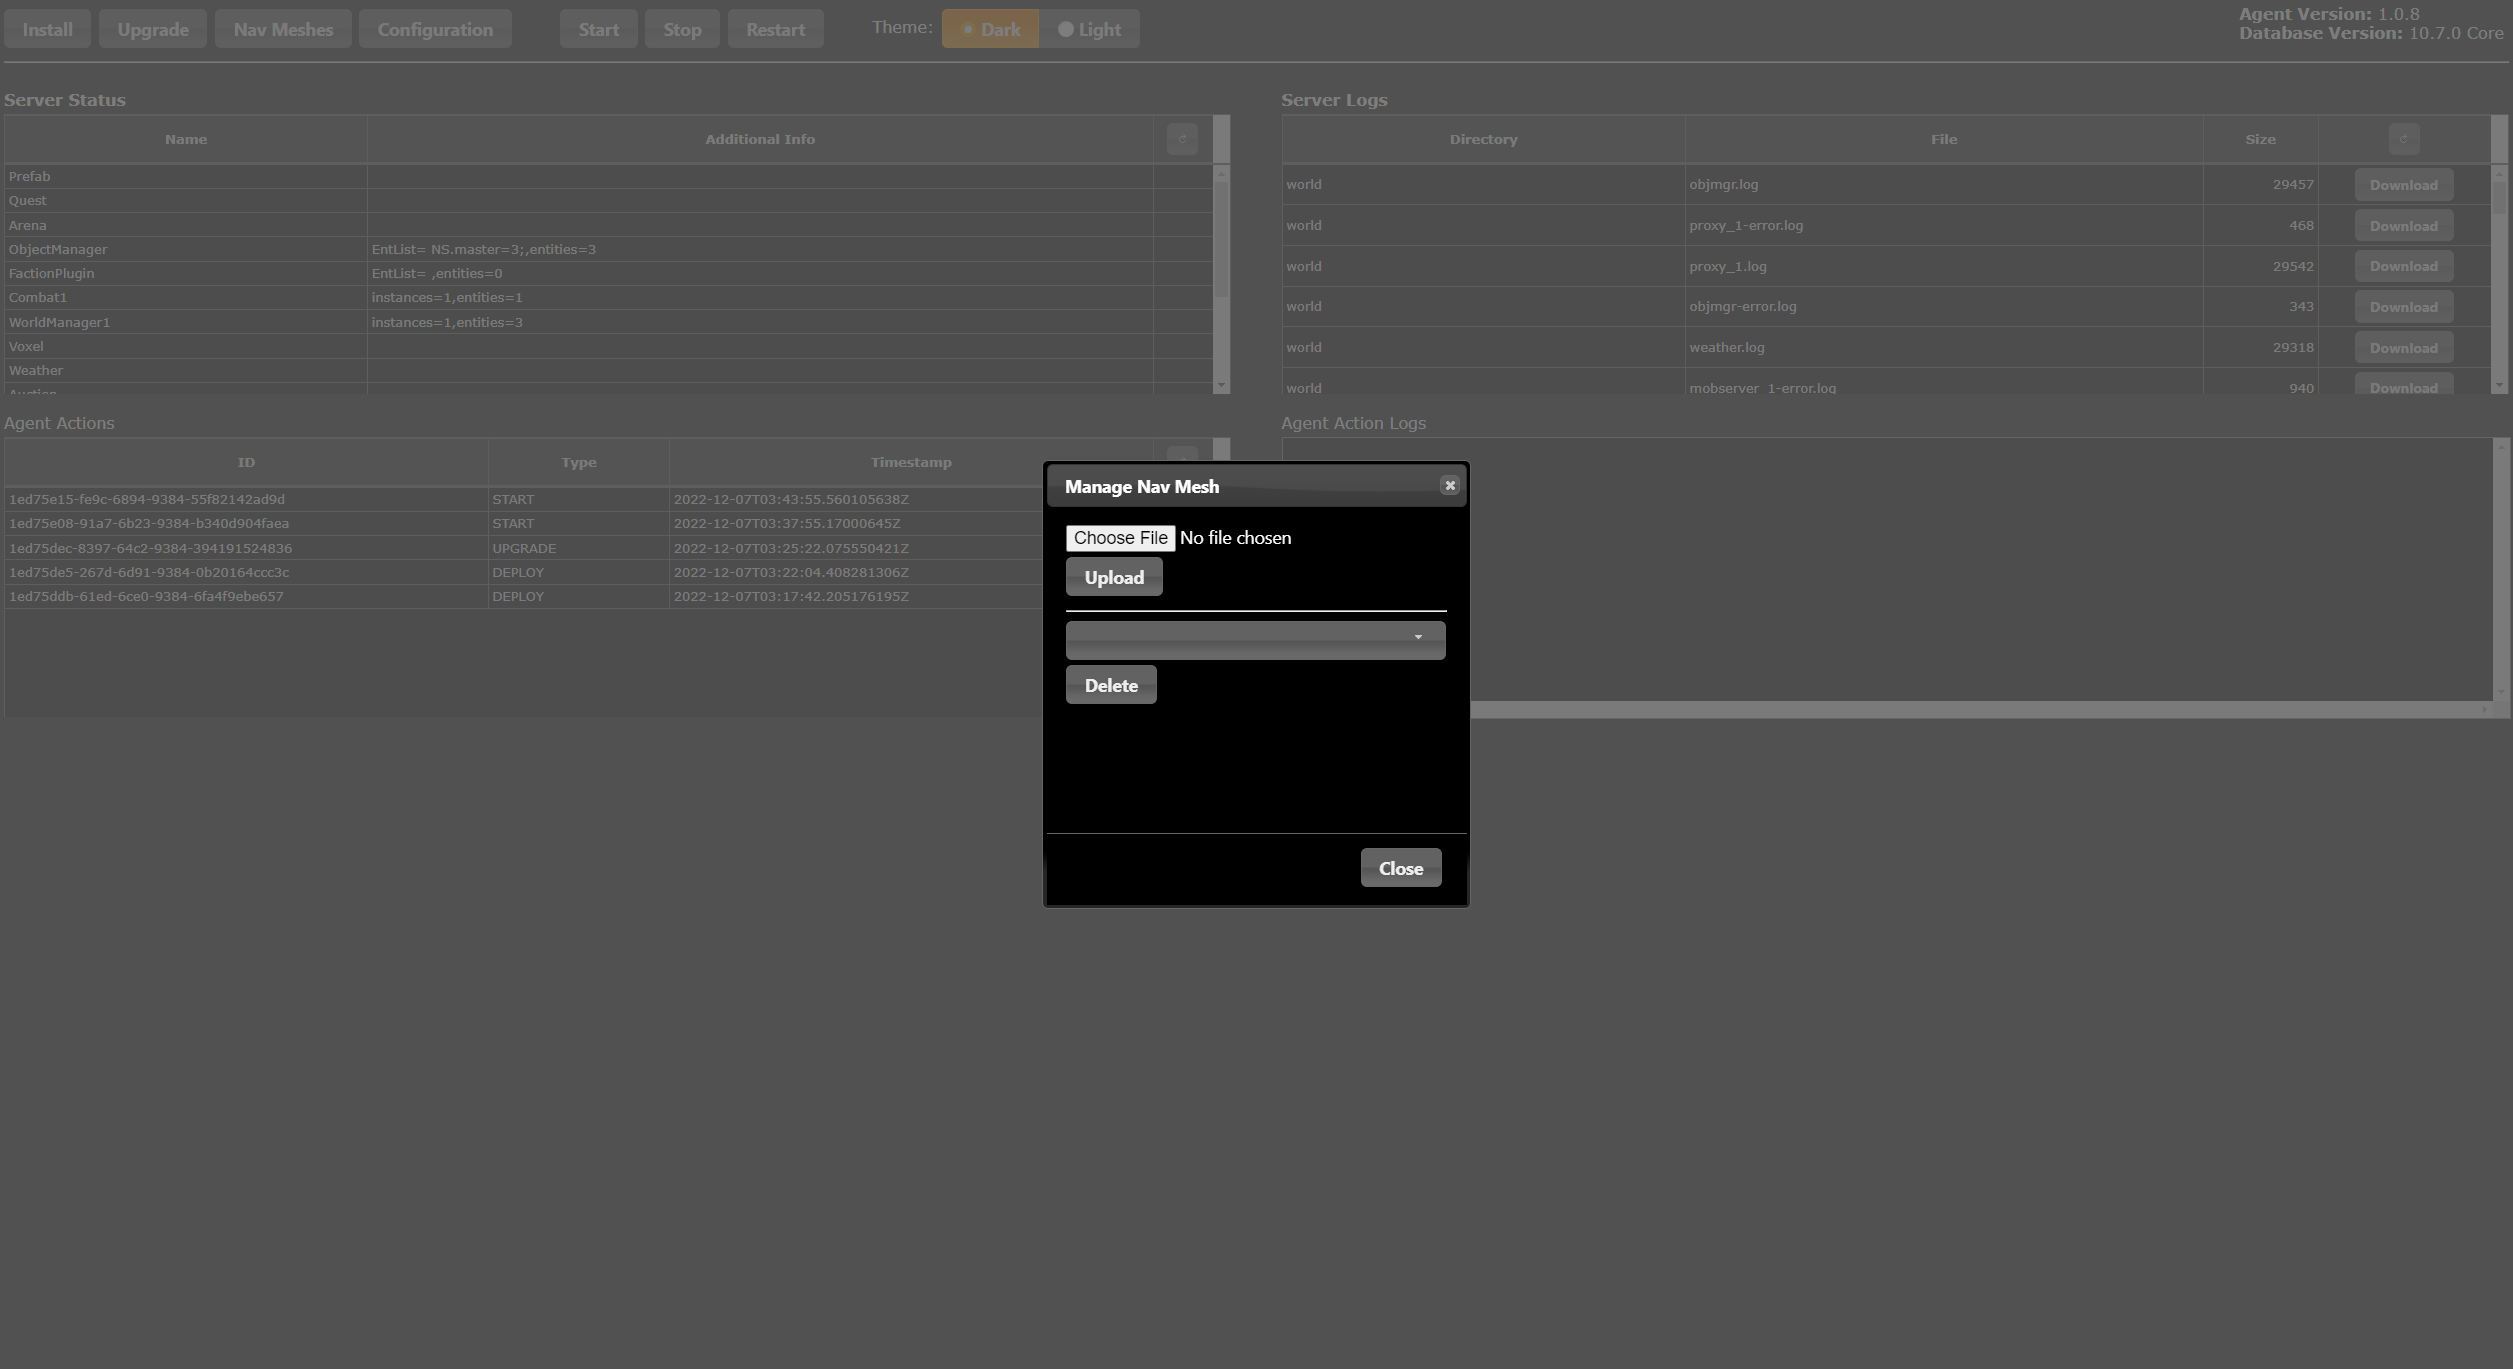
Click the Nav Meshes button in the top section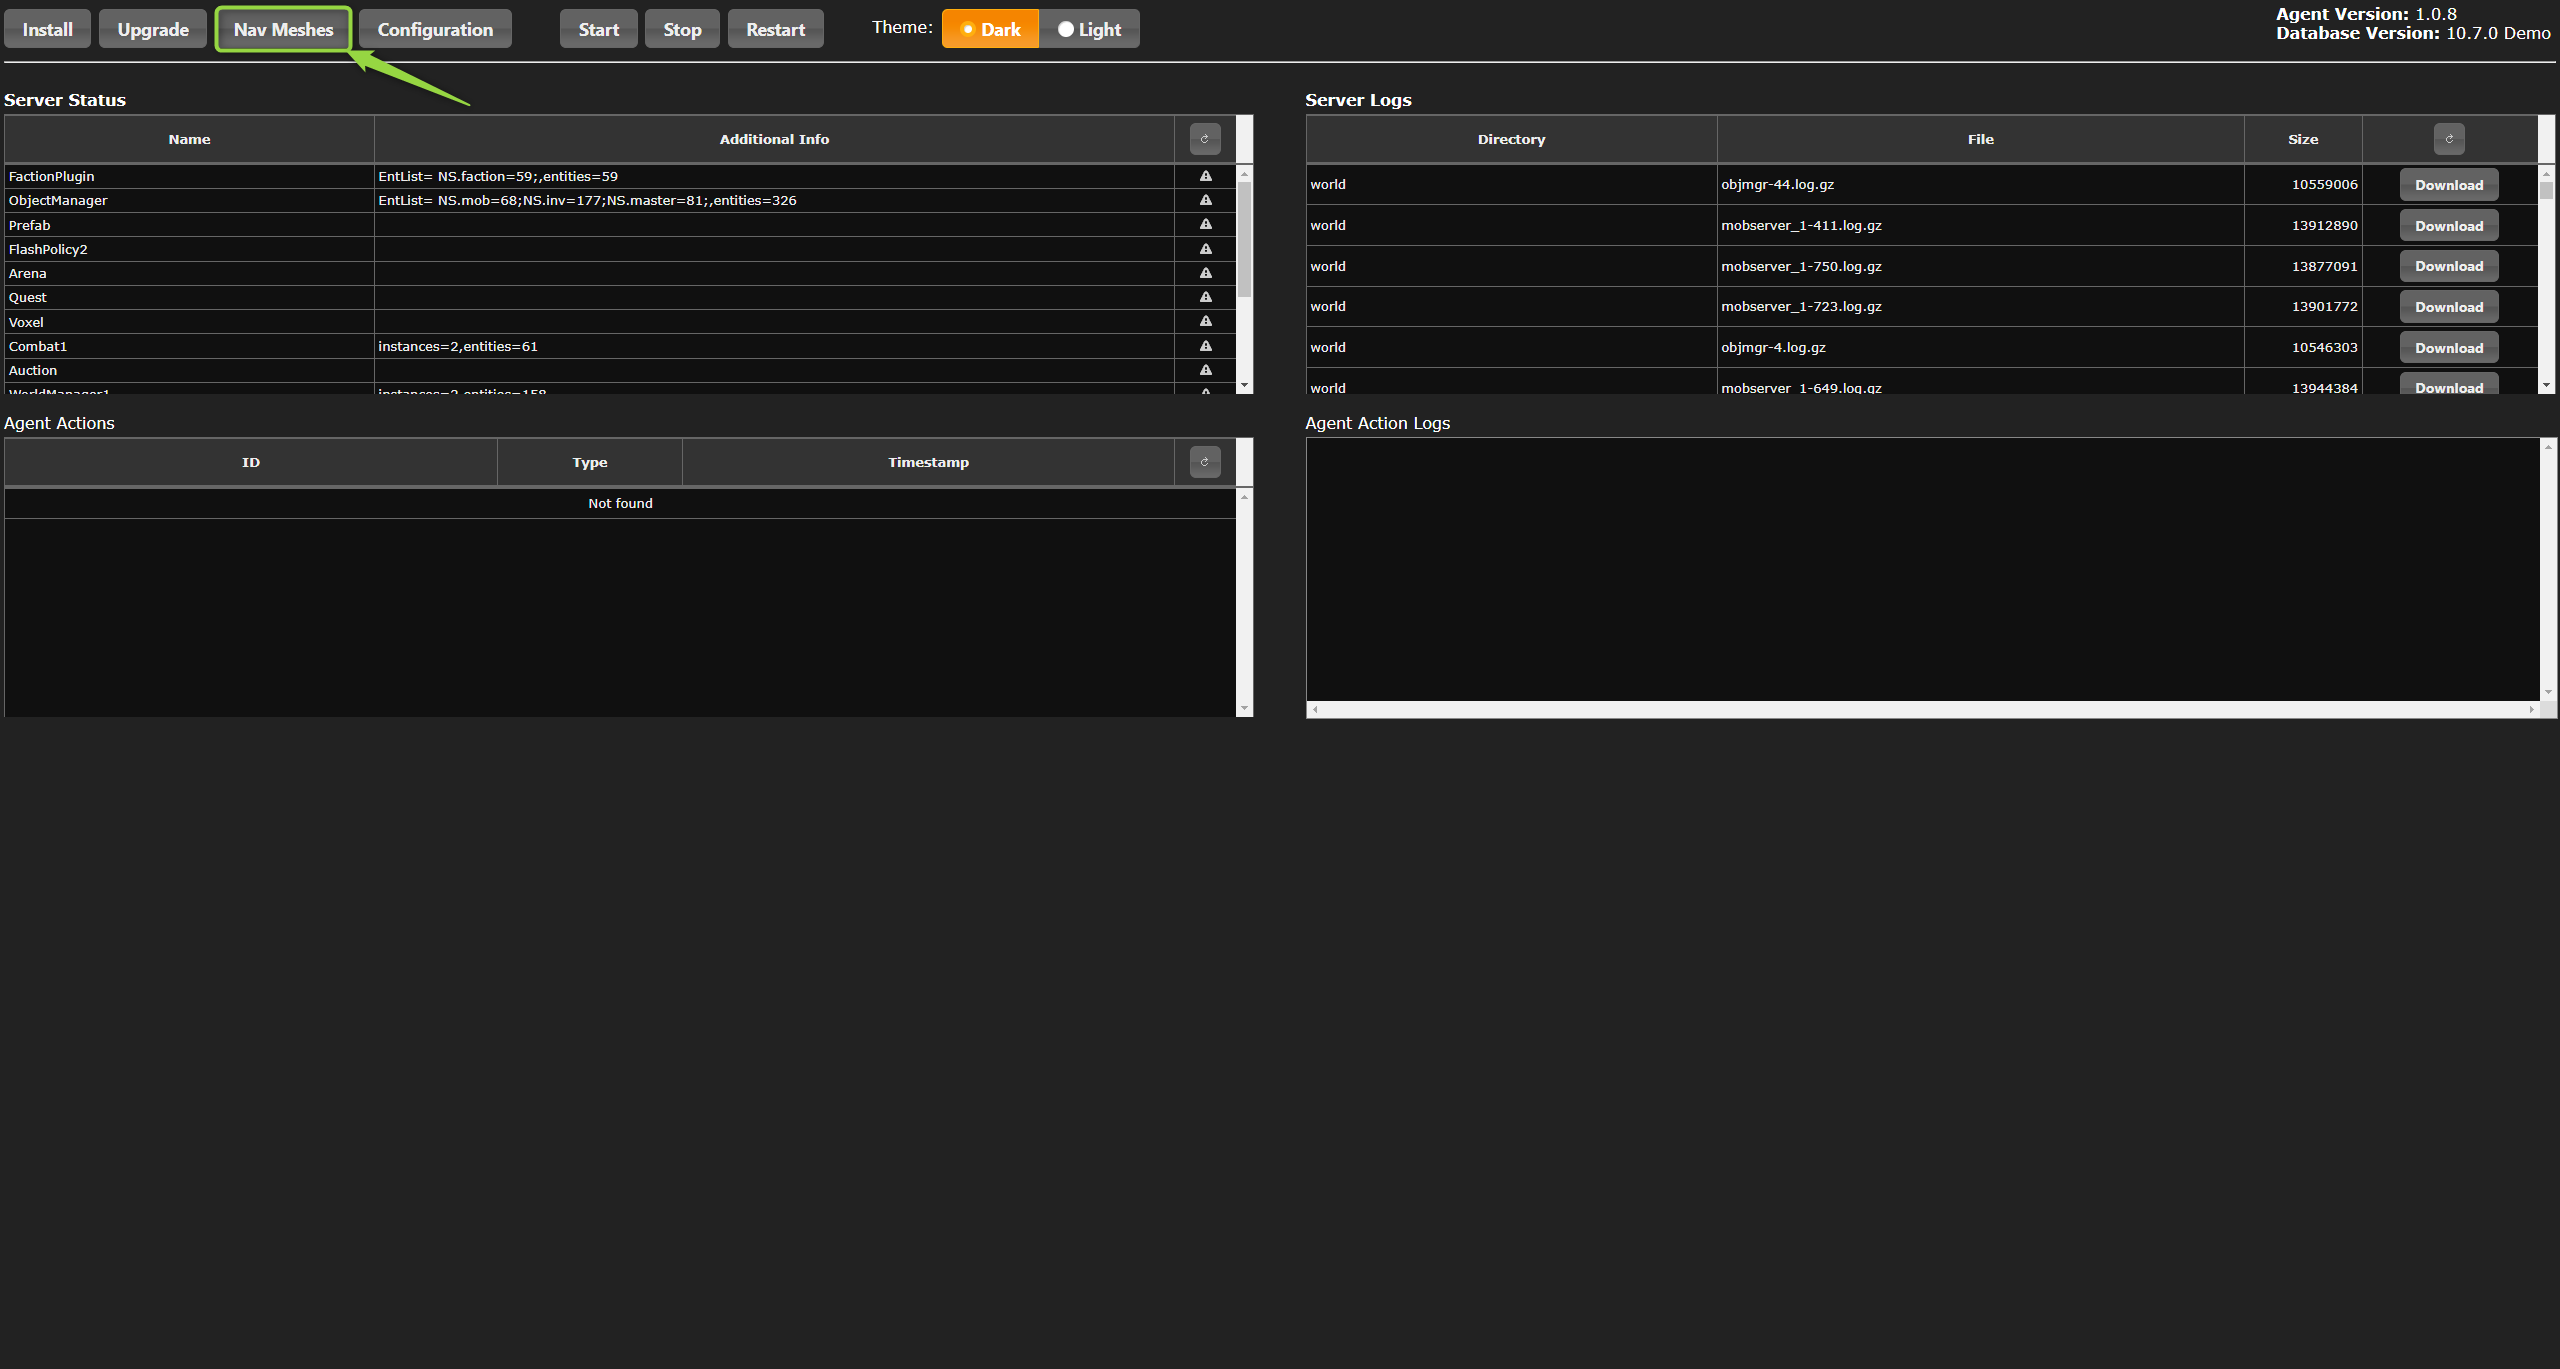
and a new window will be displayed where you will have to provide a nav mesh file
- The last and most important feature is of course light/dark mode that you can use 😉